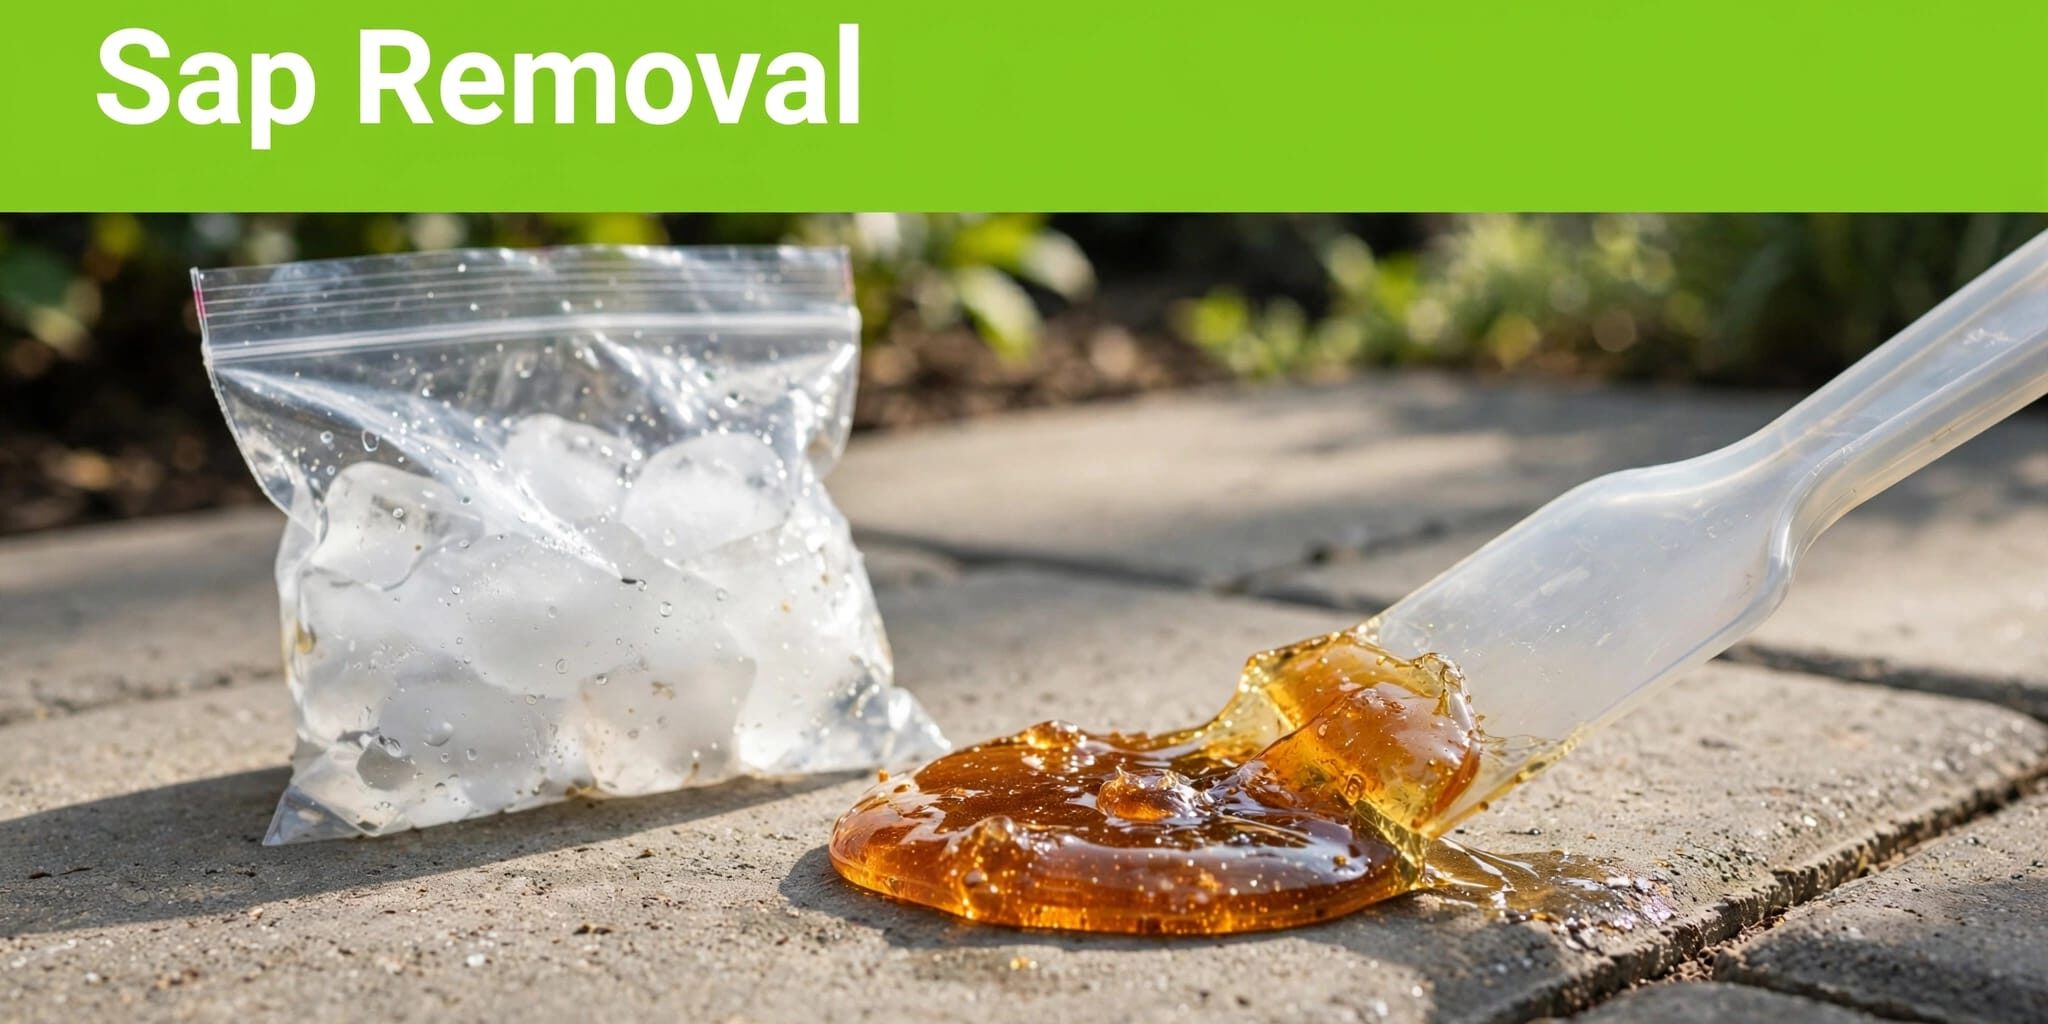
To remove tree sap on pavers, use a gentle sap removal approach: harden the deposit with bagged ice, lift it with a plastic scraper, and treat remaining resin with a compatible cleaner. We recommend starting gently because strong solvents and excessive pressure can damage the surface or its protective finish.
The right treatment depends on the paving material, existing finish, and whether the sap is fresh or hardened. Protecting the finish matters as much as removing the sticky spot.
Start by identifying the surface before applying any treatment.
Identify the surface and prepare the work area
Separate sealed paving from unsealed paving
Clay brick, concrete pavers, and natural stone don’t tolerate every cleaner equally. A treatment suitable for unsealed brick may soften a coating or change the appearance of decorative stone.
If the protective-coating type is unknown, treat the surface as solvent-sensitive. Start with bagged ice and a plastic scraper rather than pouring cleaner onto it.
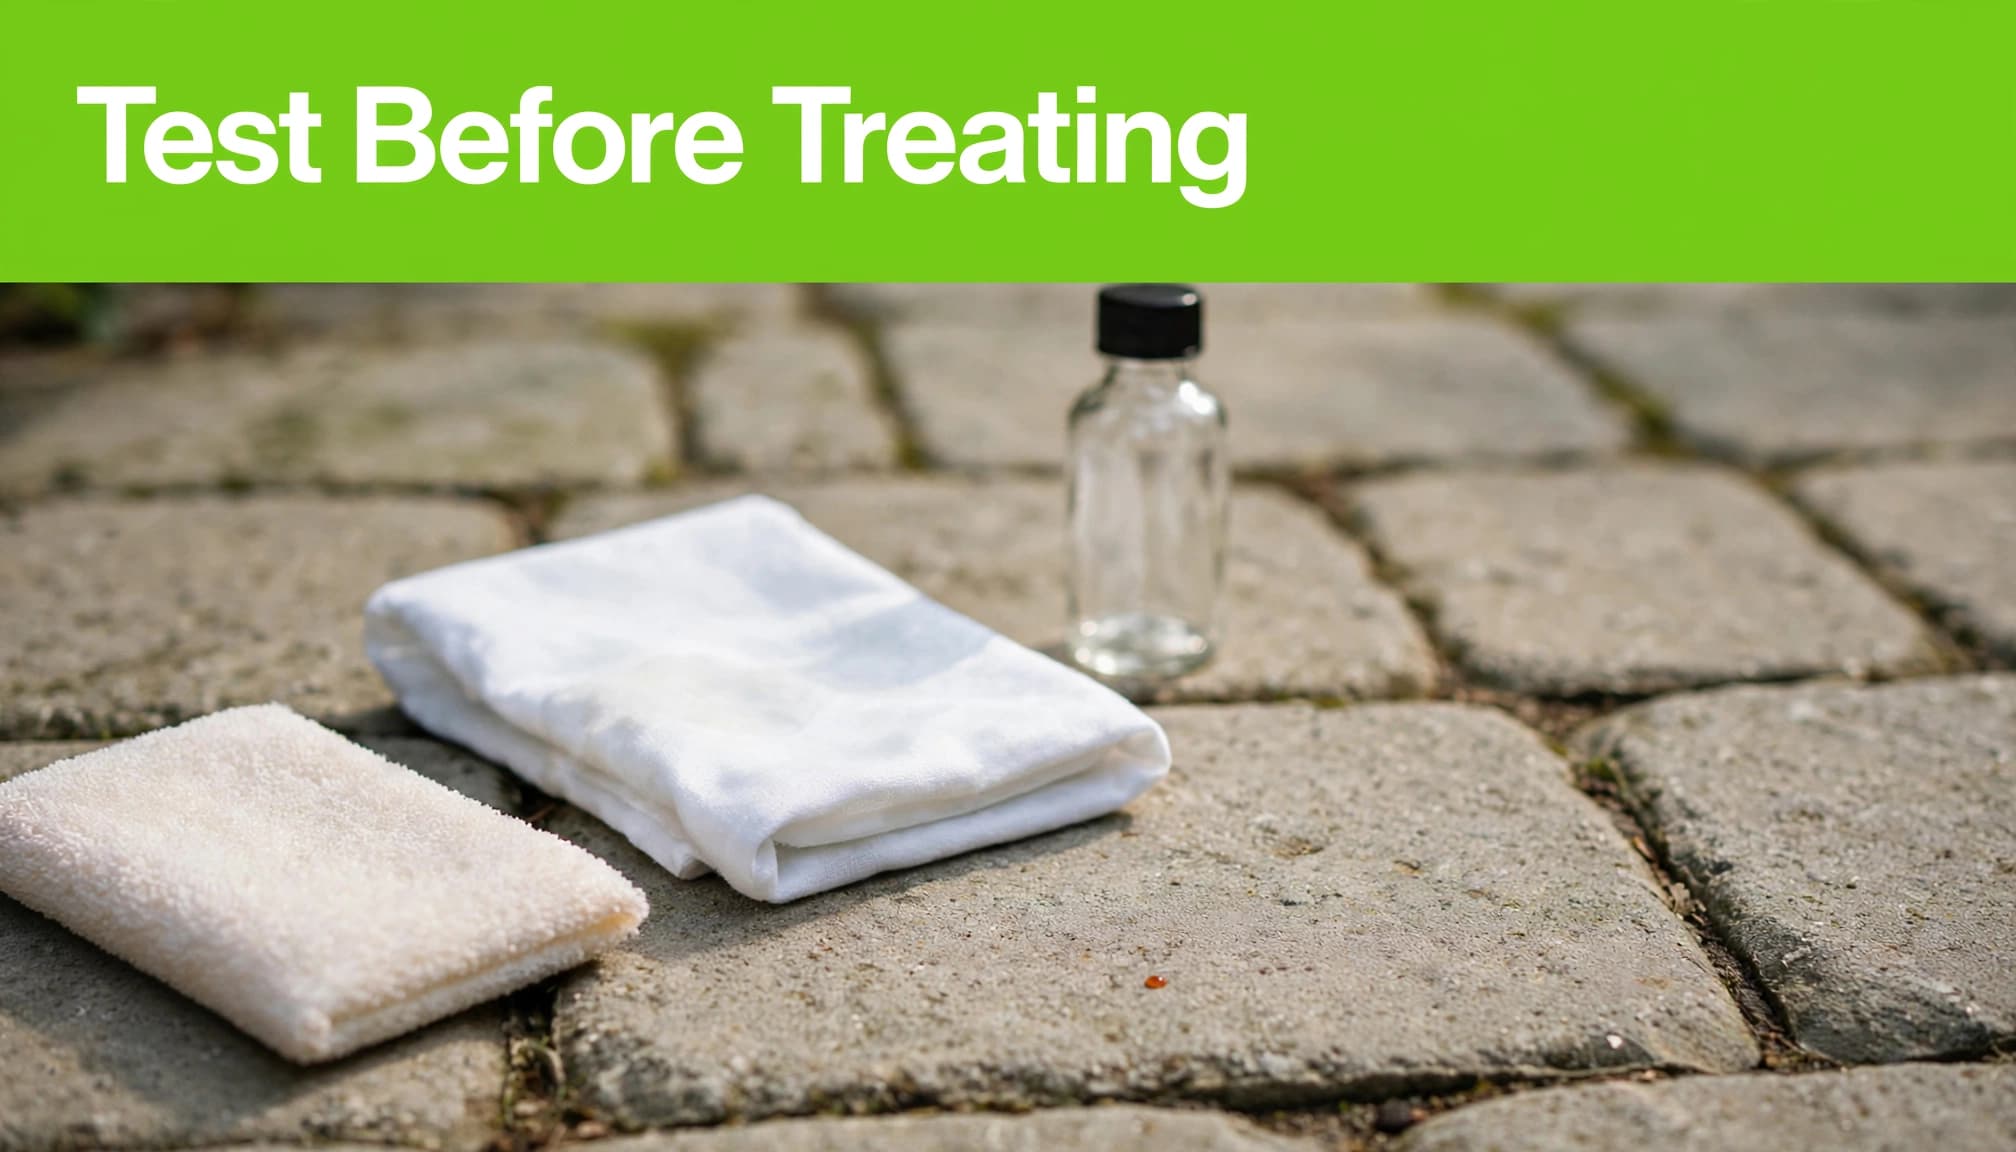
Patch test every cleaner on a small, hidden area. Remove it as directed, let the paving dry completely, and check for changes in color, sheen, or texture. Stop if the test leaves dullness, whitening, tackiness, or discoloration.
Work in shade with suitable protection
Choose cool, shaded conditions. Heat makes sap softer and stickier, and it can dry cleaners before treatment is complete.
Wear eye protection and closed-toe shoes. Nitrile gloves suit many mild cleaning tasks. The difficult-spot solvent discussed below and xylene require gloves rated for each chemical. Thin disposable nitrile gloves aren’t dependable protection against every solvent.
Work outdoors with good airflow. Keep solvents away from cigarettes, grills, pilot lights, and electrical sparks. OSHA’s flammable-liquid precautions address ignition risks wherever flammable vapors are present.
Shield nearby plants from cleaner, and keep runoff out of planting beds.
Keep children, pets, and customers outside the work area.
Step 1: Freeze tree sap on pavers before scraping
Place ice packs or ice cubes inside a sealed plastic bag. Hold the bag over fresh sap for several minutes until the deposit becomes firm.
Cooling firms the sticky resin, making it less flexible so it can break away instead of smearing across the paving. Freeze then chip only the loosened raised material with light pressure.
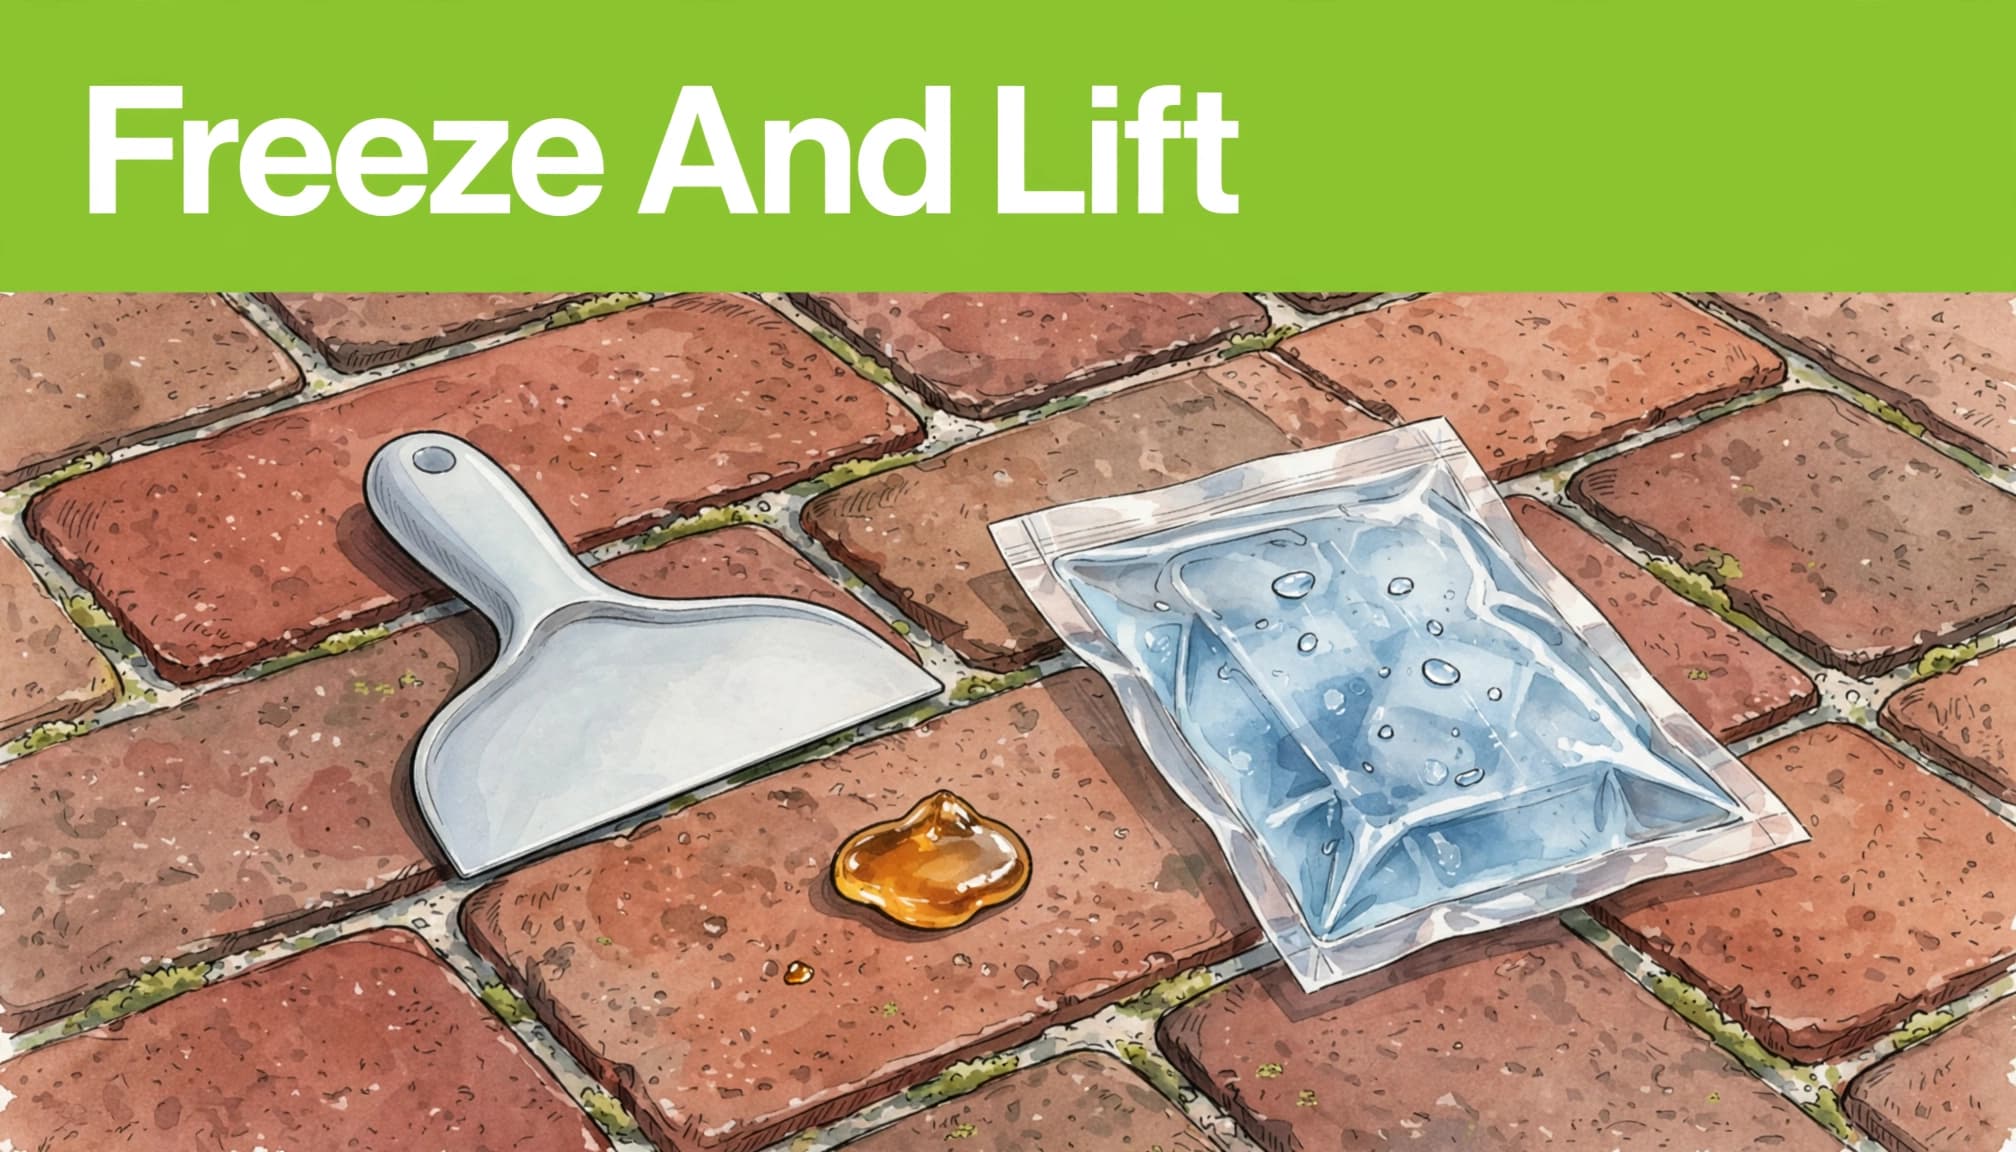
Use a plastic scraper, old credit card, or plastic putty knife to lift the edges. Keep the plastic scraper nearly flat.
Collect the pieces immediately. Repeat the cooling and scraping with the plastic scraper until most of the raised material is gone.
Avoid metal blades and wire brushes. They can scratch coatings or leave marks on the paver face. A thin resin film may remain after scraping, so use controlled spot treatment rather than harder scraping.
Step 2: Soften remaining resin when appropriate
For a thin, stubborn film, vegetable oil, mineral oil, or WD-40 may soften the resin. This can suit some delicate or sealed surfaces after a successful compatibility test.
Oil can also leave a dark mark on porous, unsealed paving. We don’t recommend making it the automatic next step for every surface.
Apply a small amount with a cloth rather than spraying broadly. Allow about 5 to 10 minutes where the product directions permit, then rub gently with a soft cloth or nonabrasive nylon pad.
Blot away softened sap and oily residue. Don’t push it into the joints.
Wash with compatible mild soap and warm water afterward. If an oily shadow remains after drying, use a suitable degreaser rather than stronger water pressure. Our guidance on removing oil stains from pavers covers that separate cleanup problem.
Step 3: Choose a compatible solvent for cured sap
Start with isopropyl alcohol or a labeled sap remover
Isopropyl alcohol at 70 to 99 percent can dissolve resin and is often a less aggressive starting point than the stronger later-stage solvent. It doesn’t introduce an oily carrier, but it can still affect certain sealers.
Apply a small amount to a clean white cloth. Hold it against the sap for 30 to 60 seconds, provided the product directions allow that contact time. Gently rub or scrape, then blot the loosened material.
Repeat only while the finish remains unchanged. Don’t flood porous paving or let solvent run into the joints.
A citrus-based cleaner or commercial sap remover is another option, but its label must cover both the paving material and any coating. A product intended for vehicle paint isn’t automatically suitable for masonry.
Use mineral spirits cautiously
Mineral spirits and petroleum lighter fluid can dissolve resin. They may affect some coatings less than acetone, but neither is universally safe for sealed paving.
We favor a labeled cleaner with clear surface instructions over an improvised lighter-fluid treatment. Both products are flammable and require ventilation and separation from ignition sources.
Use the same small-cloth application method. Collect residue before washing, and never mix products or layer one solvent over another.
Step 4: Reserve acetone and xylene for difficult spots
Acetone can remove sap and damage coatings
This solvent is effective against stubborn resin, but it can dissolve certain coatings and finishes. It can also alter the appearance of some natural stone.
Nail polish remover may contain dyes, fragrance, or conditioning oils. Those additives can create another stain, so don’t assume it behaves like plain acetone.
Use it only after a successful hidden-area test and only where the surface instructions allow it. Apply sparingly with a white cloth, soften the resin briefly, and lift it without aggressive scrubbing.
A pale or dull patch after solvent treatment may be damaged sealer rather than remaining sap. More solvent can enlarge that patch.
Xylene is a higher-risk escalation
Xylene is sometimes used when acetone hasn’t released the remaining resin. It can also soften or dissolve coatings, so it isn’t a routine homeowner cleaning step.
Where compatible instructions permit it, apply a small amount using a cotton ball, paper towel, or shop rag. Don’t pour it across the pavers.
We recommend professional assessment before this stage on sealed paving. Stronger treatment doesn’t guarantee complete removal.
Step 5: Wash away residue and inspect after drying
Start with soap and a gentle rinse
After collecting dissolved sap and solvent residue, wash the spot with warm water and a small amount of compatible, mild dish soap. Avoid hot water. Scrub lightly with a nylon brush, then rinse with a broad garden-hose spray.
Keep contaminated water out of storm drains, pools, and planting beds. Don’t rinse oily residue across clean paving.
Let the surface dry fully before deciding whether treatment worked. Wet pavers can hide discoloration.
If treatment damaged the protective finish, the affected area may need finish removal and compatible resealing. Don’t seal over sticky residue or apply another coat to hide an unidentified cloudy patch.
Treat remaining stains without increasing force
For dark organic residue on natural stone, use a stone cleaner labeled for that particular stone. An oxygen bleach poultice may help; follow the label and confirm it’s compatible with the stone. Mix it with water to the labeled paste consistency, apply locally, and cover or keep moist for several hours only when directed.
Oily residue may need an oil-removing poultice instead. The Natural Stone Institute’s stain guidance distinguishes treatments by stain type and explains poultice methods.
A pressure washer is a last resort for brick, not the first treatment. For sound, unsealed paving, 1,200 to 2,000 psi with a fan nozzle 12 to 18 inches away is sometimes suggested. Pressure washing can disturb joints or damage the surface or coating.
Start at lower pressure and farther away. Avoid fragile flagstone, damaged coatings, and weak joints. Stop if sand moves or the surface changes.
Prevent repeat stains and know when to stop
Remove fresh drops promptly, especially beneath trees over patios and brick driveways. Arrange appropriate pruning of sap-dripping branches rather than repeatedly treating the same area.
A compatible sealer can make future cleanup easier, but it won’t make paving stain-proof. Sacrificial coatings or wax are sometimes suggested for decorative flagstone edges. Don’t apply them to walking surfaces without approval for slip resistance.
Our Southwest Florida paver maintenance guidance covers routine inspections and ongoing care.
Stop cleaning when another permitted treatment produces no improvement. Absorbed staining, rough surfaces, and damaged finishes may need professional attention. Complete removal isn’t always possible.
If you arrange service, leave the remaining stain visible and identify the cleaners already used. Our paver-cleaning appointment preparation guidance explains how to prepare the area safely.
Key takeaways
- Freeze and lift raised sap before applying chemicals, using a plastic tool and light pressure.
- Match every cleaner to the paving material and existing sealer, and judge the test only after drying.
- Collect loosened residue, rinse gently, and stop if the finish changes or joint sand moves.
Frequently asked questions
Will Dawn remove tree sap?
Dawn can help wash away loosened sap, oily cleaner, and ordinary grime. It isn’t a dependable solvent for hardened resin. Use a small, diluted amount only when compatible with the paving and sealer, then rinse thoroughly.
Is alcohol safer than acetone on sealed flagstone?
Alcohol is often a less aggressive first solvent, but sealer chemistry determines compatibility. Either product can affect a coating. A hidden-area test that dries without a change in sheen, color, or texture is necessary before treating the visible spot.
Are tree sap stains permanent?
Raised resin can often be removed, but an absorbed stain or altered finish may remain. A scraper also leaves traces in textured surfaces. Persistent discoloration needs stain-specific treatment, not repeated scraping or increasing pressure.
Protect the paving while removing the sap
We recommend a gentle, test-first approach: lift the deposit, soften only what remains, and inspect the dry surface before continuing. Preserving the paver finish and joints is more important than forcing a stubborn mark out.
We can help assess persistent staining and paver restoration needs in Fort Myers and surrounding Southwest Florida communities.
Contact Us for a FREE Quote when routine cleaning isn’t enough.