
A good patio project starts with an accurate material order. Knowing the right brick paver quantities helps determine the material cost. Underestimating the total number of pavers can lead to delays, color variation, or added delivery costs. Over-ordering leaves unused materials taking up space and adding expense.
Surface pavers are only one part of the job. Your order should also account for base aggregate, bedding sand, joint sand, edge restraints, cuts, and the conditions below the surface.
Key Takeaways
- Measure the finished paved area, divide irregular spaces into simple sections, and calculate field and border areas separately when needed.
- Use the manufacturer’s coverage information to determine brick paver quantities, then add a waste factor based on the layout, perimeter cuts, and pattern.
- Include the full installation system in your order: compacted aggregate base, bedding sand, joint sand, edge restraints, spikes, and repair pavers.
- Base depth should match the soil, drainage, and intended use of the area; patios and driveways may require different support levels.
- Confirm coverage, pallet quantities, material compatibility, finished grades, and site conditions before delivery to avoid shortages and installation problems.
Start With a Measured Project Area
Measure the finished paved area, not the open space around it. Include the main field, borders, steps, and separate landing areas. Record the finished project area on a simple sketch with dimensions to make calculations more dependable.
Calculate rectangles first
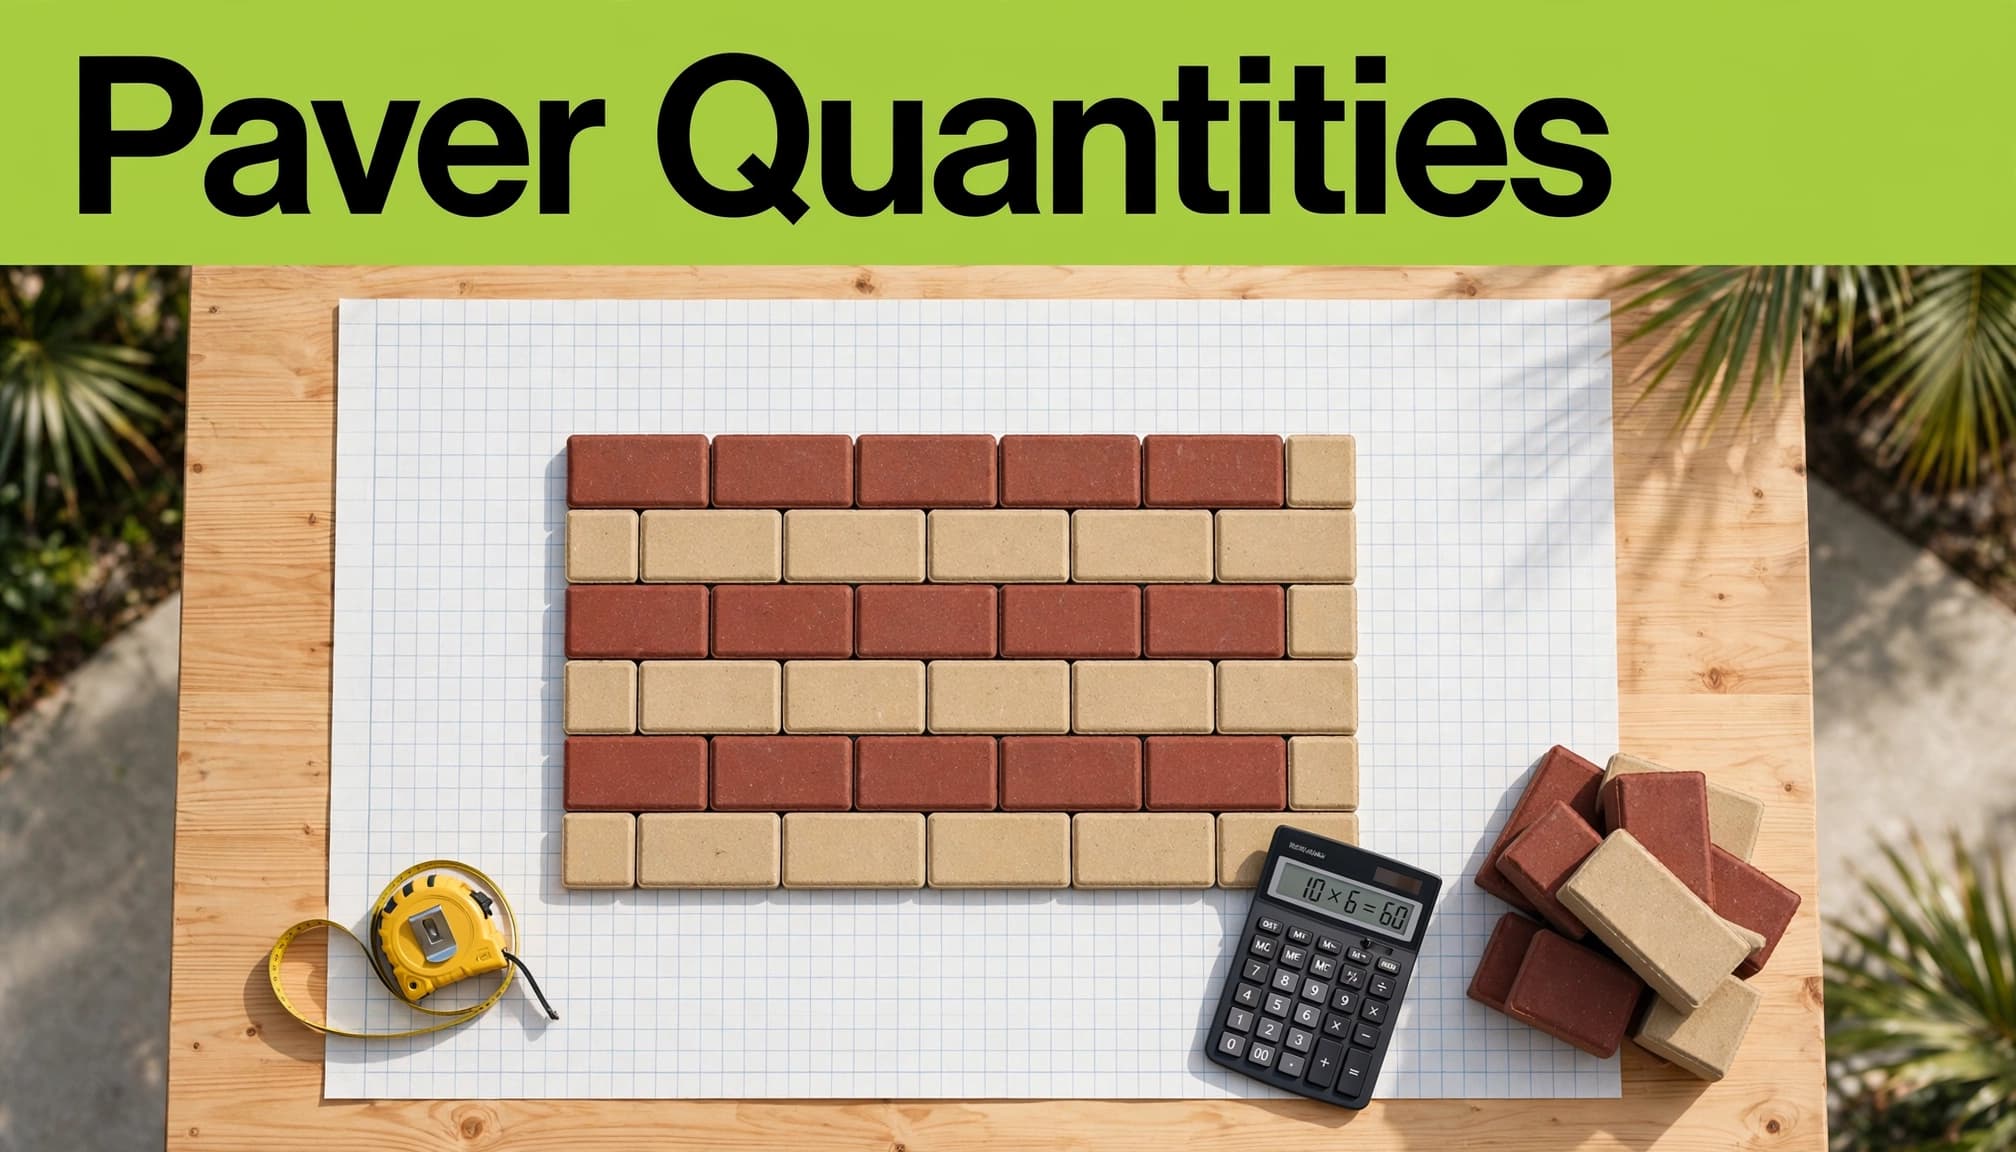
For a square or rectangle, multiply length by width.
Length x width = square feet
A 12-by-20-foot patio is 240 square feet. A 4-by-30-foot walkway is 120 square feet. Keep each section on your sketch, then add the totals.
Measure border bands separately when they use a different color, size, or paver style. This gives you separate field and border quantities, which are more useful when ordering.
Break irregular spaces into simple sections
Curved patios, pool decks, and driveways are easier to calculate when divided into rectangles, triangles, and partial circles. Measure each section, calculate its area, and combine the results.
For a triangle, multiply the base by the height, then divide by two. For a circle, multiply pi by the radius squared. When a curve has an irregular shape, measure its overall rectangle and expect a higher cutting allowance.
Finished height matters as much as surface area. Our brick paver installation checklist includes drainage and slope planning that should be handled before materials are ordered.
Calculate Brick Paver Quantities by Coverage
The most accurate paver calculation uses the manufacturer’s stated coverage per square foot. That coverage accounts for the paver’s actual dimensions and planned joint width.
If you only have the unit dimensions, calculate the face area first. Divide 144 square inches by the paver face area in square inches to find the approximate number per square foot.
A simple paver calculator method starts by verifying the product’s unit dimensions against the supplier’s coverage chart. Record those unit dimensions before calculating coverage.
Use the actual paver size
Start with the brick dimensions when calculating face area. A standard 4-by-8-inch brick paver has 32 square inches of face area. Divide 144 by 32, and the result is 4.5 pavers per square foot before joints.
Block size affects coverage, so products with similar appearances may require different quantities. A concrete paver, a clay paver, a tumbled paver, and specialty units should never be treated as identical. A concrete paver may also have different dimensions from another product in the same category. Natural stone requires its own layout and coverage assumptions.
Compare products by block size before using the table below:
| Paver face size | Approximate pavers per square foot |
|---|---|
| 4 x 8 inches | 4.5 |
| 6 x 6 inches | 4 |
| 6 x 9 inches | 2.7 |
| 12 x 12 inches | 1 |
These are planning figures, not a substitute for product coverage information. Review the unit’s installation guide and pallet coverage before placing the order. The Ideal guide to interlocking pavers also shows why layout, jointing, and edge details are part of the full pavement system.
Work through a patio example
A 12-by-20-foot patio has 240 square feet. Using 4-by-8-inch pavers at 4.5 units per square foot:
240 square feet x 4.5 pavers = 1,080 pavers
The total number of pavers is the field quantity before waste. For this example, the total number of pavers is 1,080 before adding waste. If the product is sold by the pallet, round up to full pallets after adding your waste factor. Don’t round down because the final row looks close.
Add Waste for Pattern and Perimeter Cuts
Every installation needs extra material. The right waste factor depends on the laying pattern, the number of cuts, and whether you want matching pavers for future repairs.
Match the waste factor to the layout
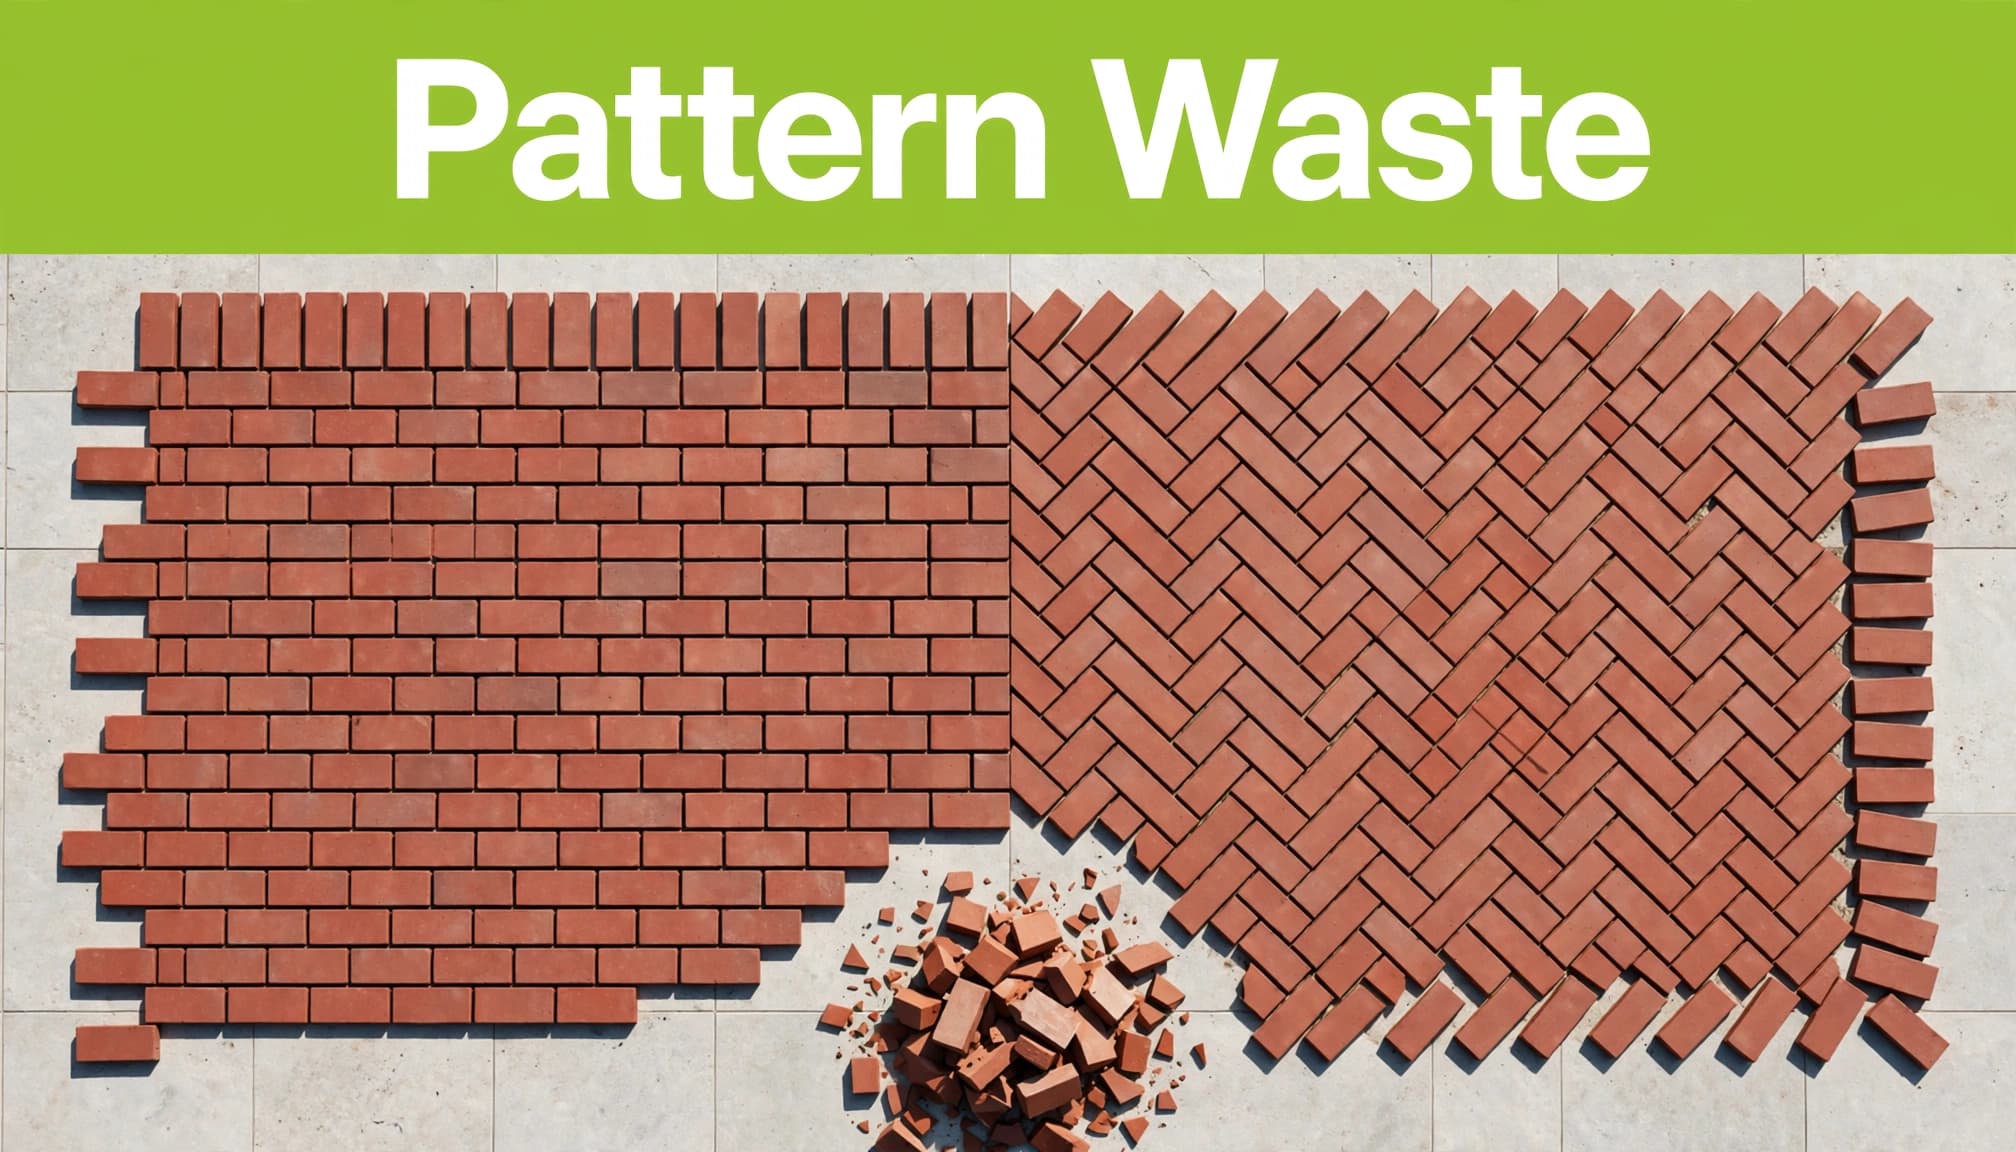
A simple running bond on a square patio may only need 5 percent extra material. A patio with a border, several corners, or a curved edge often needs 10 percent.
A 45-degree herringbone pattern creates more small perimeter cuts. We normally plan for 10 to 15 percent extra pavers on this type of layout. Herringbone is a strong choice for brick driveways because the interlocking pattern handles vehicle movement well, but the quantity must allow for those angled cuts.
Waste is not only for broken pavers. It also covers the cut pieces that are too small or uneven to use at another edge.
Apply the waste factor to the field quantity before placing your order. This accounts for the extra pavers required by the layout and its cuts.
Count borders and circles separately
Borders can change the quantity quickly. A soldier-course border needs linear feet, while a wider border needs square feet. Measure the outside perimeter, then subtract openings where the border stops at a wall, drain, or existing slab.
Circular features, fire pit areas, and curved pool decks need more material than their surface area suggests. Small pavers may fit curves better, but there are still more cuts and more labor.
For the 240-square-foot patio example, a 10 percent waste factor means increasing the 1,080-paver field quantity to a total number of pavers of about 1,188. Round that figure up to the next full bundle or pallet.
Estimate Base, Bedding Sand, and Edging
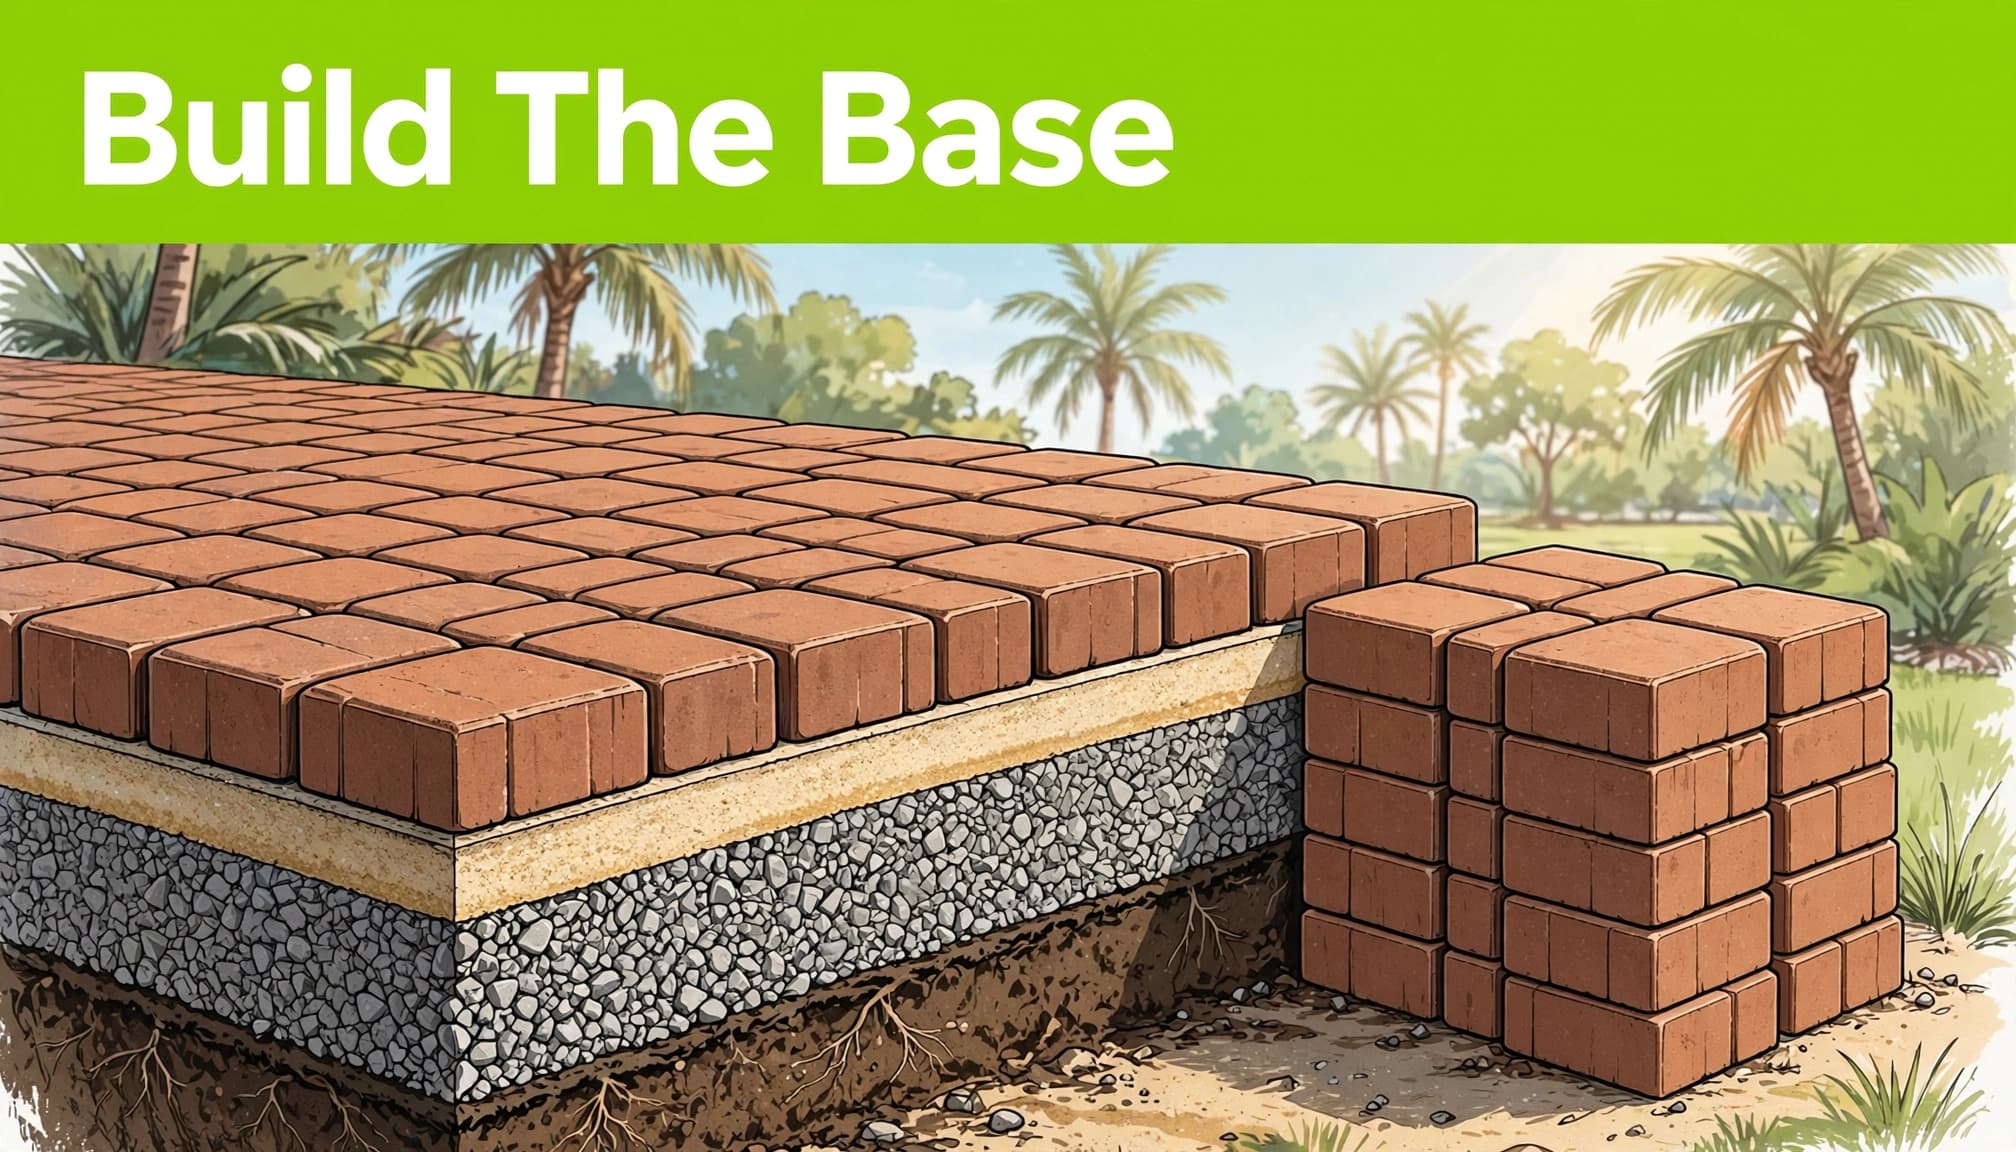
Surface pavers cannot correct soft soil, poor drainage, or a shallow base. The full system includes the subgrade, base aggregate, bedding sand, pavers, joint material, and edge restraint. The CMHA construction guidance for interlocking concrete pavements details these connected layers.
Calculate aggregate by compacted depth
Use the compacted aggregate base depth, or sub-base depth, in your formula. This measurement differs from total excavation depth. Convert inches to feet, multiply by the project area, then divide by 27 for cubic yards.
Square feet x base depth in feet / 27 = cubic yards
For a 240-square-foot patio with a 6-inch compacted base:
240 x 0.5 / 27 = 4.44 cubic yards
Suppliers may sell crushed stone by the ton. Since density varies by material and moisture, ask the supplier for its current tons-per-yard conversion. Do not assume loose delivery volume will equal compacted volume.
Choose a base depth for the intended use
A pedestrian patio or walkway commonly starts with about 6 inches of compacted aggregate in favorable conditions. With about 1 inch of bedding sand and a typical 2 3/8-inch paver, excavation may be roughly 9 to 10 inches below the finished surface.
Driveways need more support. In Southwest Florida, 6 to 8 inches may work on stable ground, while weak soil, poor drainage, frequent heavy vehicles, or soft areas can require 8 to 12 inches or more.
We review soil strength, drainage, and traffic before setting a base depth. Our paver soil preparation guide explains why aggregate base should be installed and compacted in controlled lifts.
Include sand and perimeter restraint
A 1-inch bedding layer over 240 square feet requires about 20 cubic feet, or 0.74 cubic yards, before allowing for handling and site conditions. Use clean bedding sand approved for the system. Sharp sand is acceptable only when approved for the specific paver system.
Masonry sand is not automatically suitable, and sharp sand should not be substituted without system approval. Measure the outside perimeter to order each edge restraint and the required spikes. Each edge restraint holds the outer pavers in position, so joints do not open and the field does not spread. The restraint should sit on compacted base material, not loose bedding sand.
Review Site Conditions Before Ordering
Two areas with the same square footage can have very different material needs. Existing concrete, narrow access, downspouts, utility covers, and drainage changes can affect the installation cost, excavation, base quantities, and labor.
Plan for water movement
Patios and walkways need a finished slope that moves water away from the home. A common planning target is 1/4 inch per foot, or about 2 percent. The final grade must fit drains, thresholds, property lines, and pool elevations.
Heavy rain can expose low spots quickly. Don’t use extra bedding sand to create drainage or correct a poorly compacted base. The base and subgrade need correction first.
Account for soil and traffic
Landscape fabric may be appropriate over weak, wet, sandy, or disturbed soil. It helps separate soil from the aggregate base. On a slope or in soft areas, a contractor may also recommend geogrid stabilization after reviewing the site.
Vehicle-rated pavers and stronger support are needed for driveway installation, especially where cars turn, brake, or park. Decorative layouts can work well for patios, but driveways need a pattern and foundation suited to their loads.
Confirm the Order and Long-Term Materials
Before delivery, compare your drawing with the supplier’s coverage chart, total number of pavers, pallet count, border dimensions, and selected pattern. Confirm that field pavers, border units, edge restraint, spikes, aggregate, bedding sand, and joint sand are included.
Order joint sand by product coverage
Polymeric sand is sold by bag coverage, and coverage changes with paver size, joint width, joint depth, and surface texture. Measure the total paved area, then verify the polymeric sand bag coverage for your joint size.
Order a small reserve of polymeric sand when joints are wide or irregular, pavers are tumbled, or the project includes a border. Polymeric sand must be compatible with the paver material and installed on a clean, dry surface.
Keep a repair reserve
Set aside a small group of unused pavers from the same production run. They are useful after utility work, settling repairs, or a future design change. Matching older materials can be difficult.
Routine sweeping and joint inspection protect the finished installation. Brick pressure cleaning should be done with care because aggressive work can remove joint sand or leave uneven marks. Our paver cleaning and maintenance schedule covers practical care for Florida surfaces.
Frequently Asked Questions
How many standard brick pavers cover one square foot?
A 4-by-8-inch paver covers about 4.5 pavers per square foot before joints. Many products provide coverage closer to 4.5 to 5 units per square foot, depending on their installed dimensions. Use the manufacturer’s stated coverage for your final order.
How much extra material should be ordered?
Plan for 5 percent extra for a simple, straight layout. Use 10 percent for most residential projects with borders or regular cuts. A 45-degree herringbone pattern, circular layout, or detailed design may require 10 to 15 percent.
How deep should the base be for a patio or driveway?
Many pedestrian patios and walkways need about 6 inches of compacted aggregate. Residential driveways may need 6 to 8 inches in favorable soil, or 8 to 12 inches where traffic, drainage, or soil conditions require more support.
Why is edge restraint important?
An edge restraint contains the paver perimeter and prevents the outside units from moving outward. Without proper restraint, joints can open and the paver field can shift over time. Proper restraint is part of the installation, not an optional finishing detail.
Accurate Quantities Start Below the Surface
Accurate brick paver quantities begin with a measured layout and end with an order that covers the full installation system. The pavers matter, but so do base depth, drainage, joint material, edges, and the intended use of the space.
A clear plan prevents avoidable shortages and helps protect the finished surface for years. Measure carefully, order for the pattern, and build for the conditions on your property.