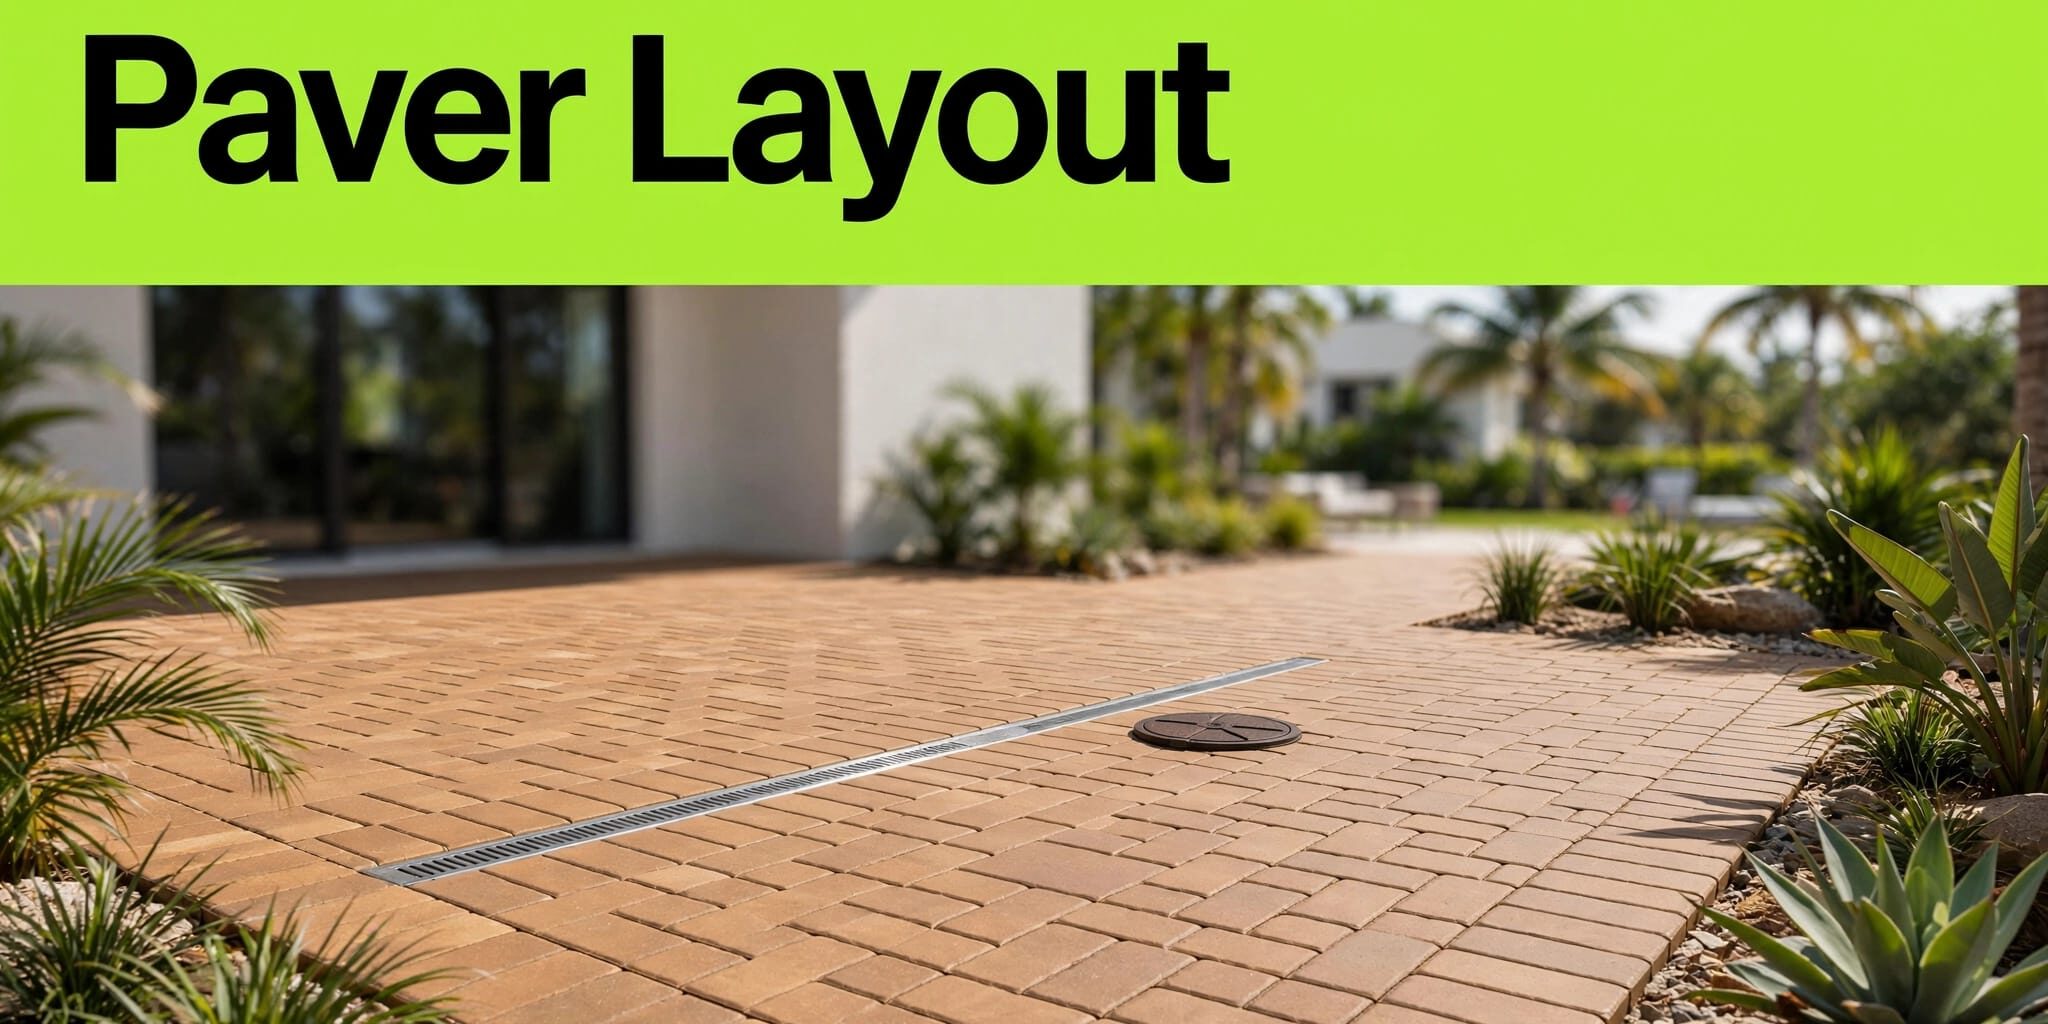
A drain can either blend into finished pavers, supporting curb appeal, or become a trouble spot for standing water, shifting pavers, and trips.
A proper paver layout around drains starts before the first paver is set. We review finished heights, water flow, access needs, and pattern direction together, so the surface drains well, stays safe to walk on, and remains easy to service through Southwest Florida rain.
The drain, utility cover, or catch basin should guide the layout, not become an afterthought.
Key Takeaways
- Set finished elevations around doors, pool coping, garage entries, drains, and utility covers before selecting a paver pattern. Review the site’s slope requirements first.
- Use the drain line or cover edge as a control point for paver cuts, borders, and joint alignment to improve curb appeal.
- Keep channel-drain grates and utility covers flush with the finished paver surface, with access available for cleaning and service.
- Avoid narrow sliver cuts beside drains or covers. Balanced cuts look better, hold up better, and support safer slip resistance in wet pool-deck or walkway areas.
- Consider permeable pavers only when they fit the site’s overall drainage plan. Use edge restraints near drains and paved borders to help keep the layout stable.
Start With Finished Heights and Water Flow
A paver project has to work around the fixed parts of the property. These include thresholds, screen doors, pool coping, garage slabs, existing drains, irrigation boxes, and utility covers.
We mark these points before finalizing the layout. This shows where water can move and where finished pavers must meet another surface without creating a high edge or low spot.
Mark every fixed feature before ordering pavers
Measure the paved area, then mark property lines, gates, downspouts, drain inlets, access covers, and transitions. Contact 811 before digging so underground utilities are identified.
A cover that appears small on a sketch can disrupt a herringbone pattern if it sits near the center of a walkway. A long channel drain can also change the direction of a border or field pattern.
Our brick paver installation checklist covers the early planning details that help prevent standing water, loose edges, and costly changes later.
Set the intended slope before choosing the pattern
Finished elevations should direct stormwater runoff away from the home and toward an approved collection point. Poor grading can leave standing water near doors, walls, or paved transitions.
For many patios and walkways, 1/4 inch of fall per foot is a practical planning target. That is about a 2% slope.
It isn’t a universal rule. Site-specific slope requirements, pool elevations, door thresholds, property lines, accessibility needs, and local requirements may require a different final grade.
A drain at the edge of a patio cannot correct a surface that slopes back toward the house.
Use string lines, stakes, or a laser level to confirm the finished grade. The paver pattern comes after the drainage route is clear.
Choose the Right Drain for the Paved Area
Drainage systems should match the type of water they need to collect. Surface water, subsurface water, roof runoff, and pool deck runoff require different solutions.
Permeable pavers, pervious pavers, and porous pavers also differ in their product specifications and infiltration performance. Confirm the manufacturer’s ratings before choosing an infiltration-based design.
Use channel drains where surface water crosses pavers
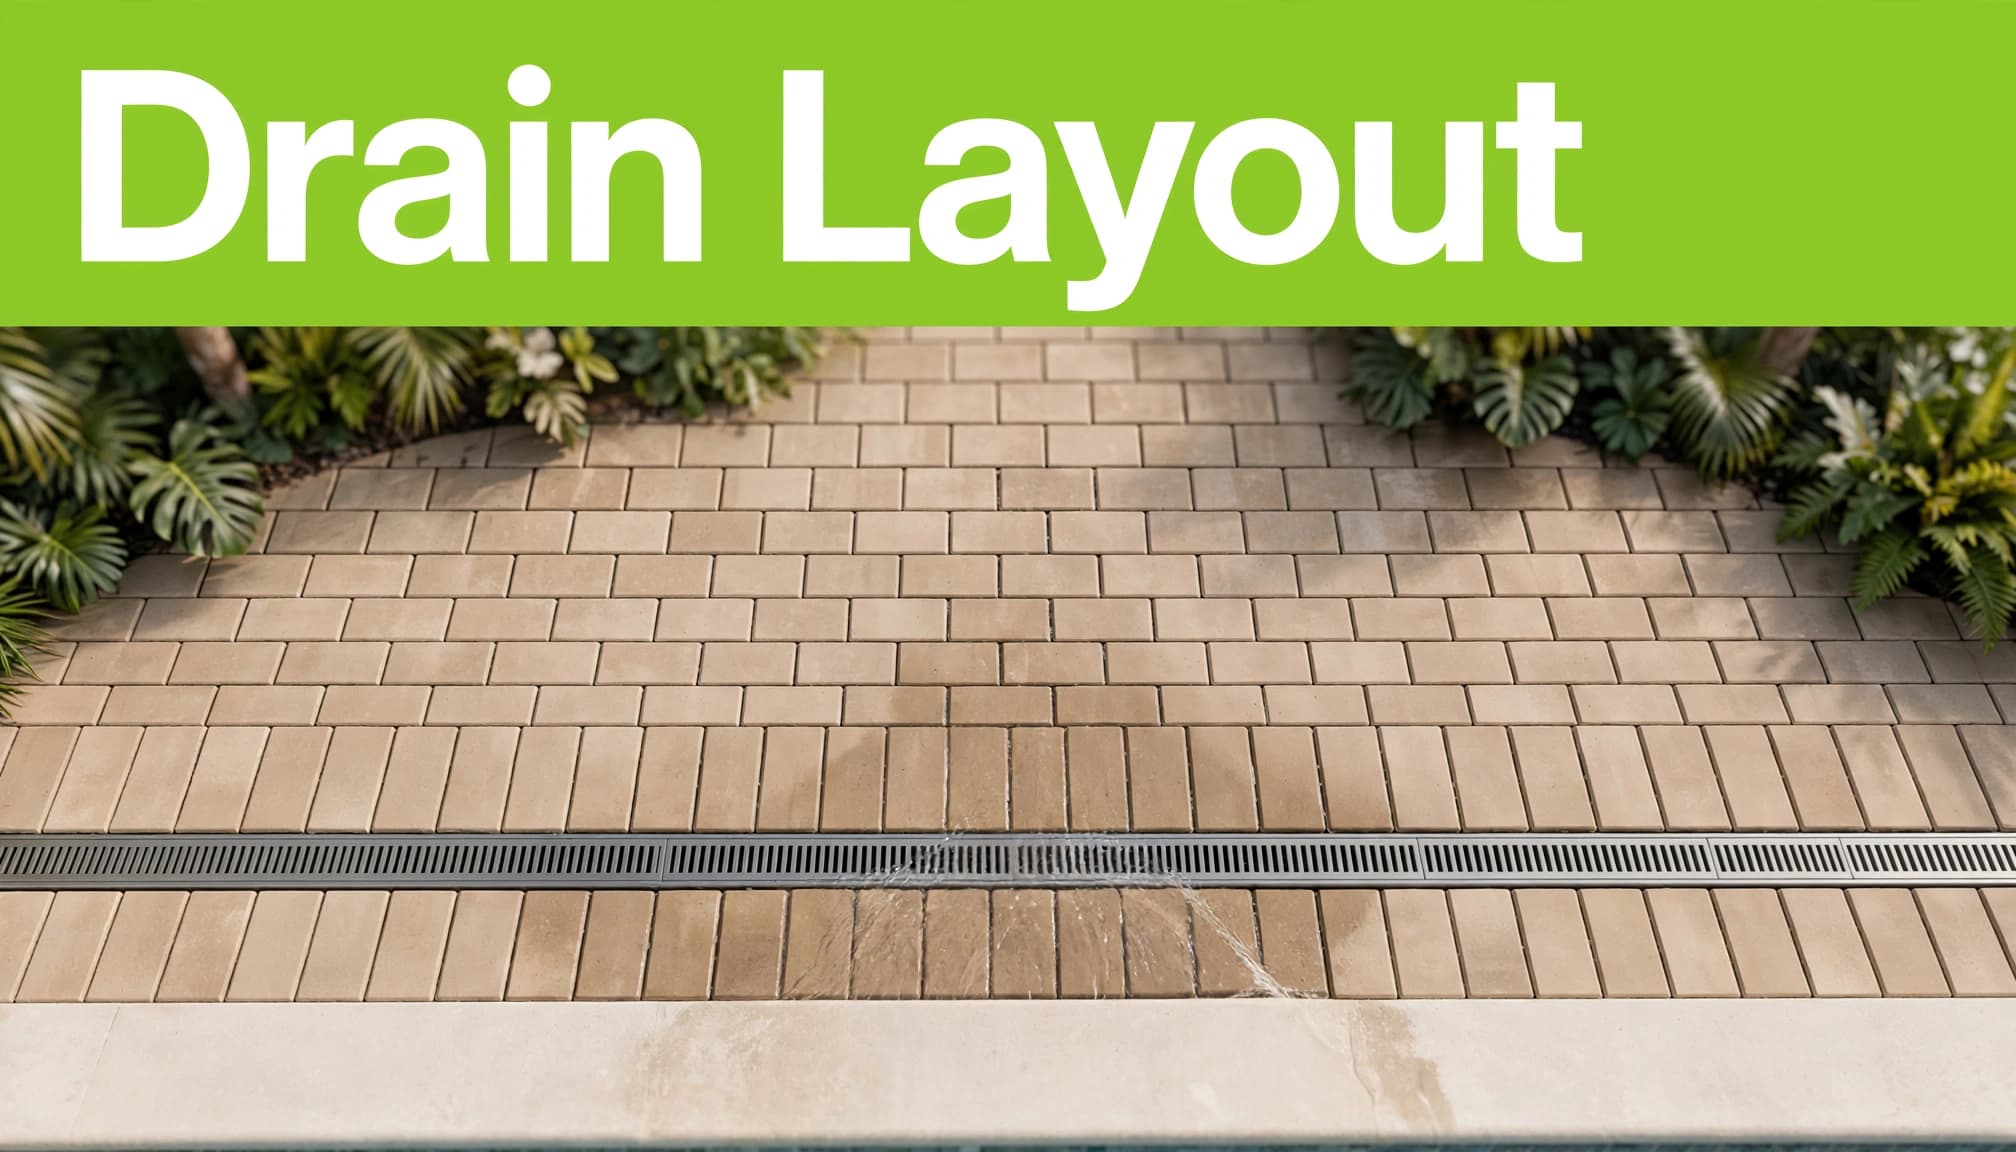
Channel drains, also called trench drains, work well along pool decks, garage entries, screen enclosures, and transitions between paved areas. They collect water moving across the surface and direct it to a connected outlet.
In wet pedestrian areas and pool settings, choose a grate with suitable slip resistance. NDS notes that most channel-drain installations need 4 to 6 inches below the grate surface. In hot climates, its channel drain installation guidance also calls for a 1/8-inch gap between grates for expansion.
Drain width and outlet capacity depend on the drainage area, rainfall exposure, and available discharge route. Check the manufacturer’s installation guide before sizing the system. A larger drain isn’t automatically the right answer.
Use catch basins and a French drain for their intended purpose
A catch basin can collect water at a low point and connect to a drainage line. It needs a grate that remains accessible after the pavers are installed.
A French drain works below grade and can help collect water in saturated areas. It doesn’t replace proper surface slope. NDS explains that a French drain needs planned grading and placement, not a random trench beside the patio.
Permeable pavers may suit sites with compatible soil, grading, and infiltration conditions. A dry well or similar option needs a site review, especially in clay-heavy areas or locations with a high water table. Every outlet needs a safe destination, such as an approved discharge area with erosion control. A detention pond may work on some properties, but it isn’t a universal recommendation.
Plan the Paver Layout Around Drains
Treat the drain as part of the overall design. A channel drain creates a straight control line, while a catch basin or utility lid creates a square or rectangular interruption that needs balanced cuts.
Run patterns parallel or square to linear drains
Set a string line along the channel drains before laying the field pavers. Running bond often works well when pavers run parallel to the drain. It creates clean, repeatable cuts along the grate.
For herringbone, center the pattern on the drain line. Check the cuts at both ends, then shift the starting point before making cuts. This helps prevent thin pieces on either side.
A border can separate the field pattern from the drain line and reduce awkward cuts. This is useful in a pool deck layout, where the drain runs beside coping or a screen enclosure. Add edge restraints where the drain meets the paved edge.
Avoid narrow cuts and interrupted joints
Don’t leave small strips of paver beside a grate. Narrow pieces are harder to cut, more likely to loosen, and often make the work look unfinished.
Shift the field pattern early so the final pieces are wide enough to remain stable. The same rule applies to brick pavers near columns, steps, and downspouts.
Keep joint spacing consistent, and make level cuts to help preserve slip resistance around wet areas. Don’t force cut pieces tightly against a drain frame. Pavers need proper spacing for joint material and normal movement.
Fit Utility Covers Without Losing Access
Utility covers are part of the property. They may provide access to irrigation valves, cleanouts, electrical equipment, or drainage systems. Covering them with pavers creates a problem that will return when service is needed.
Whether the surface uses concrete pavers, natural stone, or travertine pavers, account for different cutting, color, and maintenance needs around the cover.
Center the cover within the paver pattern
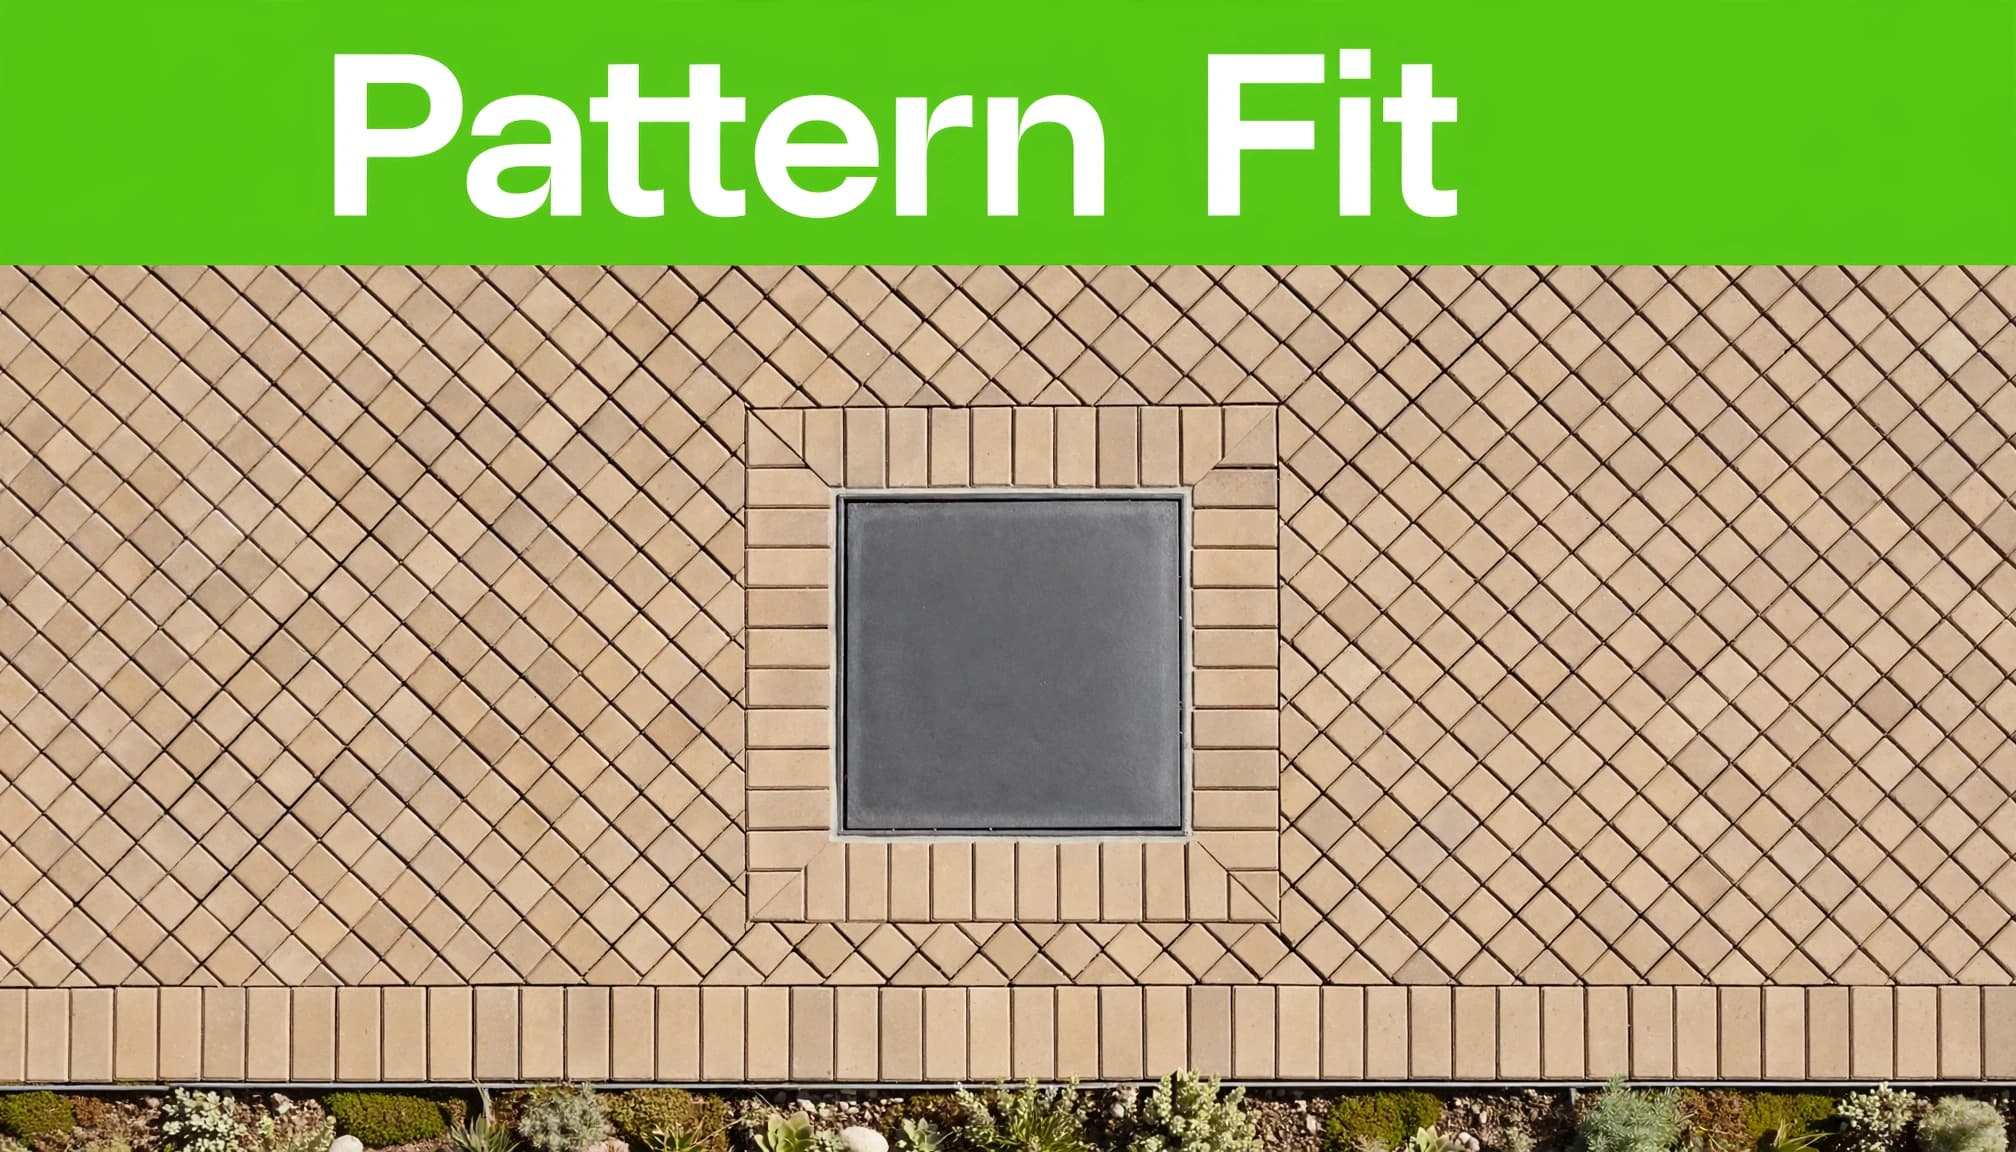
When possible, center a square cover within the field pattern or place it within a planned border. This creates equal cuts on each side and makes future repairs easier.
A cover near a driveway or walkway shouldn’t sit at the end of a row with several narrow pieces. Shift the pattern so the surrounding pavers have balanced dimensions and improve curb appeal.
For brick driveways, we also consider turning areas, garage transitions, and utility access before selecting a pattern. Edge restraints can stabilize borders and transitions without blocking access to the cover.
A repair-friendly layout makes it easier to lift and replace individual pavers later.
Keep covers flush with the finished surface
The cover frame should sit at the finished paver elevation. A raised frame becomes a trip hazard. A low frame collects water, sand, and debris.
Check the cover after the surrounding pavers are set and again after they’re compacted. It should open without disturbing adjacent pavers.
Use clean, even cuts around the cover. A wet saw or masonry saw produces a better result than breaking pavers to fit an irregular opening.
Consider Permeable Pavers Where They Fit
Permeable pavers allow water to pass through wider joints and into an open-graded stone system below. With suitable soil, water-table, outlet, and local requirements, permeable pavers can work with drainage systems to reduce stormwater runoff.
The EPA’s permeable pavement overview explains how permeable pavers can absorb rainfall and reduce runoff. EPA research also reports that pervious pavers can reduce runoff volume and remove solids from stormwater.
Permeable, pervious, and porous paving can describe related approaches, but product details and installation requirements vary. Pervious pavers and porous pavers may use different joint designs and water paths, so review the selected system before planning joints, bedding materials, edge restraints, and the outlet path. Porous pavers may also have different requirements in areas exposed to freezing and thawing.
Permeable pavers aren’t a cure for every drainage issue. They won’t correct a patio that slopes toward the home or a driveway with no safe route for excess water. Overflow may still need an approved destination, such as a detention pond. Our driveway paver design guidance explains why traffic, patterns, borders, and drainage need to work together.
Protect Edges, Joints, and Drain Openings
Edge restraints hold the outer pavers in place. They’re important beside channel drains, at driveway borders, around curves, and where a paved surface meets landscaping.
The restraint should be supported properly and anchored according to the system manufacturer’s requirements. Weak edges allow pavers to spread, joint material to wash out, and cuts beside drains to move.
After installation, fill the joints and inspect the entire surface. Watch the area during the next major rain for stormwater runoff problems, including standing water, washed-out joints, rocking pavers, blocked grates, or edge erosion that affects erosion control.
For conventional paver joints, use compatible polymeric sand as needed. Permeable pavers require the joint material specified for that system. For brick pressure cleaning, use a controlled method that doesn’t blast joint material out of the surface.
Our paver patio drainage planning guide has more information about managing runoff around homes, pool decks, and enclosed patio areas.
Frequently Asked Questions
What slope should pavers have around a drain?
Many pedestrian paver surfaces, including areas with permeable pavers, use a slope in the 1% to 2% range. About 1/4 inch per foot, or 2%, is a practical target for many patios and walkways. Permeable pavers still need to meet site slope requirements and can’t compensate for a poor drainage route. The final grade must account for doors, pool coping, drains, property lines, and local conditions.
Should pavers slope toward a channel drain?
Yes, when the linear drain is the planned collection point. The surface should direct water toward the grate without creating a visible hump or low spot beside it. The drain also needs a connected outlet to an approved location. That destination could be a detention pond when site design and local requirements allow it.
Can pavers cover a utility cleanout or irrigation box?
Pavers can surround an access point, but the cover must remain visible, flush, and removable. Don’t permanently cover a cleanout, valve box, or utility lid with pavers or joint material.
A Clean Layout Starts With a Clear Plan
A drain or utility cover does not have to interrupt the finished appearance of a patio, pool deck, walkway, or driveway. It needs to be part of the layout from the beginning.
When finished elevations, water flow, access points, and paver cuts are planned together, the result has better curb appeal and is cleaner, safer, and easier to maintain.