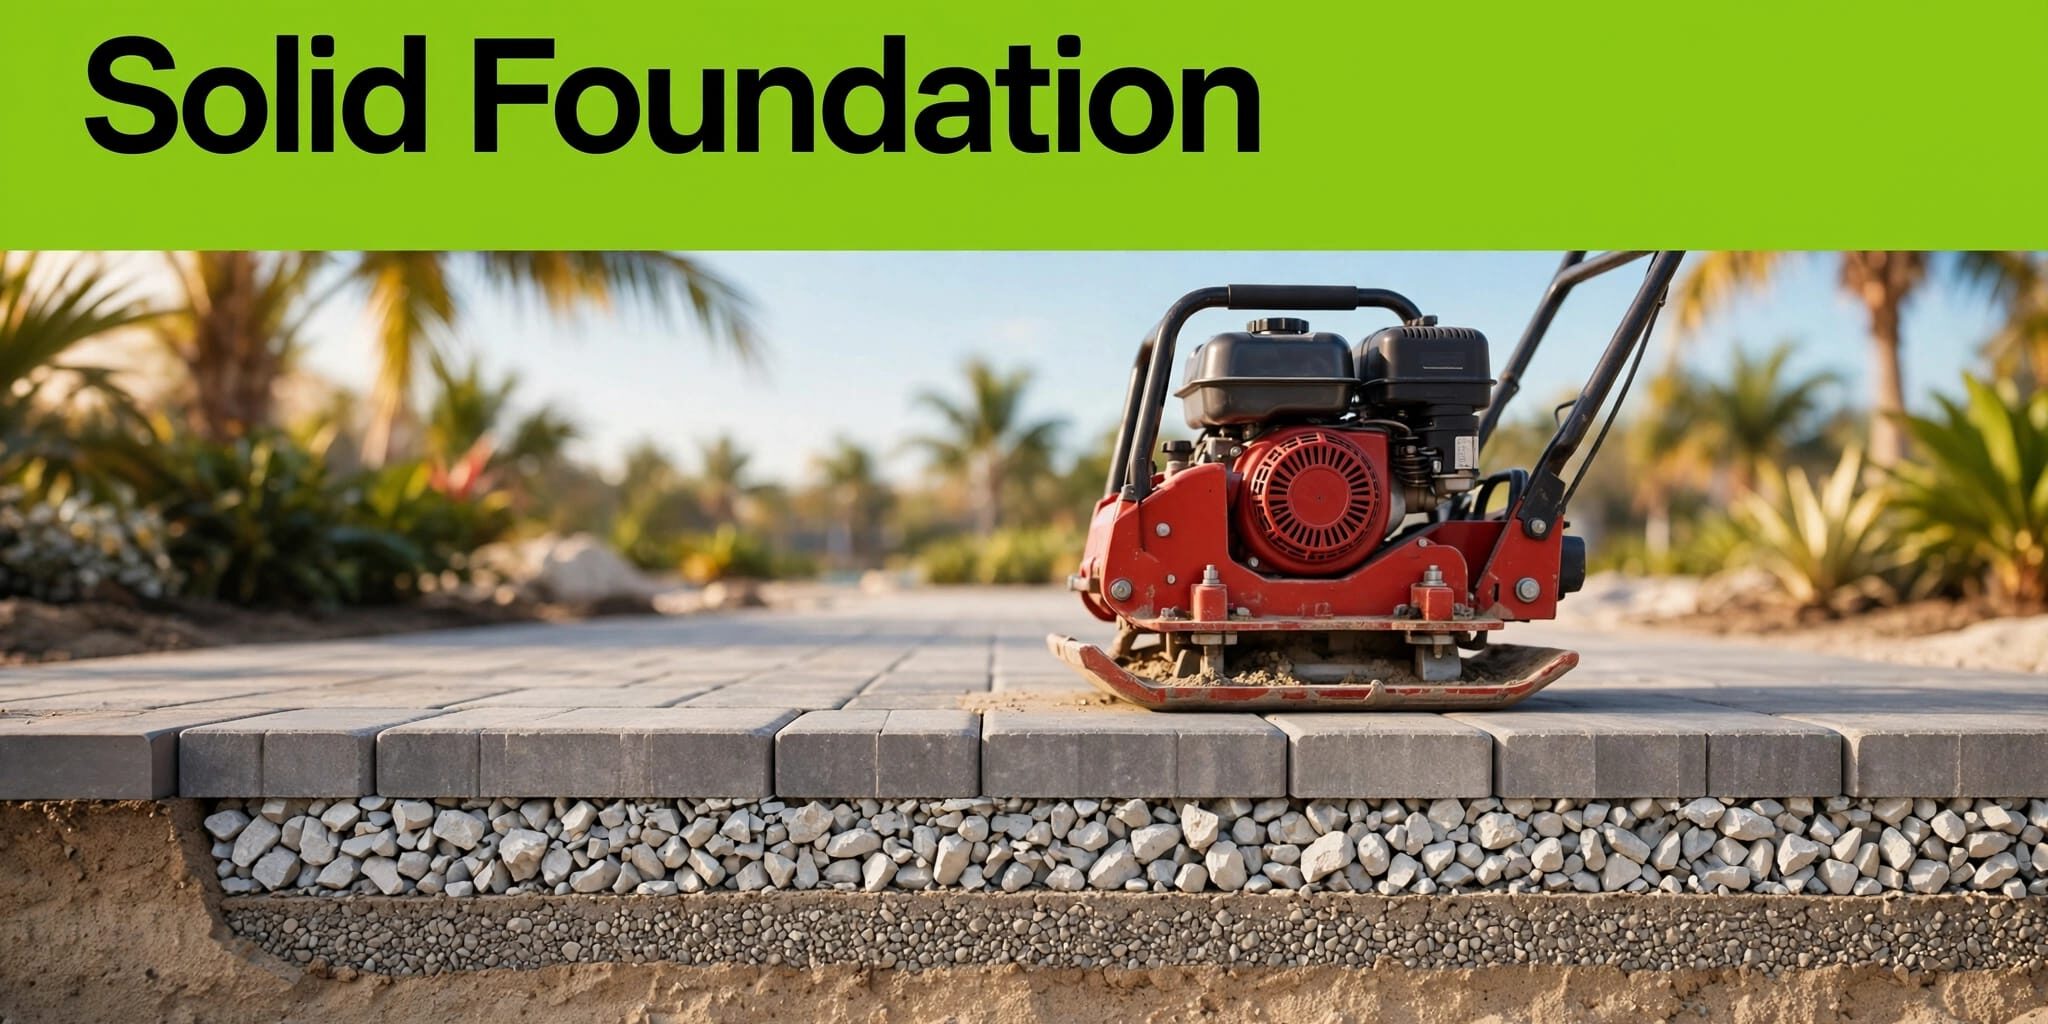
A surface of concrete pavers can look level on installation day and still settle early when the ground below moves. Proper paver base compaction gives patios, walkways, and driveways the support they need through Southwest Florida rain, sandy soil, and daily vehicle traffic.
The visible pavers matter, but long-term performance depends on base preparation and the compacted layers below. Water control, correct material, and mechanical compaction create a consistent foundation for interlocking pavers.
Key Takeaways
- Use an aggregate base made from angular crushed stone, such as crushed limestone, limerock, or dense graded base, instead of native sand for patios, walkways, and driveways.
- Install aggregate in controlled 2- to 4-inch lifts and use mechanical compaction on every lift before adding more material.
- Plan the slope before excavation. A 1% to 2% fall away from buildings is a practical target for many projects.
- Keep bedding sand thin, usually about 1 inch, and don’t compact it before the pavers are set.
- Stop work during base preparation if the subgrade is wet, soft, or pumping water under equipment.
- Secure edge restraints and fill the joints with joint sand after final surface compaction.
Why Paver Base Compaction Matters in Southwest Florida
Paver base compaction locks angular material into a dense graded base, allowing an aggregate base to spread weight across prepared soil. Proper mechanical compaction matters; placing material alone isn’t enough. Without it, concrete pavers can settle, joints can open, and edges can move outward.
This matters on a small patio, but it matters even more for brick driveways. Passenger cars, delivery vehicles, trailers, and work trucks place repeated stress on the same areas.
Sandy Soil Can Still Hold Water
Southwest Florida has a great deal of sand, but sand isn’t always dry or stable under all soil conditions. Low areas, compacted fill, clay pockets, and high water tables can limit water drainage below a planned paver surface. Frost heave isn’t the primary concern here, but wet-soil settlement and saturation still require attention.
Florida DEP soil information includes sandy soils that are somewhat poorly drained. Review Florida soil descriptions before assuming a sandy site will drain on its own.
Wet Subgrade Cannot Be Compacted Correctly
A plate compactor cannot fix saturated soil, so base preparation must pause. If equipment leaves ruts, the surface ripples, or water rises through the soil, the subgrade needs attention before base preparation resumes.
A firm-looking top layer can hide loose material below it when the full base depth was placed and compacted at one time. If soil mixing or pumping persists, geotextile fabric may provide separation.
We have found that correcting wet or unstable soil early is less disruptive than lifting settled pavers later.
Set the Base Depth for the Planned Use
Base preparation should reflect traffic, soil strength, drainage, and finished elevation. That base preparation sets the excavation depth, measured to the compacted finished section. Specify the required aggregate base, often a dense graded base, after compaction, not from loose delivery depth.
Patios and Walkways Need Consistent Support
Many pedestrian paver patios in favorable soil conditions use about 4 to 6 inches of compacted stone. The finished section also includes bedding sand and the thickness of the concrete pavers.
A pool deck may need added planning because water drainage from the deck, roof, or surrounding landscape can enter the area. Unlike regions where frost heave drives design, Southwest Florida projects focus more on rainfall, saturation, and settlement. Our pool deck and patio pavers are built with grade, drainage, edge restraint, and access points considered together.
Driveways Need a Stronger Section
For residential driveway paving, plan on about 6 to 8 inches of compacted stone. Weak soil, poor drainage, heavy vehicles, or frequent commercial traffic can require 8 to 12 inches or more.
Pavers are durable, but they cannot bridge a soft foundation. A driveway section should be planned for the heaviest expected use, not only the family car.
Paver Base Compaction Steps That Hold Up
A dependable installation follows a simple sequence. Each stage needs to be complete before the next one begins.
- Mark the finished height and drainage slope. During base preparation, check door thresholds, garage elevations, drains, pool coping, property lines, and downspouts before digging. The paver surface needs a planned route for water away from the home and garage.
- Excavate to stable subgrade. Set the excavation depth by removing grass, roots, organic material, loose fill, and soft soil. Good subgrade preparation also means eliminating low pockets that could collect water under the aggregate.
- Compact the exposed subgrade when conditions allow. Check the grade with string lines, a level, or a laser. Correct soft areas as part of the base preparation before bringing in crushed stone. Use mechanical compaction where access allows, with hand compaction in confined areas.
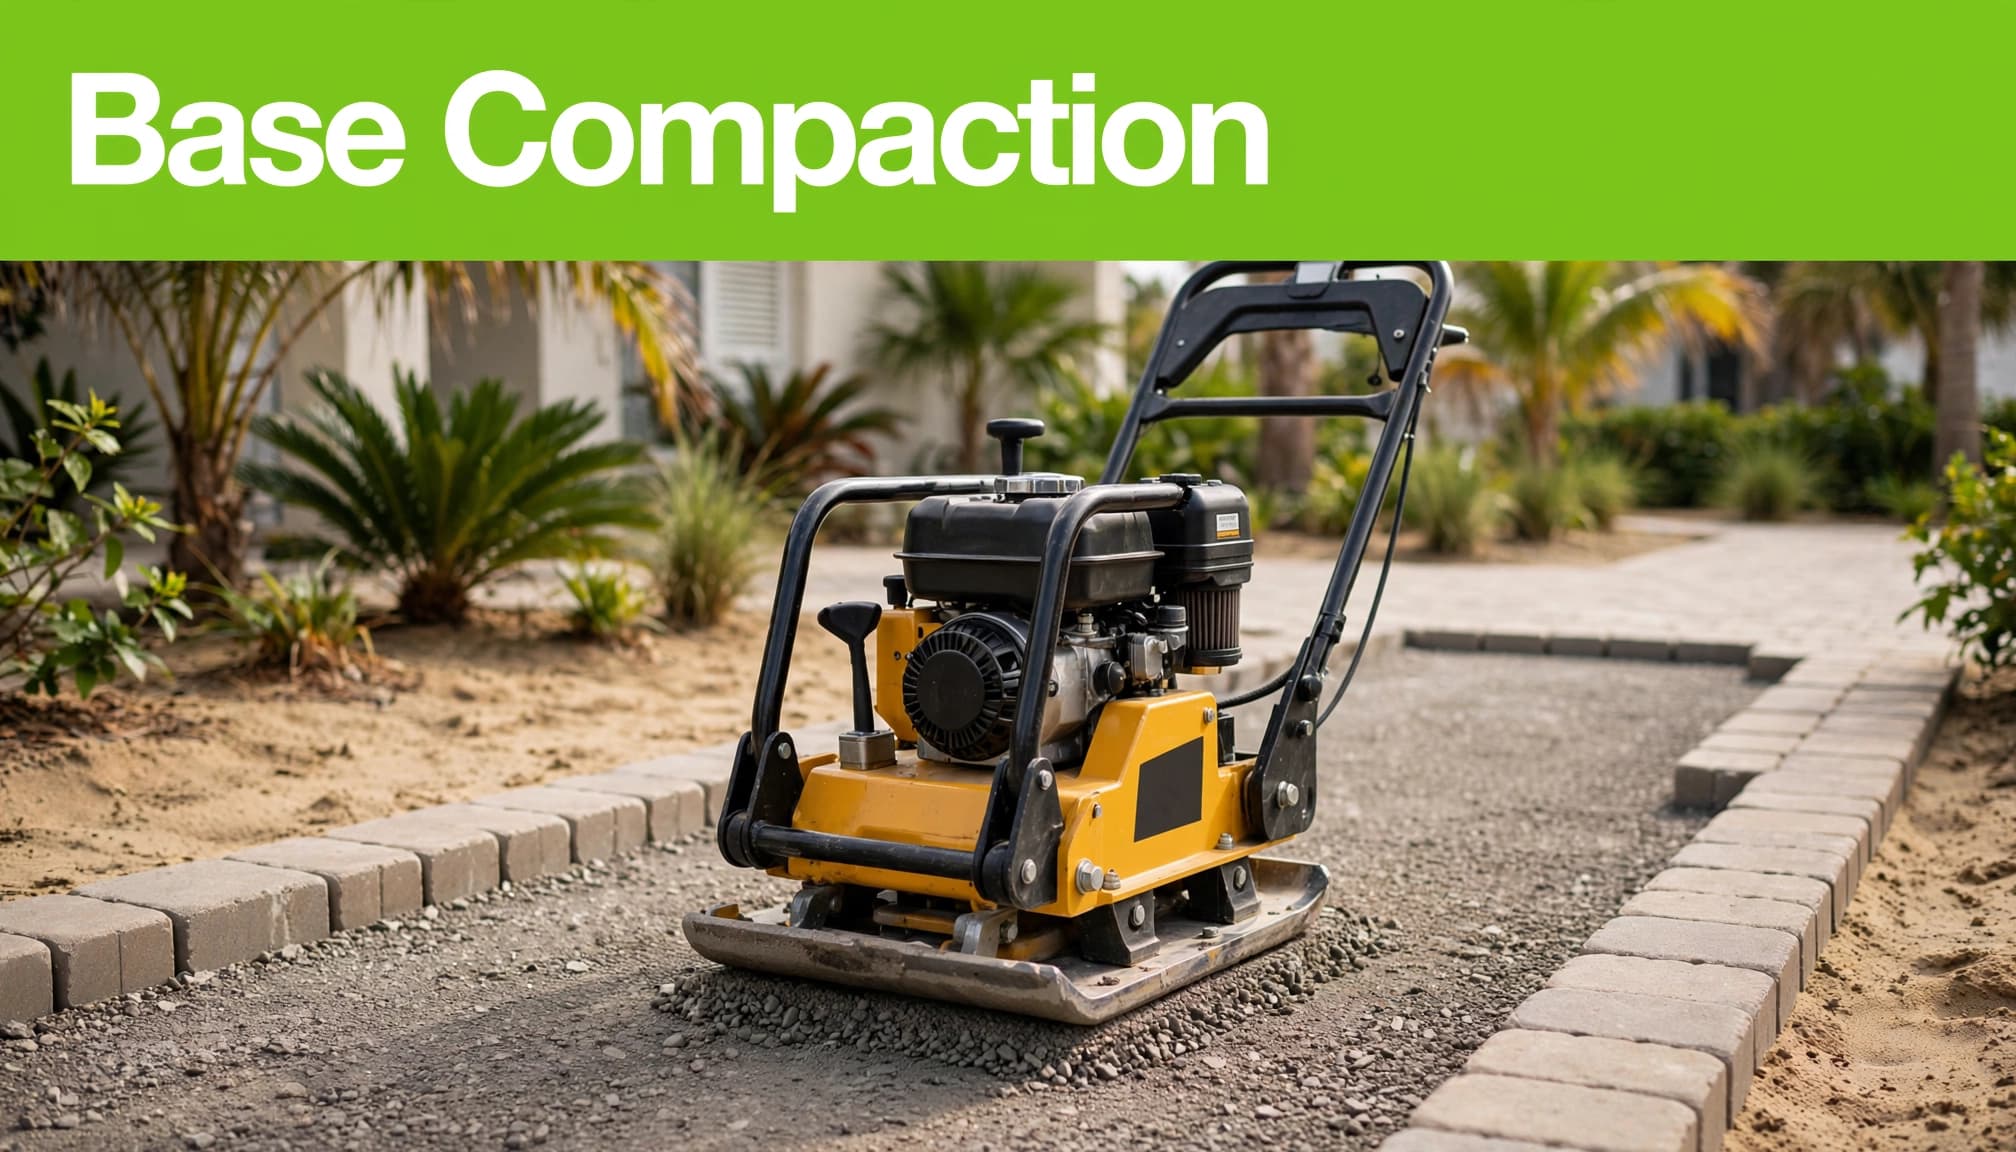
- Place a dense graded base in controlled lifts. Spread crushed stone in a loose 2- to 4-inch layer. Keep the loose lift height within that range before compaction, then use mechanical compaction across the entire area with overlapping passes. Repeat this process until the required compacted depth is reached.
- Check grade after every lift. The slope can change as the aggregate base tightens under compaction. Check the aggregate base carefully as part of base preparation, correcting dips and loose areas before placing the next lift.
- Screed the bedding sand. Place about 1 inch of clean bedding sand over the finished aggregate base. Screed it smooth, confirm the edge restraint locations, and don’t compact or walk across the sand before setting pavers.
- Install pavers, restraints, and joint sand. Set the pavers, cut the perimeter pieces, secure the edge restraint, sweep joint sand into the joints, and make final compactor passes with a protective pad.
CMHA guidance on bedding sand for concrete pavers supports using a thin leveling layer rather than using sand to correct an uneven base.
Plate Compactor or Steel Tamper?
The equipment should match the project. A steel tamper has a place, but it doesn’t provide the same results as mechanical compaction with a plate compactor.
A Plate Compactor Covers the Main Area
For patios, walkways, and driveways, a plate compactor is the practical choice. Consistent vibration and coverage provide more compaction force than manual effort across the full lift.
Rental equipment is usually worthwhile, even for a small patio. It improves base preparation and reduces the chance of a surface that feels firm at first but shifts after rain and regular use.
A Hand Tamper Is for Tight Spots
A steel tamper works well along narrow edges, around posts, and in repair areas where equipment can’t fit. Hand compaction helps in these spots, but it isn’t a replacement for mechanical compaction across a full patio or driveway.
After the pavers are installed, use a plate compactor with a protective pad. The pad helps protect concrete pavers while vibration settles the units into the bedding layer and moves joint sand into place. Install and support the edge restraint before making final compaction passes.
Mistakes That Lead to Settlement and Cracked Pavers
Most paver problems start before the pavers arrive. A few compaction and drainage shortcuts can create repairs far more involved than the original work.
Placing the Full Aggregate Depth at Once
Dumping all aggregate base into the excavation and compacting only the top leaves weak areas below the surface. The upper layer cannot transmit enough energy to compact the bottom of a deep placement.
Build dense graded base in lifts. A plate compactor can provide more effective mechanical compaction when each layer stays within a workable depth.
Proper base preparation also helps confirm that each lift reaches the planned grade before the next one is added.
Using Bedding Sand as a Fix
The leveling layer is for final adjustment. It shouldn’t fill deep low spots or correct a base that is out of grade.
Too much sand can shift beneath concrete pavers and create uneven surfaces. A steel tamper and hand compaction can’t compensate for an improperly built base.
Wet material changes base preparation. Let saturated aggregate drain and reach a workable condition before compacting it.
Ignoring Edges and Drainage Paths
Open joints, spreading borders, lost joint sand, erosion, and standing water near a wall are warning signs. Check the edge restraint, transitions, corners, driveway edges, and areas near drains after heavy rain.
Rain-driven erosion and soil saturation matter more in Southwest Florida than frost heave. Address low spots and drainage paths before they undermine the installation.
Polymeric sand supports clean, properly prepared joints, but it can’t correct failed compaction. Install it with fresh joint sand on a clean, dry surface, then allow the curing time required by the manufacturer.
Drainage and Soil Conditions That Change the Plan
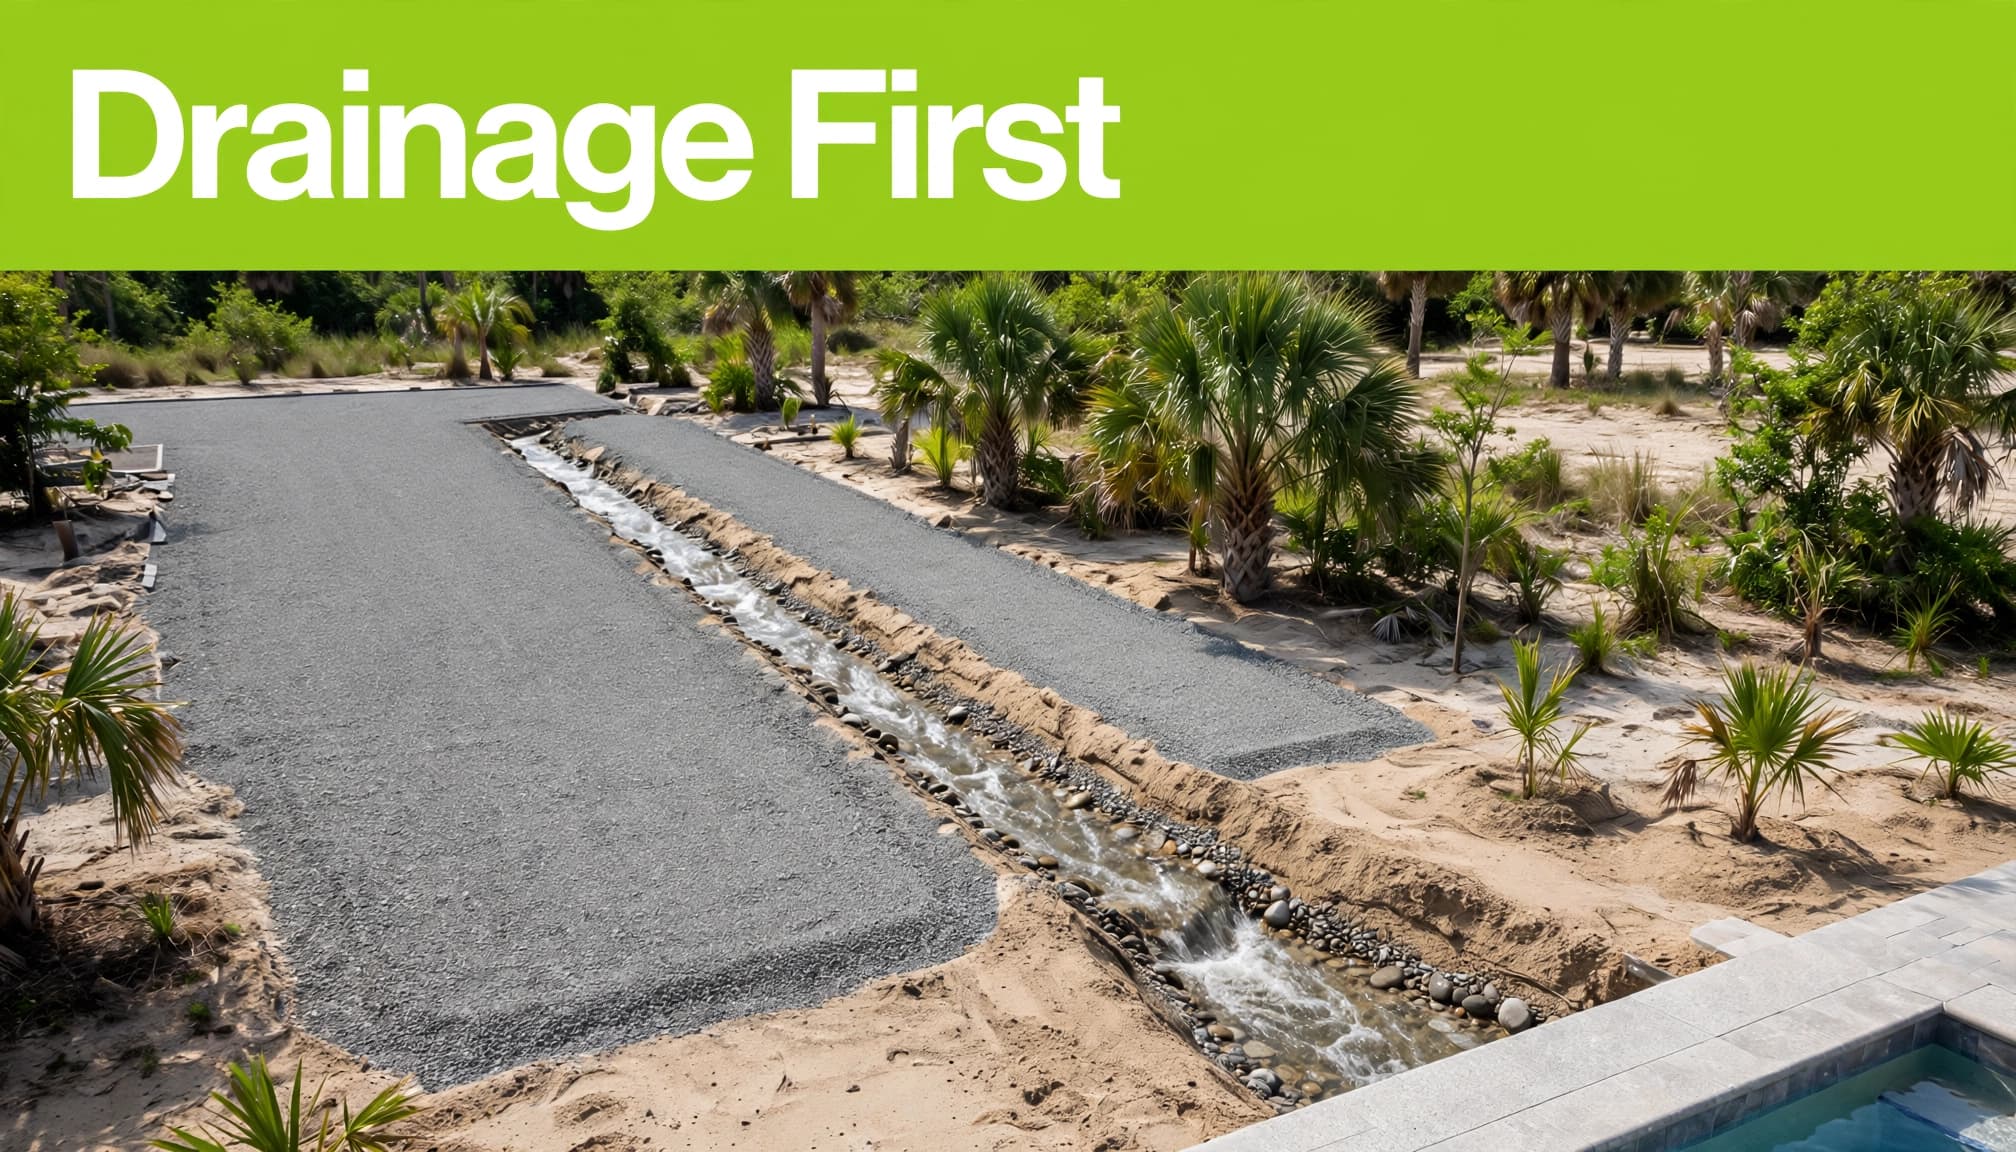
Water movement should be established through the subgrade and aggregate base during base preparation, not only in the paver pattern. A dense graded base and mechanical compaction help support that planned path. In many cases, a 1% to 2% slope supports water drainage away from structures and toward planned runoff routes without making the finished surface feel noticeably sloped.
Use Fabric When Separation Is Needed
Geotextile fabric can help separate weak, wet, sandy, clay, silty, or recently disturbed soil conditions from the structural stone layer. It limits soil mixing and helps prevent the stone layer from sinking into soft ground.
Fabric isn’t needed under every paver project. It also can’t replace the removal of organic soil or repair a saturated subgrade. If the ground continues to pump under equipment, stop and get site-specific direction.
Unlike colder regions concerned with frost heave, Southwest Florida projects primarily face heavy rain, high water tables, and soil pumping.
Plan for Heavy Rain Before Installation
Southwest Florida rain can delay excavation, compaction, paver installation, and polymeric sand curing. Avoid compacting saturated material, and cover areas where base preparation is complete when storms are expected.
The UF/IFAS overview of Florida soils shows how varied Florida ground conditions can be. A site inspection should account for existing swales, drains, roof runoff, and safe discharge areas.
Permeable concrete pavers may be appropriate on some properties, but they need an open-graded crushed stone base and a suitable area to receive water. They don’t remove the need for slope, drainage planning, and maintenance.
Inspection Checks Before Pavers Are Installed
Before bedding sand goes down, inspect the aggregate base after mechanical compaction. It should be firm, even, and consistent with the planned finished grade before concrete pavers are installed.
Use a long straightedge and level to check for low spots. Walk the area and look for loose stone, deep footprints, ruts, or sections that feel different from the rest. Correct inconsistent areas with a plate compactor before continuing.
Check these details before proceeding:
- The compacted section meets the required excavation depth for the project.
- The planned drainage slope remains in place and supports proper water drainage.
- Drains, weep paths, and downspout discharge routes remain open.
- Edge restraint locations are ready and supported by compacted material.
- The surface is ready for bedding sand and later joint sand installation.
- Any required geotextile fabric is visible or documented where weak soils required separation.
- No wet, soft, or pumping soil remains below the base.
A careful inspection confirms the base preparation and prevents the bedding layer from hiding problems that need correction. Soil conditions can vary across the site, so review the base preparation before continuing.
Frequently Asked Questions
Do I need to rent a plate compactor for a small patio?
For most patios, yes. Renting a plate compactor provides more consistent mechanical compaction, especially when the patio requires several aggregate lifts.
A hand tamper helps with small edges and confined spots, but it isn’t the best primary tool compared with a plate compactor.
Should bedding sand be compacted before pavers are placed?
No. Screed the leveling layer to a consistent thickness, then place the pavers directly on it. Final compaction happens after the pavers, edge restraints, and joint sand are in place.
What causes pavers to sink after installation?
Poor compaction, a shallow base, wet subgrade, inadequate drainage, missing edge restraints, and washed-out joint sand can move concrete pavers. The first repair step is usually to lift the affected pavers and inspect the base, especially when base preparation failed.
Can brick pavers be pressure cleaned without causing damage?
They can, but aggressive brick pressure cleaning can remove joint sand and leave uneven marks. Keep drains clear, inspect joints after cleaning, and replace joint material when it has been washed out.
A Strong Surface Starts Below the Pavers
Paver base compaction isn’t visible in the finished project, but it carries every load above it through thin lifts of aggregate base and dense graded base. Mechanical compaction, controlled drainage, stable edge restraint, and proper joint sand give concrete pavers dependable support on a paver patio, walkway, or driveway.
We have served Southwest Florida since 1999, and we know every property has different soil conditions, drainage, access, and traffic needs. Our brick paver installation services are planned with careful base preparation, so your patio, walkway, or driveway is built for long-term use.