Meta title: After a Florida Storm: Paver Patio Inspection Checklist
After a Florida storm, inspect for uneven pavers, washed-out joints, loose borders, and drainage changes. Wait until the area is safe to enter, and inspect before cleanup hides damage.
Heavy rain can expose a support problem even when the brick pavers remain intact. Start with visible hazards, then check the paved surface, its edges, and nearby drainage outlets.
Key Takeaways
- Wait until the area is safe, then check pavers, joints, borders, transitions, and drainage for movement, washout, pooling, and hazards.
- Follow runoff to drains and downspouts, then revisit puddles after the rain. Photograph changes and record their locations before cleanup.
- Stable paving may need debris removal and joint maintenance. Repeated settlement, moving edges, or erosion calls for an assessment of drainage and underlying support.
- A paver assessment focuses on paving conditions. A standard home inspection covers the building, while attached decks, stairs, and railings may need separate attention.
Start With Safe Access
Wait until the storm has passed and local officials allow normal outdoor activity. Check for safety hazards, and stay away from downed wires, damaged electrical equipment, unstable trees, and standing water that could conceal debris.
UF/IFAS identifies hanging limbs, exposed wires, and unstable trees among the hazards in its post-storm landscape recovery guidance. Those hazards take priority over checking the paving.
Wear closed-toe footwear and keep children and pets away from damaged areas. Don’t walk across a sunken section to test its strength or move heavy storm debris yourself.
For businesses, restrict access to affected entrances, outdoor seating, and pedestrian routes. Provide a safe alternate route rather than leaving a warning beside an unstable surface.
An initial inspection can begin from a doorway or another firm, dry location. You don’t need to cross the entire patio to identify an area that needs professional attention.
Six Visible Checks
Walk around the accessible perimeter first, then inspect areas where footing is secure. Compare the surface with how it looked and drained before the storm.
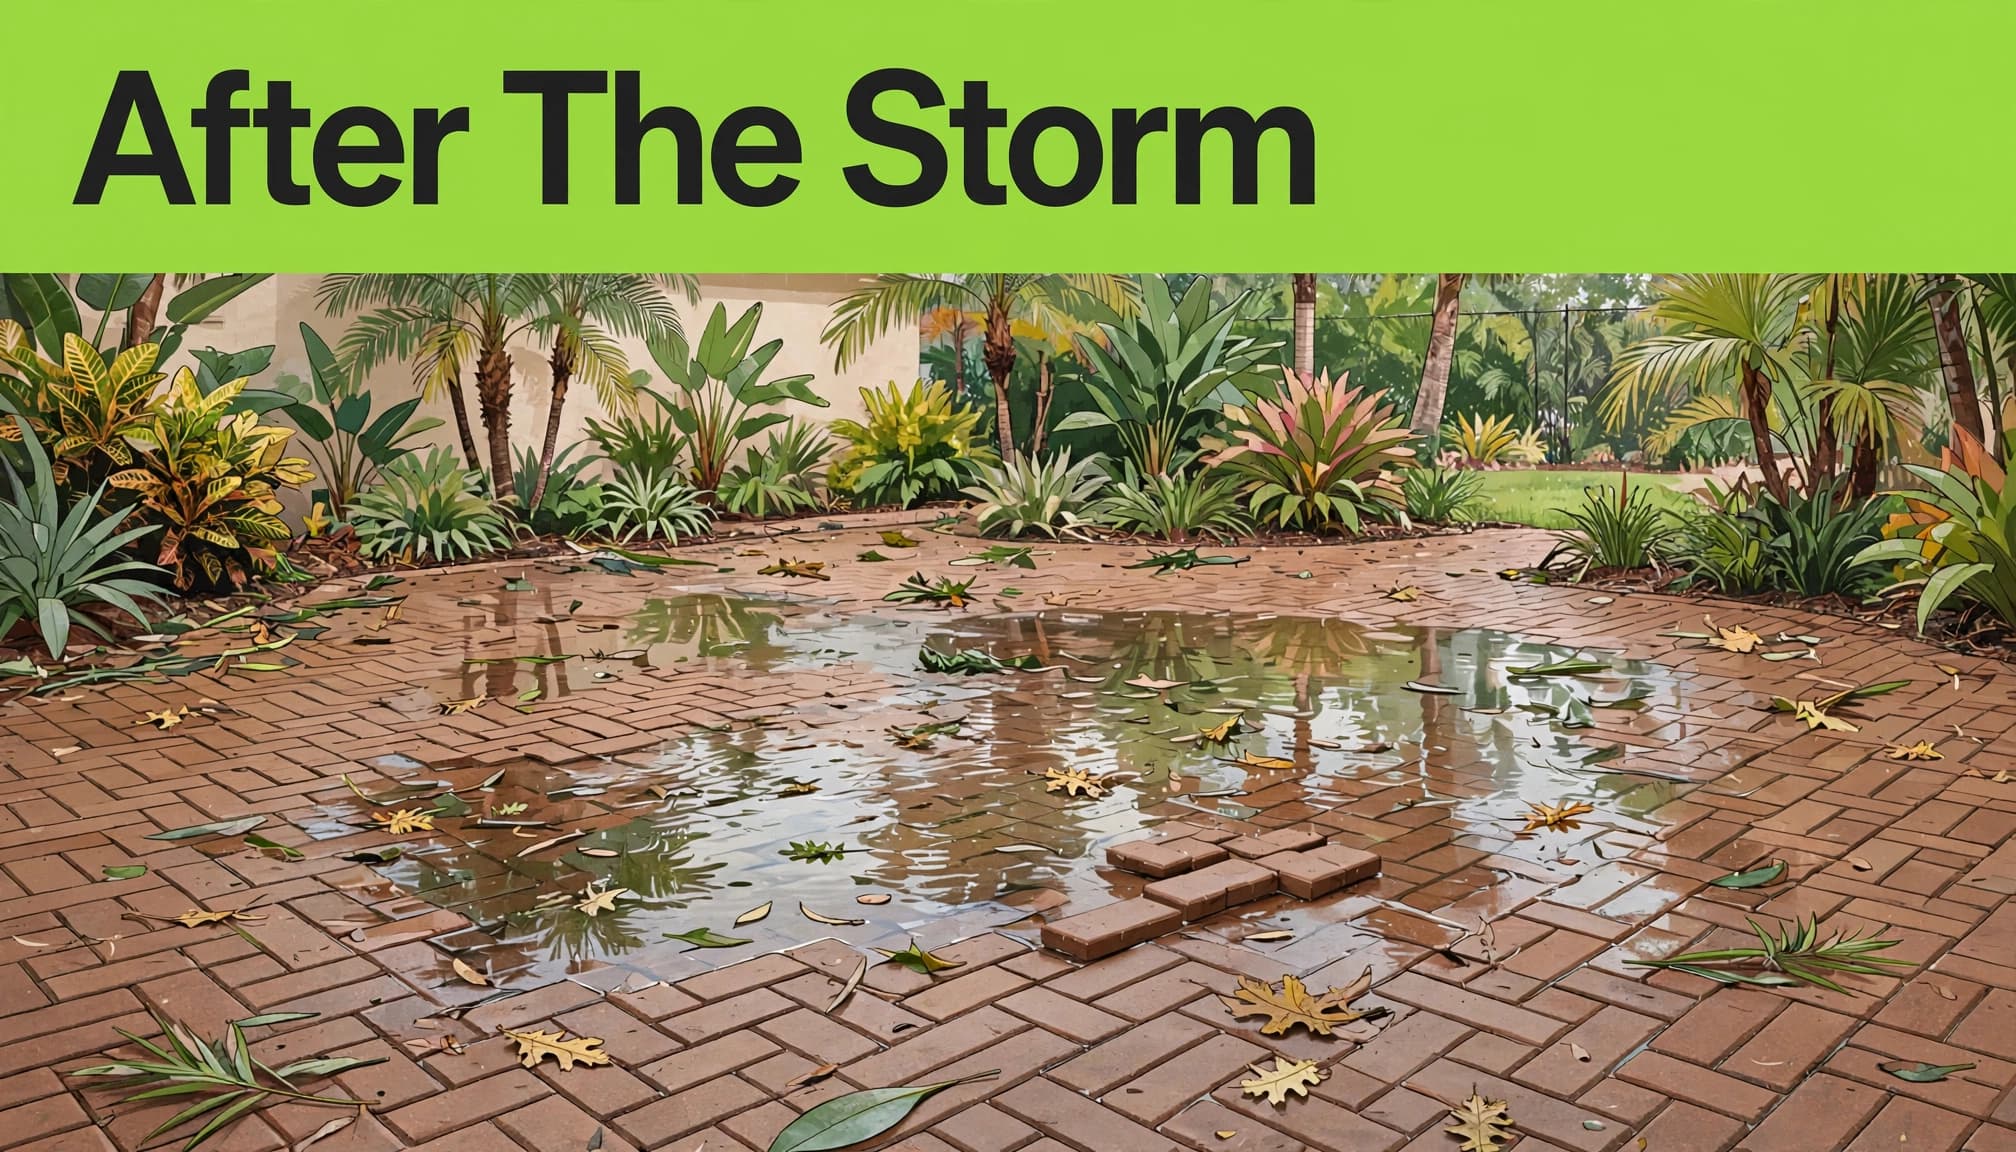
- Look for raised corners, settled rows, or uneven transitions near doors, steps, and walkways.
- Check for loose, cracked, chipped, or displaced pavers, especially near fallen branches, furniture, or other debris.
- Inspect joints for fresh sand loss, widening gaps, or loose material deposited downhill.
- Follow retaining edges for separation, outward movement, sunken outer rows, or exposed edge restraints.
- Note puddles, sediment trails, erosion, and water marks that show where runoff crossed or collected.
- Check transitions around drains, pool coping, planting beds, nearby trees or structures, and adjoining pavement for gaps or washout.
Record any changes, including small defects near frequently used doorways. Even a limited problem can create a trip hazard.
If the surface connects with brick driveways, extend the visual check to tire paths and turning areas. Repeated vehicle loading can cause movement in these spots.
Surface appearance alone won’t show how much support remains underneath. Treat visible movement as a reason for assessment, not proof that every paver needs replacing.
Check Where Stormwater Went
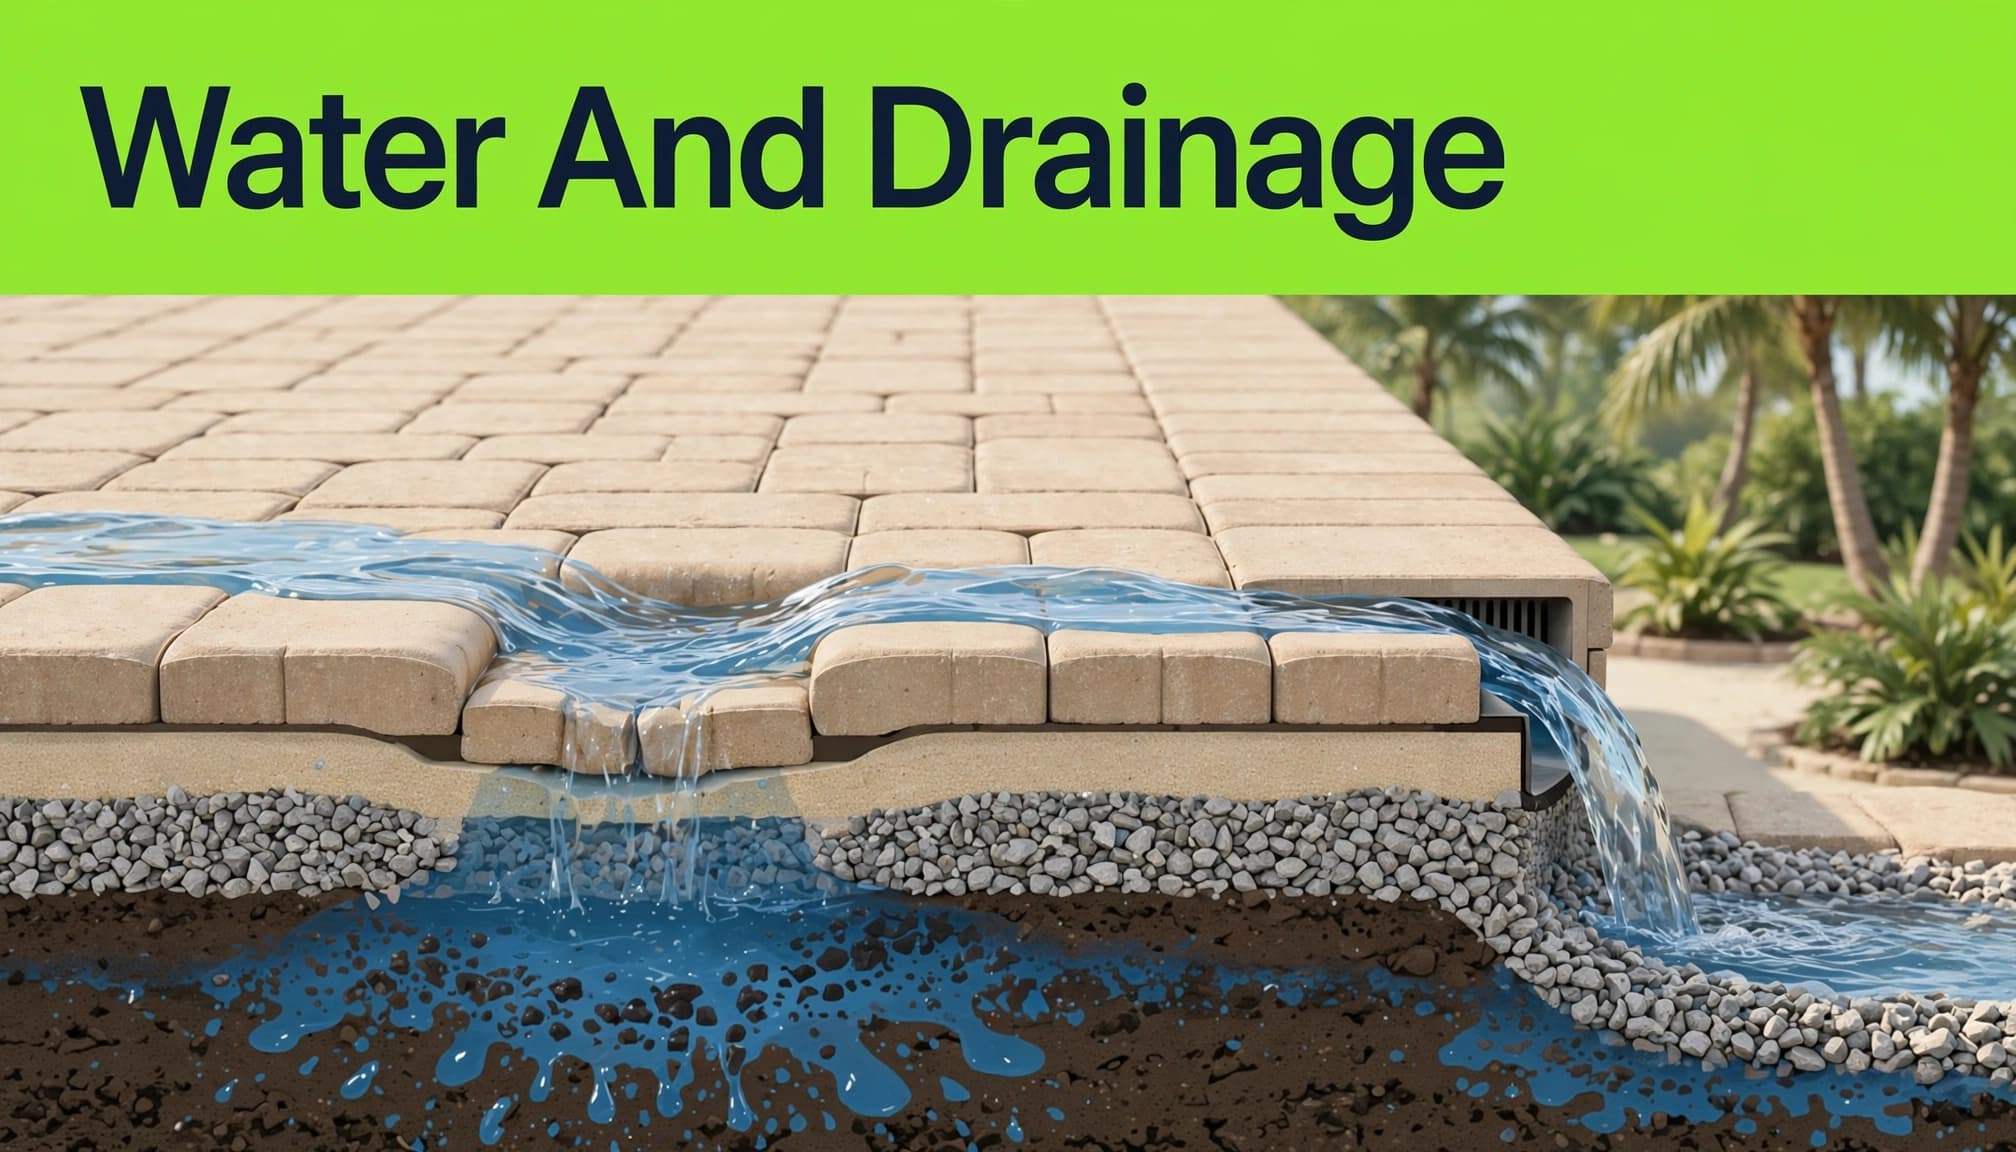
Water movement often explains why joints empty or an outside row settles. Look beyond the puddle to identify what supplied the water and where it should have gone.
Follow Runoff and Inspect Outlets
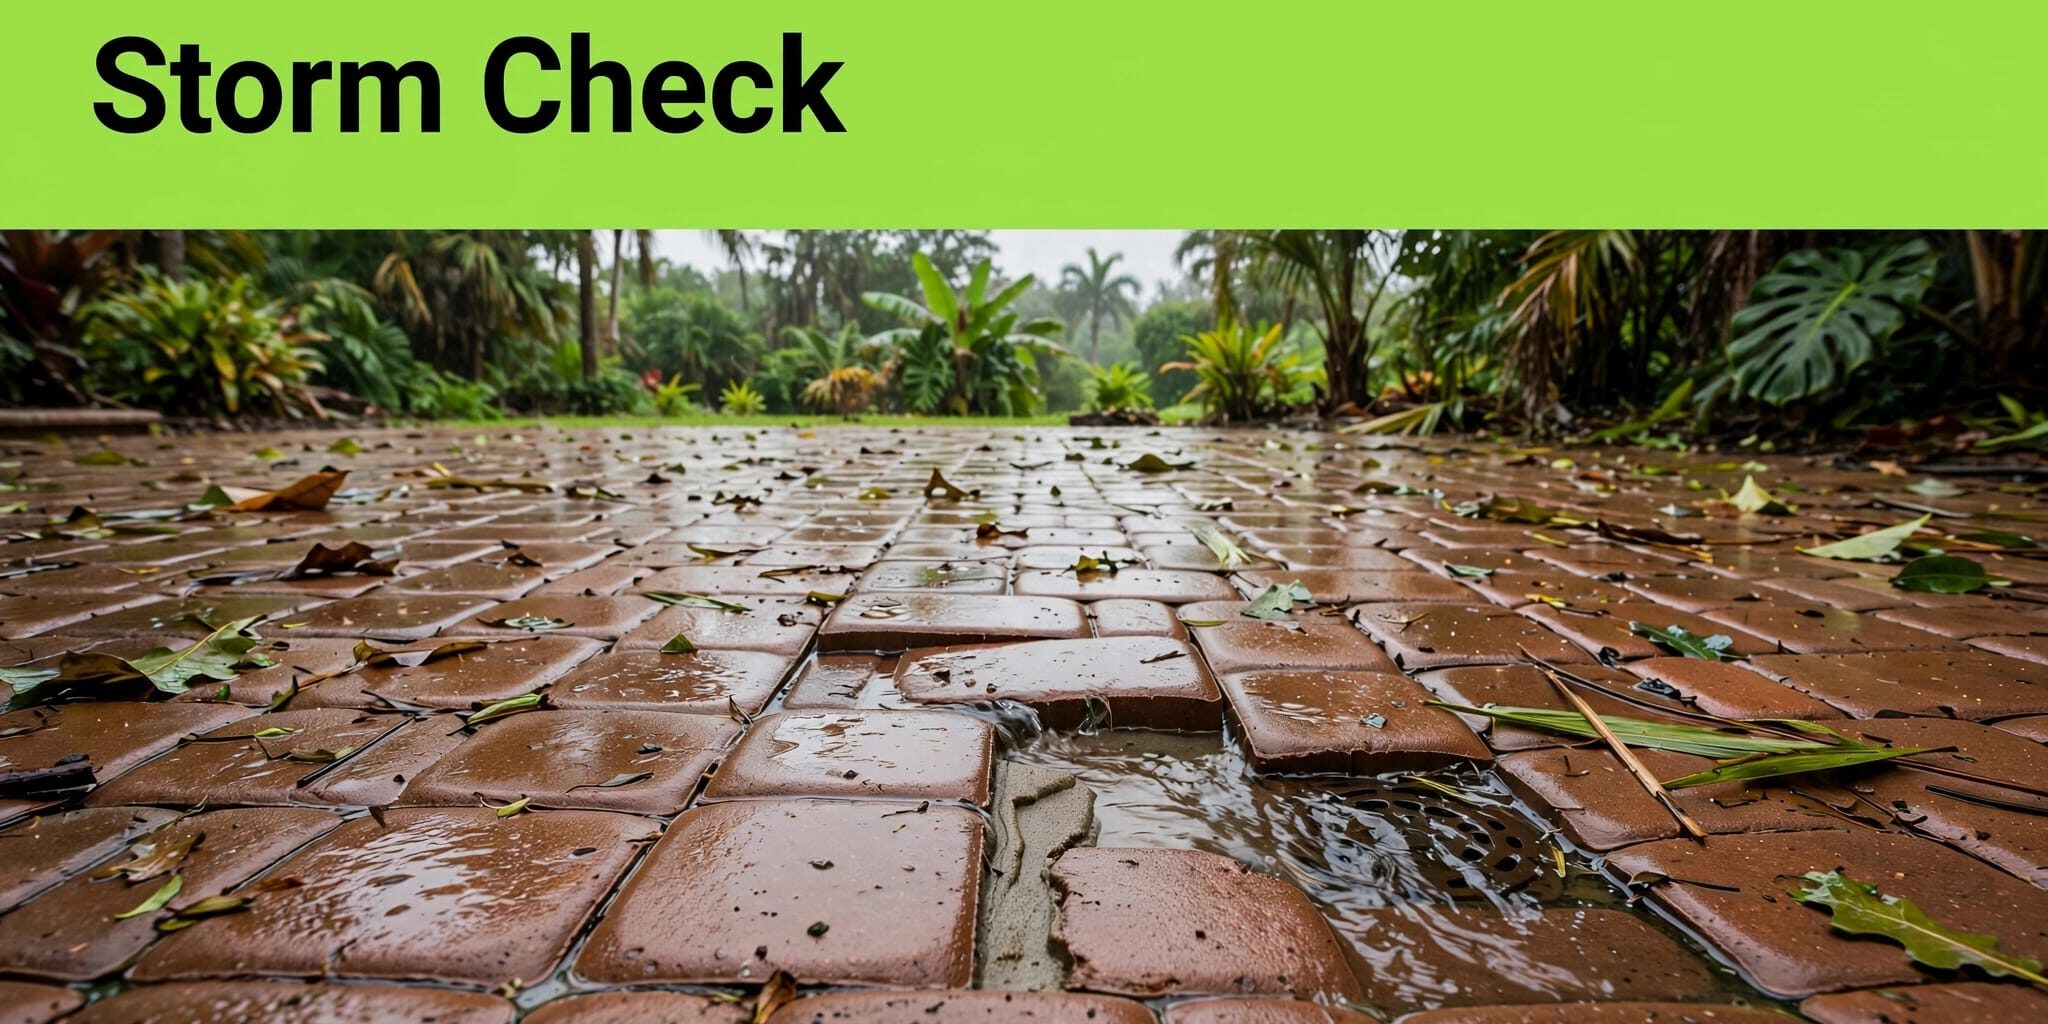
Inspect accessible drain grates, downspout discharge points, and planting-bed edges. Leaves may block an inlet, while displaced soil can obstruct an outlet.
Observe water movement only from a safe location. UF/IFAS recommends watching whether gutters and downspouts flow freely after heavy rain in its seasonal home maintenance guidance.
Water directed toward a doorway, foundation, or neighboring property needs attention. Our paver drainage guidance explains how the surface, borders, and outlet work together.
Revisit Puddles After the Rain
Photograph pooling once conditions are safe, then revisit the same locations as surrounding surfaces dry. Note whether water remains in one depression or across a broader area.
The UF/IFAS Florida homebuyer guide recommends looking for large puddles a day or two after rain ends. Persistent standing water can indicate ground or drainage problems.
Don’t assume joints make every paved area permeable. Conventional paving still needs a suitable drainage path, and a low area may collect water despite open joints.
Document Changes Before Cleanup
A useful record shows both the defect and its location. Take one wide photograph of the paved area, followed by closer views of damaged joints, borders, and individual pavers.
Include a familiar reference point, such as a doorway or drain. For close-ups, place a ruler beside a gap to show its size without disturbing the paving.
Record the storm date, when pooling was photographed, and whether the location had settled before. Note nearby downspouts, irrigation, or landscaping changes that may affect runoff.
Keep earlier photographs if they show the same area before the storm. They help distinguish a new change from an existing maintenance issue.
For commercial properties, record which routes were closed and where pedestrian access remains available. Keep the photographs and observations together for the repair assessment.
Documentation should never delay urgent safety measures. Keep people away from unstable surfaces first, then photograph them from a secure position.
Separate Maintenance From Repair
Leaves and surface dirt need a different response than moving pavers or recurring washout. Identify the cause before adding sand, pressure cleaning, or applying sealer.
Stable Paving May Need Routine Care
If the pavers remain firm, borders are secure, and drainage is unchanged, the work may be limited to debris removal and joint maintenance.
A few depleted joints don’t automatically mean the base has failed. However, new sand won’t hold together a border that continues to spread.
Brick pressure cleaning also needs care after a storm. High pressure can remove joint material and obscure evidence of washout. Our paver cleaning and maintenance guidance separates surface care from defects that cleaning cannot correct.
If floodwater reached the paved surface, don’t treat the residue as ordinary garden dirt. The UF/IFAS disaster handbook provides guidance on safe hurricane cleanup.
Movement Calls for a Closer Assessment
Several sinking rows, repeated separation, or erosion along a border can indicate lost support. A recurring depression deserves more investigation than a first-time surface irregularity.
Replacing missing joint sand won’t correct a moving edge or support that continues to wash away.
One isolated defect may need only a localized repair. Wider movement can require a broader assessment beneath the surface. Our paver base repair guidance explains the signs that distinguish these conditions.
Sound pavers can often remain part of the repaired paved surface. The important decision is how much underlying damage needs correction.
What a Professional Assessment Should Address
A paver-specific assessment should connect visible damage with its likely cause. It checks drainage, joint condition, edge support, surface movement, and nearby features that concentrate runoff.
Identify the Extent of the Problem
A low spot doesn’t show the full boundary of a support problem. The assessment should check surrounding rows, transitions, and drainage conditions before recommending repairs.
Where movement suggests damage below the surface, a representative area may need closer examination. The assessment should distinguish a localized defect from recurring settlement or widespread support loss.
Paver settlement alone doesn’t establish that the building foundation has moved. A broader home inspection can assess the building separately.
Deck and Patio Inspection Scope
A deck and patio inspection can assess attached structures, railings, stairs, and related features. It checks for safety hazards, deterioration, improper construction, and maintenance needs.
Loose railings, damaged stairs, or movement in attached structures may require a qualified building professional. These unsafe concerns extend beyond re-leveling a paved surface.
Prospective buyers can include these concerns in a pre purchase inspection. Keep them visible in the assessment record so they aren’t overlooked while attention is focused on the paving.
Arrange a Repair Assessment With Clear Information
When you contact us, describe the affected area and the changes you noticed after the storm. Include photos, access restrictions, recurring low spots, and nearby drainage features.
We provide detailed estimates at no charge for paving work in Southwest Florida. The proposed scope should distinguish repairs, drainage correction, cleaning, joint restoration, and sealing.
For commercial entrances and shared walkways, explain the usual traffic pattern. Access control and work scheduling help us plan practical repairs.
You can Contact Us for a free quote or call our office at (239) 590-9834. Our office hours are Monday through Friday, 8 AM to 4 PM.
Frequently Asked Questions
Can Sunken Pavers Be Repaired Without Replacing the Patio?
Yes. A localized repair may be suitable when settlement is limited and the surrounding support remains firm.
Repeated sinking, multiple moving sections, or continuing erosion can require a wider repair. We assess the cause and extent of movement before recommending whether existing pavers can be reset and reused.
Is a standard home inspection the same as a paver assessment?
A standard home inspection covers the foundation, roof, HVAC, plumbing, and electrical systems. Most take two to four hours, depending on the property’s size and condition.
A pre purchase inspection is a broader home inspection, while a focused deck and patio inspection addresses paving conditions. A general report may include photographs and recommendations, but paving concerns need a clearly defined scope.
Can Property Owners Attend an Inspection?
Yes. Attending allows you to point out recurring pooling, earlier repairs, and changes that aren’t obvious once the surface dries.
For a home inspection, accessible areas and operating utilities support the inspection process. For a paving assessment, provide safe access without moving heavy debris or entering restricted areas.
Address the Cause Before Restoring the Surface
A post-storm paving assessment should identify immediate hazards and the conditions behind the damage. Drainage and stable support matter more than appearance alone.
Document changes before cleanup, keep unsafe areas closed, and match repairs to the extent of the problem. Correcting the cause helps the paved surface stay stable through the next heavy rain.