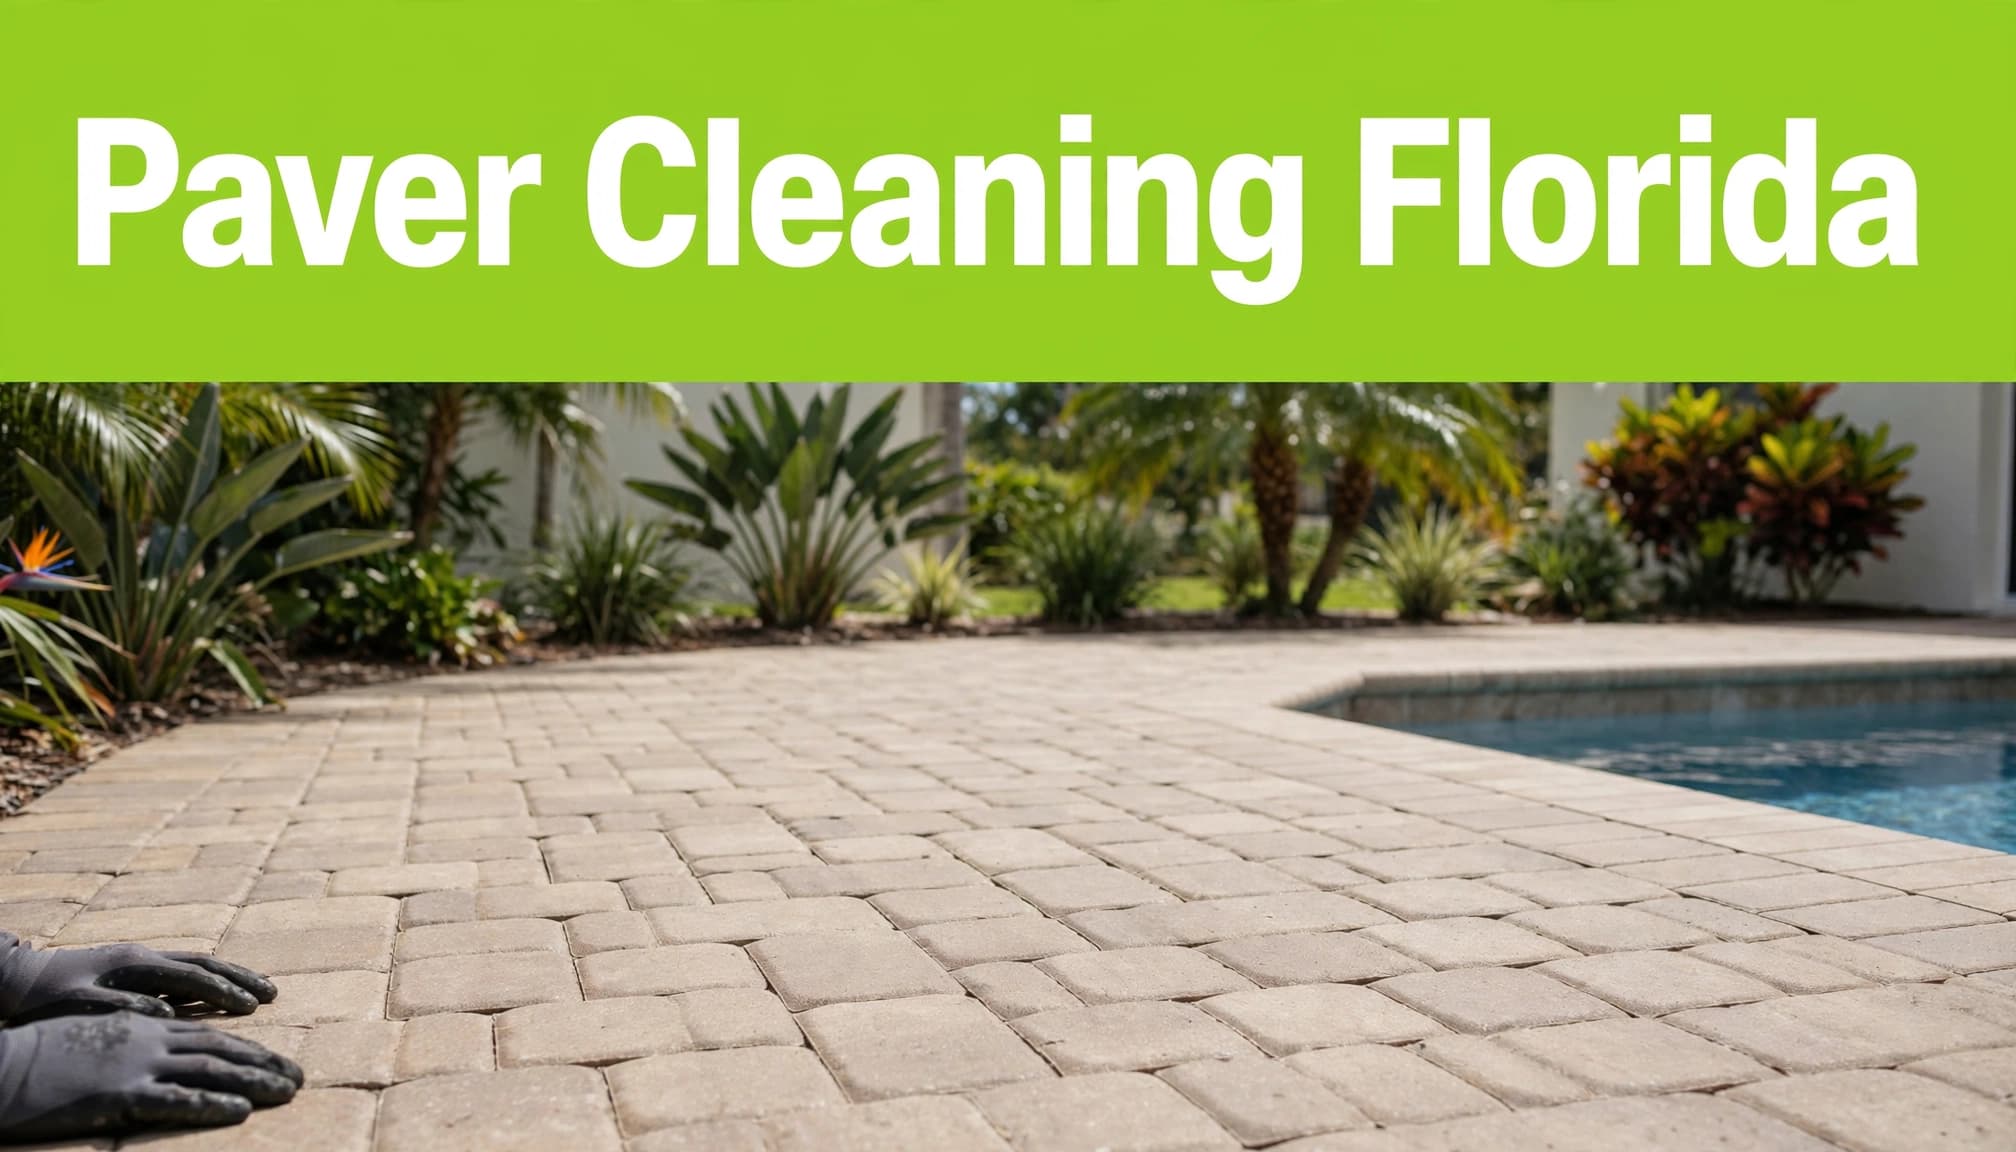
Florida’s humidity and heavy rain can make pavers look clean one month, then develop dark stains, algae, or mold after the next rainy season. The paver cleaning Florida homeowners need isn’t based on one fixed date. Frequency depends on shade, drainage, foot and vehicle traffic, pool use, irrigation overspray, and the paver material.
Concrete paver cleaning may require a different approach than brick or travertine. These materials can respond differently to moisture, cleaners, and pressure, so one schedule won’t fit every property.
Most outdoor surfaces benefit from routine patio maintenance before stains, weeds, or loose sand become larger repair issues. Homeowners can sweep leaves, rinse irrigation overspray, clear drainage paths, and spot-treat fresh stains. Professional cleaning may still be needed when buildup returns or covers larger areas. A simple schedule helps protect the appearance and performance of patios, pool decks, walkways, and driveways.
How Often Should Pavers Be Professionally Cleaned in Florida?
For most well-drained Florida homes and businesses, schedule professional cleaning about every 12 months. Shaded surfaces, heavy rain exposure, persistent humidity, algae or mold, irrigation overspray, pool splash-out, landscaping debris, and high traffic can justify cleaning about every 6 months. A sunny, low-traffic walkway with good drainage may go longer than a year, but it should still be inspected rather than placed on an automatic schedule.
Cleaning and Sealing Are Different Services
Cleaning removes algae, mildew, dirt, leaf stains, and surface residue. Professional pressure washing is one possible method, but pressure must be adjusted for the material, joint condition, and existing sealer. Brick, concrete, travertine, and other paver materials require different cleaning methods and pressure levels. Steam cleaning may suit some delicate or heavily soiled surfaces, but it isn’t automatically appropriate for every paver or coating.
Homeowners can sweep and rinse regularly, remove leaves after storms, and address fresh spills. Routine care doesn’t replace professional cleaning when staining, algae, mold, embedded dirt, or joint problems persist. Recurring algae, mold, salt exposure, or neglected pool-deck staining may require pool deck restoration rather than routine cleaning.
Cleaning is often the first step before sealing, but it does not replace joint sand or correct movement below the surface. When joints are washed out or unstable, polymeric sand installation can support joint stabilization. Proper installation, curing, and joint filling matter in Florida’s rainy conditions.
Brick paver sealing helps reduce staining, limit weed growth, and protect color. Clean, properly filled joints and a compatible sealer can support weed growth prevention, but they can’t replace drainage and maintenance. We generally recommend reviewing your brick paver maintenance tips after each cleaning, especially around joints, borders, and drainage paths.
Use a Two-to-Three-Year Resealing Plan
A two-to-three-year resealing schedule is a practical starting point for many Florida properties. Pool decks, full-sun areas, salt or chemical exposure, and heavy use may require review closer to 18 to 24 months.
Covered lanais and low-traffic walkways can sometimes go three to four years. Inspect the pavers before resealing, rather than coating them automatically.
Signs That a Paver Surface Needs Attention
Dark green or black growth often comes from algae, mildew, moisture, or organic debris. It often returns faster in Florida’s humidity, shade, heavy rain, poor drainage, or irrigation overspray.
Rust marks, fertilizer spots, oil, and leaf tannins may need rust and stain removal. The right treatment depends on the stain and paver material.
A white, cloudy finish needs a closer look. It can result from moisture under a coating, a failed sealer, or an incompatible sealer over an older product. If testing confirms mineral residue, efflorescence removal may be appropriate, but don’t treat every cloudy surface as efflorescence. Don’t apply another sealer until the surface has been tested and the condition is understood.
Recurring stains or buildup after rinsing should prompt an inspection, not another coat of sealer. Steam cleaning may help with selected buildup, but the contractor should test the pavers and existing coating first.
Watch for these maintenance signs:
- Green or black growth, including algae or mold, that returns soon after rinsing.
- Rust marks, leaf stains, fertilizer spots, oil, or other embedded discoloration that returns after cleaning.
- Missing or uneven joint sand after rain or brick pressure cleaning may require paver joint sanding and polymeric sand installation. Correct filling and curing support joint stabilization.
- Weeds growing through open joints.
- Loose edges, low spots, cracked pavers, or standing water.
- A peeling, hazy, or uneven finish on sealed areas.
A clean surface is only part of the job. Empty joints, low spots, and drainage defects should be corrected before new sealer is applied, because cleaning alone won’t fix them.
When Cleaning Cannot Fix the Problem
Cleaning improves appearance, but it can’t correct base failure, poor drainage, or worn edge restraints. Pavers work as a system with a compacted base, bedding layer, joint sand, and secure borders.
Repair Sinking Pavers Before Sealing
Individual pavers can often be lifted, the base corrected, and the area reinstalled without replacing the whole surface. This is one advantage of interlocking brick pavers over a poured slab.
If several areas are sinking, standing water remains, or borders are moving, broader hardscape work may be needed. Our paver repair and replacement options can help you assess paver repair services. This may include lifting, resetting, drainage correction, or edge-restraint work. Repeated settlement or widespread movement may make rebuilding the better choice.
Replace Joint Sand After Cleaning
Professional pressure washing can remove stubborn buildup, but poor technique can also remove joint sand. Steam cleaning may be a lower-impact option for suitable materials or sensitive areas. Method selection depends on the paver, coating, and type of buildup. The lowest effective pressure and controlled passes reduce unnecessary sand loss near edges.
After cleaning, contractors inspect joints and perform paver joint sanding where needed. Properly prepared joints may benefit from polymeric sand installation followed by proper curing. This can support joint stabilization and help hold the system together, but it can’t compensate for a failed base, drainage problem, or moving border. Heavy rain can still wash out poorly filled, contaminated, or damaged joints.
Paver Sealing Options and Project Costs
Paver sealing and restoration may include more than applying a protective coating. Depending on property condition, it can involve cleaning, stain treatment, joint work, repairs, sealer removal, and new sealer application.
The right sealer depends on paver material, existing finish, desired appearance, and exposure to sun and water. Commercial grade sealers aren’t automatically suitable for every paver or existing coating. Test an area when the prior sealer is unknown.
Natural stone restoration requires material-specific testing and gentler preparation than many concrete or brick pavers. Travertine restoration also requires careful choices for cleaners, pressure, sealer, and joint treatment.
Water-Based and Solvent-Based Sealers
Water based sealants and solvent-based sealers aren’t interchangeable. Both can be useful when matched to the paver material, preparation, desired appearance, and prior sealer.
For example, Techniseal’s WL-87 joint-stabilizing sealer is a solvent-based product with a wet-look, semi-gloss finish for pavers installed with polymeric sand. A glossy look may darken paver color, while matte and natural-look finishes create a different result.
Hardscape restoration can include repairs, drainage corrections, joint work, stain treatment, and sealing, not cleaning alone. Driveway cleaning and sealing can cost more with vehicle traffic, oil, tire marks, or larger square footage. These factors can change the project scope and price.
Plan for the Full Scope of Work
Southwest Florida estimates vary by access, surface condition, total square footage, cleaning needs, sealer type, and paver material. Algae or mold buildup, rust and oil stains, existing sealer failure, joint condition, repairs, and weather delays also affect price. These are planning estimates, not statewide guarantees.
| Project Scope | Typical Planning Range |
|---|---|
| Basic cleaning, re-sanding, and sealing | $0.90 to $1.75 per square foot |
| Full preparation, cleaning, and sealing | $1.25 to $3.50 per square foot |
| Stripping failed sealer and restoration | $3.00 to $5.00+ per square foot |
Get a written proposal that identifies cleaning, stain treatment, joint sanding, repairs, sealer type, and weather contingencies. Verify local paver experts are licensed and insured, have service areas in Florida, and offer a free project estimate.
Key Takeaways
- Start with professional paver cleaning about every 12 months. Schedule it more often for shade, heavy rain, algae, mold, pool use, irrigation overspray, or heavy traffic.
- Sweep and rinse pavers routinely between professional visits to limit buildup.
- Plan brick paver sealing every two to three years, and inspect the surface before resealing. Adjust timing for exposure and wear.
- Use proper polymeric sand installation and curing to support joint stabilization in rainy Florida conditions.
- Repair low spots, loose edges, and open joints before applying sealer. Compare proposals by preparation and repair work, not price alone.
Frequently Asked Questions
How Long Before You Can Walk on Newly Sealed Pavers?
Follow the sealer manufacturer’s instructions and your contractor’s guidance. In Florida, humidity, temperature, shade, product type, and rain forecasts affect drying and cure times. Keep foot traffic, furniture, and vehicles off the surface until the coating is ready.
How Do Professionals Remove Peeling Sealer?
Peeling or failed sealer may require paver stripping and removal before cleaning and resealing. Contractors first identify the existing coating, then use a compatible removal process. They clean and dry the surface, prepare the joints, and inspect the pavers before applying a compatible new product. A professional evaluation helps confirm the right process.
How Often Should Florida Pavers Be Professionally Cleaned?
Once a year is a practical starting point. Some surfaces need attention every six months because of heavy shade, frequent rain, pool use, or recurring growth. Homeowners can rinse loose debris between visits, but rinsing doesn’t replace professional cleaning.
Keep Maintenance Simple and Timely
Between professional visits, sweep regularly, remove debris, monitor drainage, and inspect the joints. Annual professional cleaning is a practical starting point, but shade, humidity, heavy rain, algae, mold, traffic, irrigation, pool exposure, and paver material may require a different schedule.
Routine inspections, careful cleaning, and correct joint care support joint stabilization, while timely repairs help preserve the paver system. This keeps the surface clean, stable, and ready for everyday use.