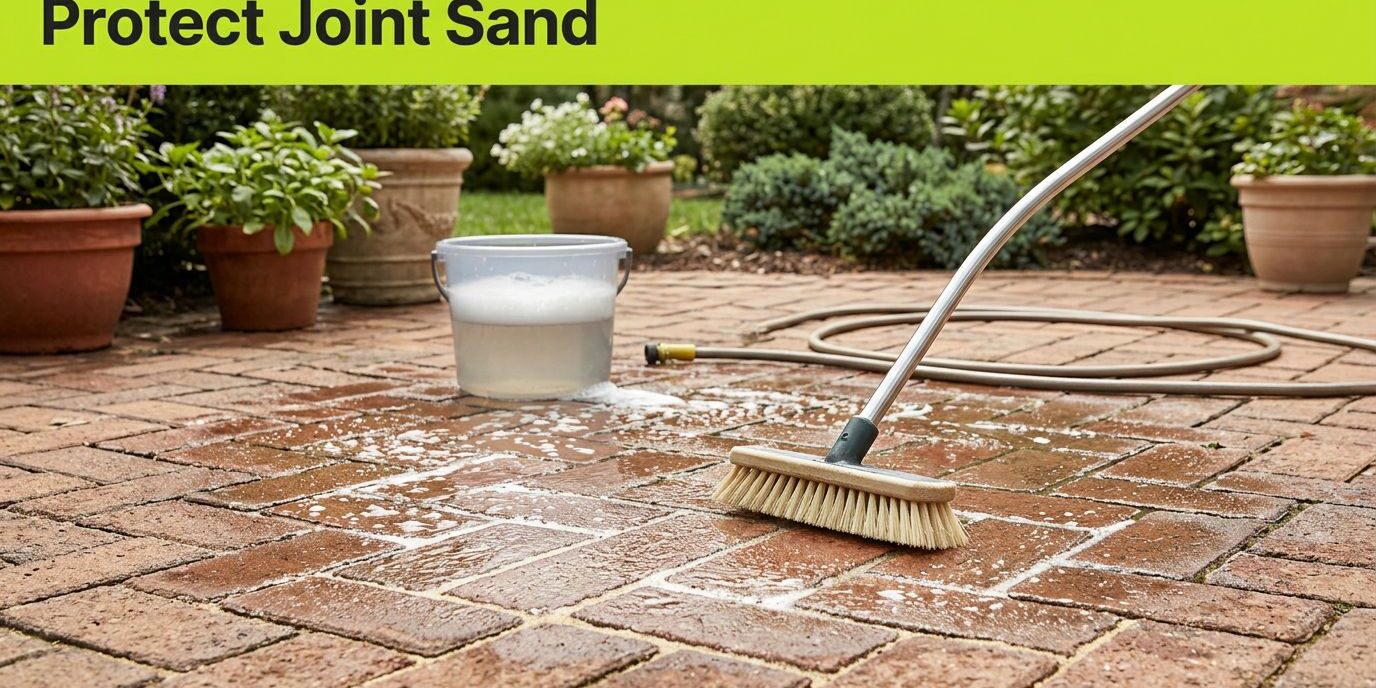
A clean patio can still need attention if washing leaves the joints partly empty. To preserve joint sand, clean patio pavers with gentle scrubbing and controlled rinsing, starting with mild soap and water.
Check the paving stones before choosing a cleaner, especially where sand is already loose or missing. Stronger chemicals and higher pressure can create additional maintenance work.
Start with the condition of your pavers and joints, then use the least aggressive suitable method.
Check the Pavers and Joints Before Cleaning
Identify the material and existing finish
The term “brick pavers” can describe clay brick or brick-shaped concrete pavers. Patio pavers made from clay and concrete can respond differently to cleaners, so check the care instructions before treating brick paving or other paving stones.
Concrete contains cement-based components that acids such as hydrochloric acid can attack. Clay brick also needs an approved cleaner, and nearby natural-stone coping may require different protection.
Check for an existing sealer as well. A cleaner that works on uncoated paving may discolor, soften, or remove a coating. Test a small, inconspicuous area and let it dry before judging the result.
Look for weak or depleted joints
Loose sand in the joints helps adjoining pavers work together under foot and vehicle traffic. Walk the area and look for low joints, loose material, rocking pavers, and spreading borders.
Regular sand remains loose. Cured polymeric joint sand contains binders, but cracked or deteriorated sections still need careful treatment.
Pay close attention to downspouts, drains, and driveway tire paths. If sand is already washing away, cleaning won’t correct the cause.
We don’t promise zero sand loss from damaged joints. Address unstable areas before washing, and plan to inspect sound joints afterward.
How to Clean Brick Pavers Gently
For ordinary dirt and light surface buildup on patio pavers and other paving stones, we recommend manual cleaning before pressure washing. Our guidance on basic brick paver cleaning also starts with soapy water and a suitable brush.
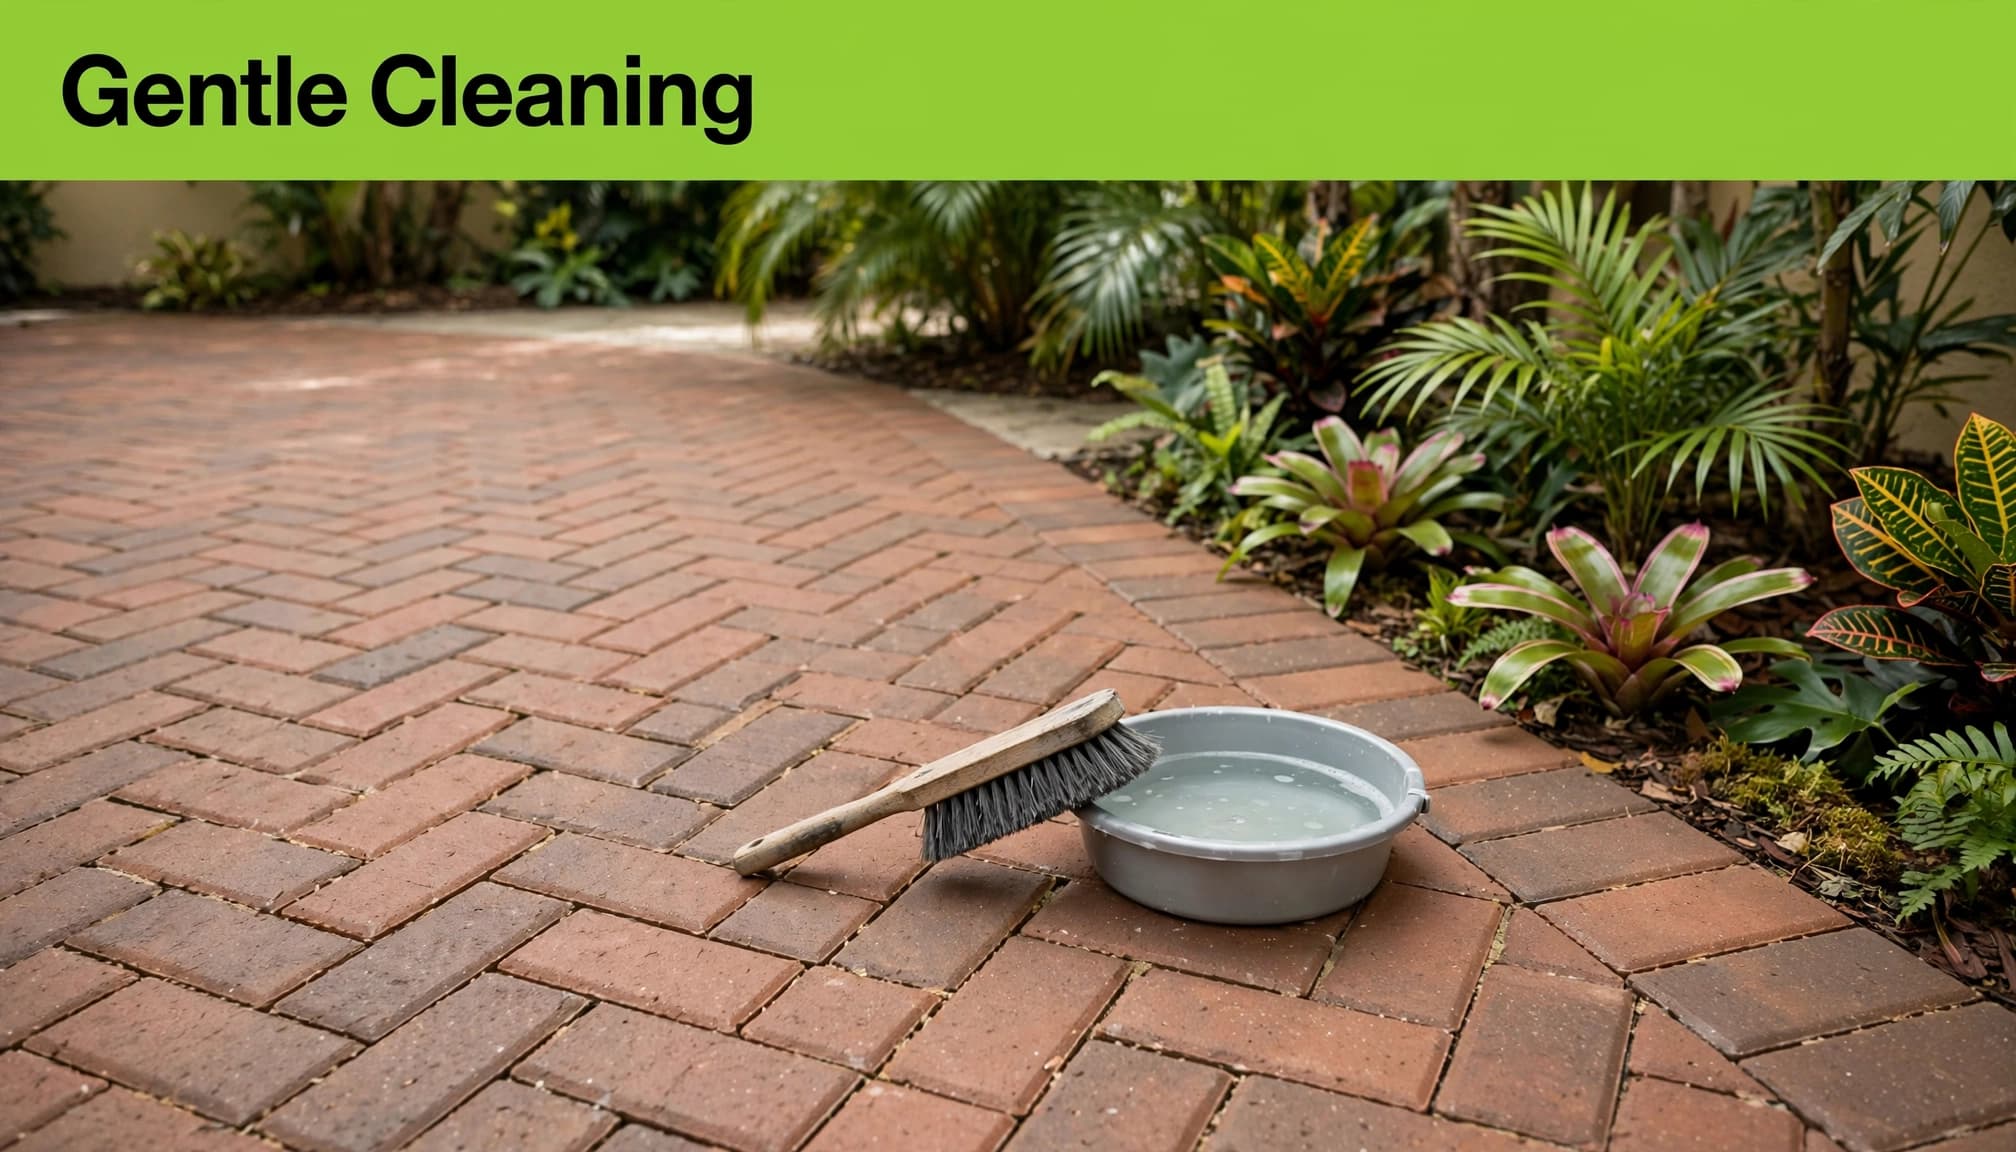
Follow this sequence:
- Move furniture, planters, and other items out of the work area. Sweep leaves, grit, and loose debris without digging into the joints.
- Remove surface weeds carefully. Pulling established roots can bring sand out with them, so note any joints that need attention afterward.
- Lightly dampen the paver faces when the cleaner’s directions call for it. Avoid flooding joints or leaving standing water.
- Apply a small amount of mild, acid-free soap diluted in water, provided the paver and sealer instructions allow it. For a packaged cleaner, follow its stated dilution.
- Scrub the paver faces with a stiff brush with nylon or fiber bristles. Use lighter strokes near joints, and avoid wire brushes that can scratch surfaces.
- Rinse with a garden hose using a gentle shower or broad spray. Remove the cleaning solution before it dries, and stop if sand begins moving.
Work in small sections so the cleaner doesn’t dry on the paving. Shaded conditions are easier to manage than a hot surface in direct sun.
Pre-wetting can reduce rapid absorption of some cleaners into porous paving. It isn’t permission to soak the joints or disregard the product label.
Treat Stains Without Aggressive Chemicals
Handle green growth, oil, and rust separately
Mild soap may loosen ordinary grime, but it won’t remove every stain. Green growth in a shaded lanai, an oil spot on a driveway, and irrigation rust each call for a different approach to stain removal.
Brush away loose organic buildup first. If growth remains, choose a product approved for your paver material, such as concrete pavers, as well as the joint sand and existing finish. Test the cleaning solution on an inconspicuous area, then follow its dwell time rather than leaving it on longer.
For fresh oil, absorb the spill before washing. Persistent grease may need a paver-compatible degreaser. Keep contaminated residue contained rather than rinsing it across the property.
Rust usually needs a suitable stain remover, not stronger water pressure. Our guidance on rust stain removal for pavers also covers reducing contact with the stain source.
Identify white deposits before treatment
White marks may be efflorescence, mineral deposits, grout haze, polymeric haze, or residue from an earlier cleaning product. Their appearance alone doesn’t establish the cause.
Try dry brushing loose deposits with a stiff-bristle brush before considering stronger treatment. Let the surface dry between tests, because wet paving can temporarily hide white marks.
We don’t recommend vinegar, household bleach mixtures, or hydrochloric acid as general-purpose paver cleaners. Don’t use an acid wash to diagnose or treat unidentified haze. A product’s suitability depends on the material, coating, joint product, and stain.
Persistent haze deserves a product-specific assessment. Don’t keep increasing chemical strength when the original cause is uncertain.
Pressure Washing Requires Extra Care
Using a pressure washer can remove heavy buildup, but it also risks stripping sand and marking the surface. A garden hose and brush are safer starting points when preserving joints is the priority.
There isn’t one safe pressure setting for every paver. Safe pressure depends on the paving stones’ material, age, finish, nozzle, distance, and operator technique.
If manufacturer-approved pressure washing is necessary, use the lowest effective pressure and a broad spray. Test first, keep the wand moving, and avoid directing water into joints.
Don’t use a narrow jet or turbo nozzle for routine joint-preserving cleaning. A surface-cleaner attachment doesn’t automatically prevent sand loss either.
Techniseal’s restoration guide describes a process that deliberately removes joint contents. That is a different job from cleaning while keeping existing sand in place.
A restoration procedure designed to empty joints isn’t suitable when your goal is to preserve them.
Stop if you see sand washing away, surface scarring, or uneven cleaning marks. Heavy buildup over a large area is a good reason to arrange professional assessment.
Rinse Carefully and Contain Wash Water
Keep rinse water off the joints
Use enough water to remove cleaning residue without creating a strong current across the paving. Direct a gentle spray over the faces rather than holding it on individual gaps.
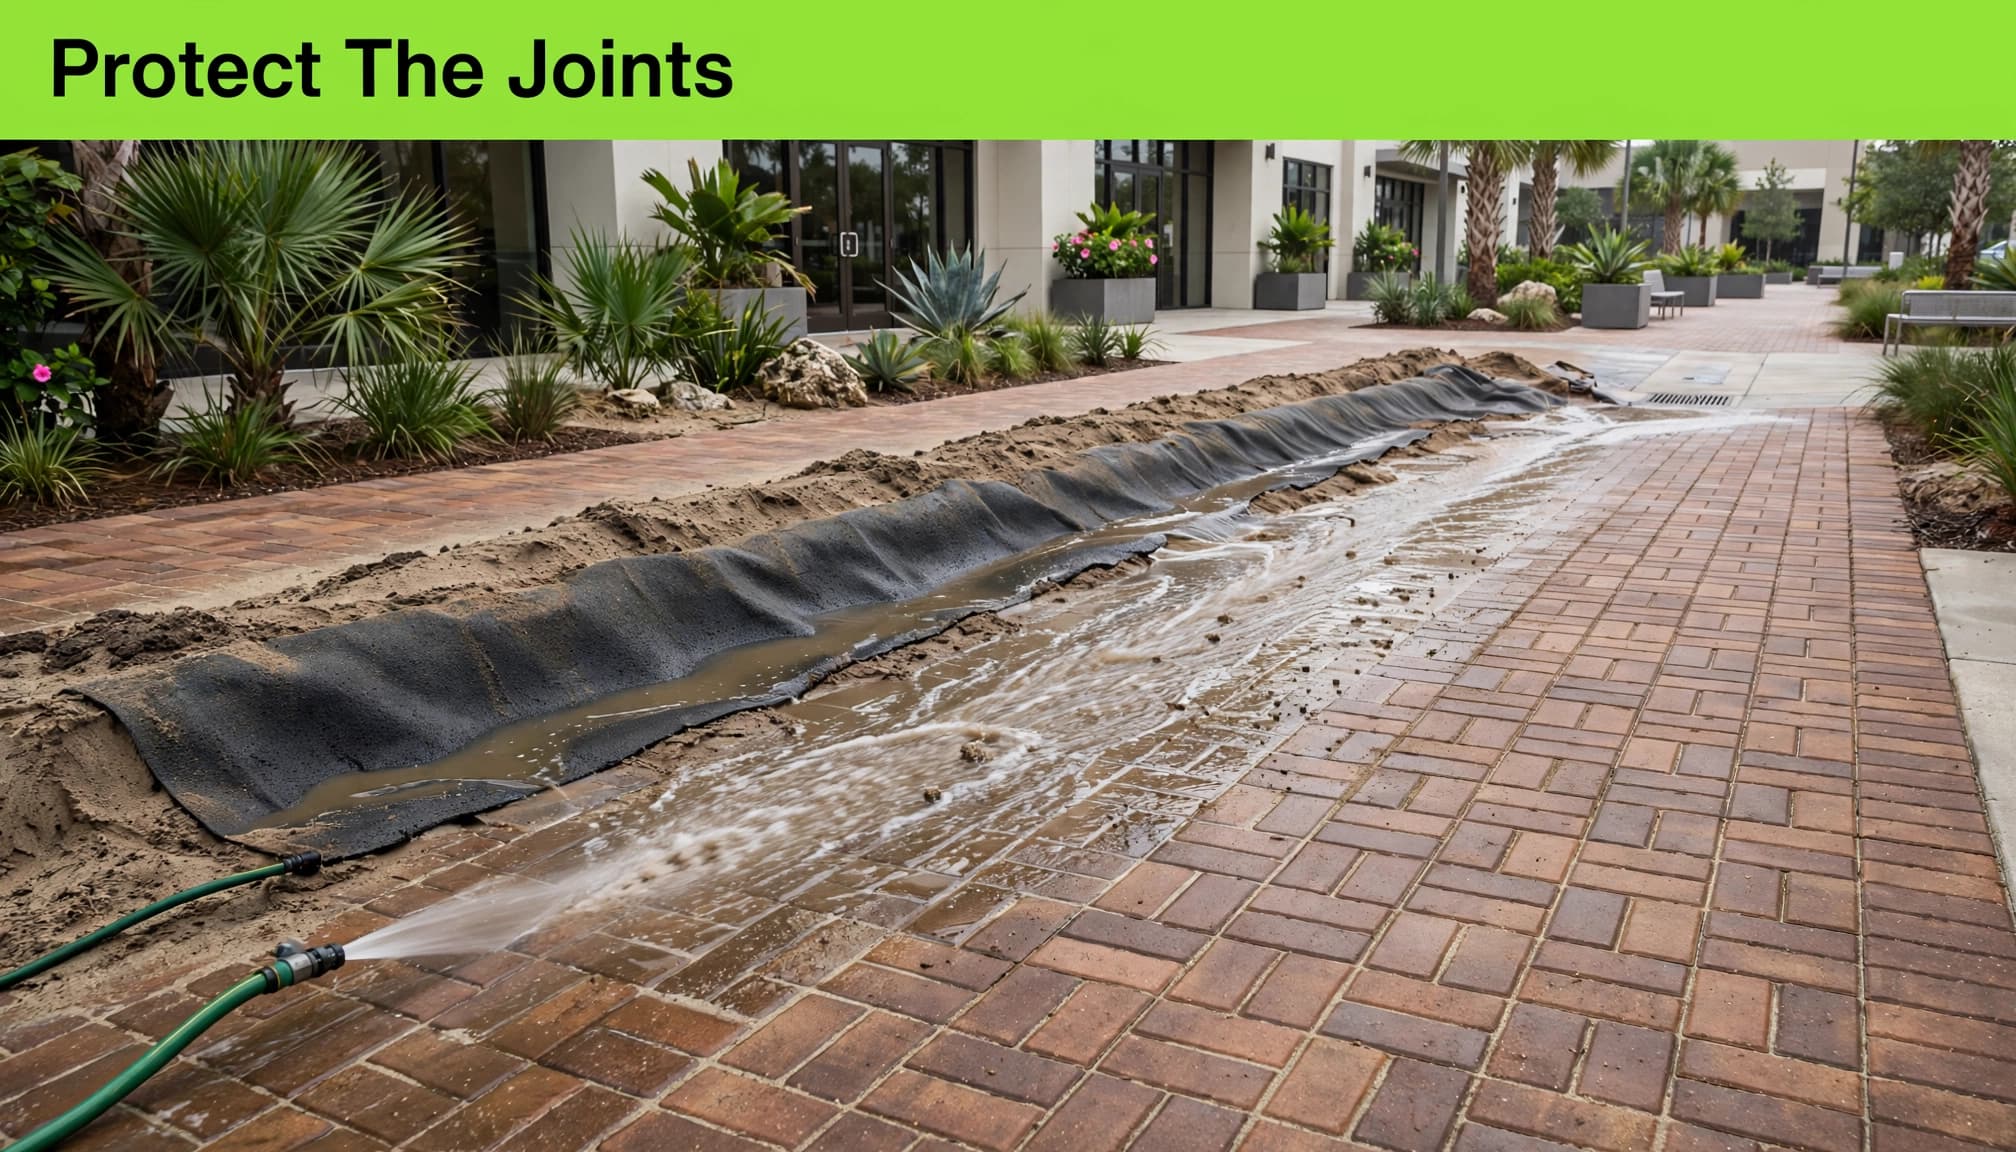
Watch the runoff as you work. Visible sand collecting at the edge means your method needs adjustment.
Reduce the flow, change the spray direction, or pause. Avoid repeated soaking of weakened polymeric joints and keep dirty water away from pools and doorways.
Plan wastewater collection before washing
Sweep up solids first, then identify where rinse water will travel. Protect nearby plants according to the cleaner’s instructions.
For work near a storm drain, suitable berms or drain covers can help contain wash water. Collection may require a wet vacuum rated for the liquid or professional recovery equipment.
Nixa’s surface-cleaning wastewater guidance addresses containment and collection. Disposal requirements vary locally.
Check with your municipality or utility before disposing of collected water. Don’t assume a lawn, street gutter, or sanitary drain is an approved disposal route, especially when oil or chemicals are present.
Inspect Joints and Sealer After Cleaning
Separate missing sand from surface movement
Once the paving is dry enough to inspect, check joint levels and walk the area again. Look around borders, drains, and vehicle paths for fresh sand loss.
Sound, consistently filled joints may not need additional material. Depleted joints need attention, but rocking units, spreading edges, and recurring low spots require assessment first.
Our guidance on replacing missing joint sand explains how to distinguish maintenance needs from broader problems.
If cleaning dislodged sand, let the joints dry first. Gently clear loose debris without digging out sound material, then refill depleted areas with a compatible product.
Regular sand and polymeric sand require different application methods. Follow the selected product’s instructions for application, activation, and curing. Don’t cap unsuitable existing material. Sakrete’s existing-patio guidance requires removal of existing sand for its product.
Allow proper drying before further treatment
There’s no dependable waiting period that applies to every surface and joint product. Paver faces may dry before shaded joints, particularly on Southwest Florida lanais.
If joint repair is needed, check the product’s dryness and weather requirements before proceeding. Keep traffic off repaired areas for the manufacturer’s stated period.
Cleaning doesn’t automatically mean you need to seal pavers. Assess the existing finish and confirm compatibility before applying another coating.
Any repaired polymeric sand must complete its required cure before compatible sealing. Sealer won’t replace missing sand, stop spreading borders, or correct a drainage problem.
Keep Florida Paving Cleaner Between Washes
Regularly sweep patio pavers to keep dirt and leaves from settling into joints or staining the surface. Clean up spills promptly, and check the paving after heavy rain.
In Fort Myers and surrounding Southwest Florida communities, shaded areas near irrigation and pools often need closer attention. Adjust sprinklers that repeatedly wet paving, and keep drains clear.
For brick driveways, inspect tire paths, paving stones, and edges as part of routine care. Businesses should also check entrances and pedestrian areas for slippery buildup.
Our brick paver maintenance tips cover related cleaning and protection needs.
Wear eye protection, closed-toe footwear, and any gloves required by the cleaner’s label. Keep people and pets away until the surface is rinsed, safe underfoot, and ready for use.
Key Takeaways
- Start with mild soap, a suitable fiber or nylon brush, and gentle hose rinsing.
- Check existing joints before cleaning, and stop if water begins carrying sand away.
- Treat persistent stains separately, contain contaminated runoff, and investigate movement before adding sand or sealer.
Frequently Asked Questions
Can a garden hose displace sand from paver joints?
Yes. A concentrated hose jet or prolonged flow can displace loose sand, especially in shallow or deteriorated joints. Use a broad, gentle spray and watch the runoff. If sand starts collecting downstream, reduce the flow or stop.
Does polymeric sand make pressure washing safe?
No. Polymeric sand can resist washout when properly prepared and cured, but it isn’t immune to aggressive washing. Cracks, wear, and repeated direct spraying increase the risk of damage. Follow the sand and paver manufacturers’ maintenance guidance rather than relying on the binder alone.
Preserve the Joints as Well as the Surface
Start gently and inspect the pavers as you work. The finished surface should still have sound joints and firm pavers.
We can help assess stubborn stains, missing sand, and maintenance needs across Southwest Florida. Contact Us for a FREE Quote when your paving needs more than routine cleaning.