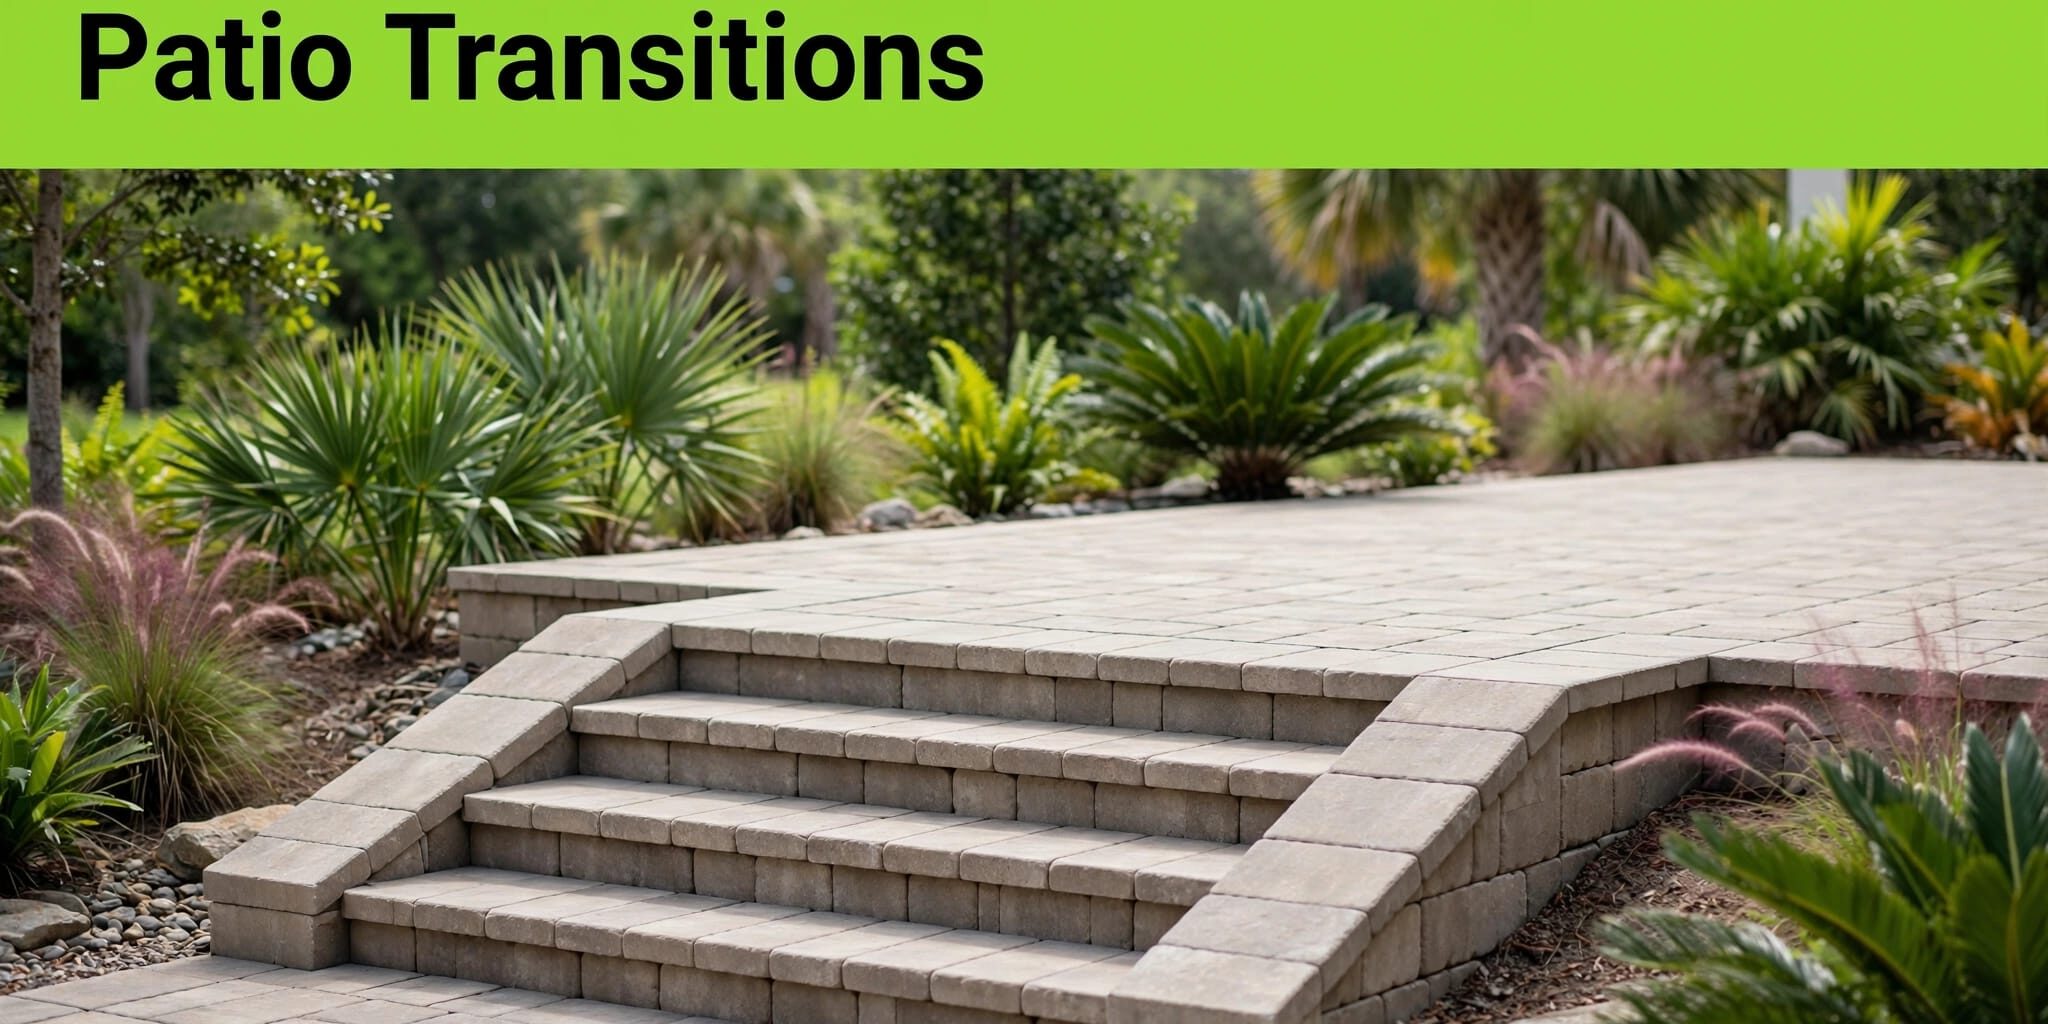
Adding steps beside an existing patio can create an uneven transition if the finished heights aren’t planned together. Reliable paver steps need consistent dimensions, firm support, and a landing that meets the existing surface safely. Together, these details create a smoother transition for outdoor living.
We approach these additions as a complete hardscape design project because the patio connection affects drainage, stability, and everyday access. In Southwest Florida, heavy rainfall and variable soil conditions make preparation especially important.
This step-by-step guide starts with checking the existing patio, then covers measurements, support, and water flow before excavation begins.
Key Takeaways
- Plan the steps and landings around the existing patio’s finished elevations, access, edge support, and drainage before excavation.
- Calculate consistent riser heights and tread depths, and confirm applicable building codes, landing dimensions, permits, and accessibility requirements.
- Build the stair assembly on an appropriately designed, compacted foundation with structural risers; don’t rely on the existing patio or adhesive to provide support.
- Preserve a clear runoff route so water doesn’t collect behind the steps, undermine the base, or block the patio’s existing drainage.
- Compare complete, site-specific project scopes and inspect finished steps for stable treads, consistent dimensions, secure edges, and proper drainage.
Plan the Connection Before Digging
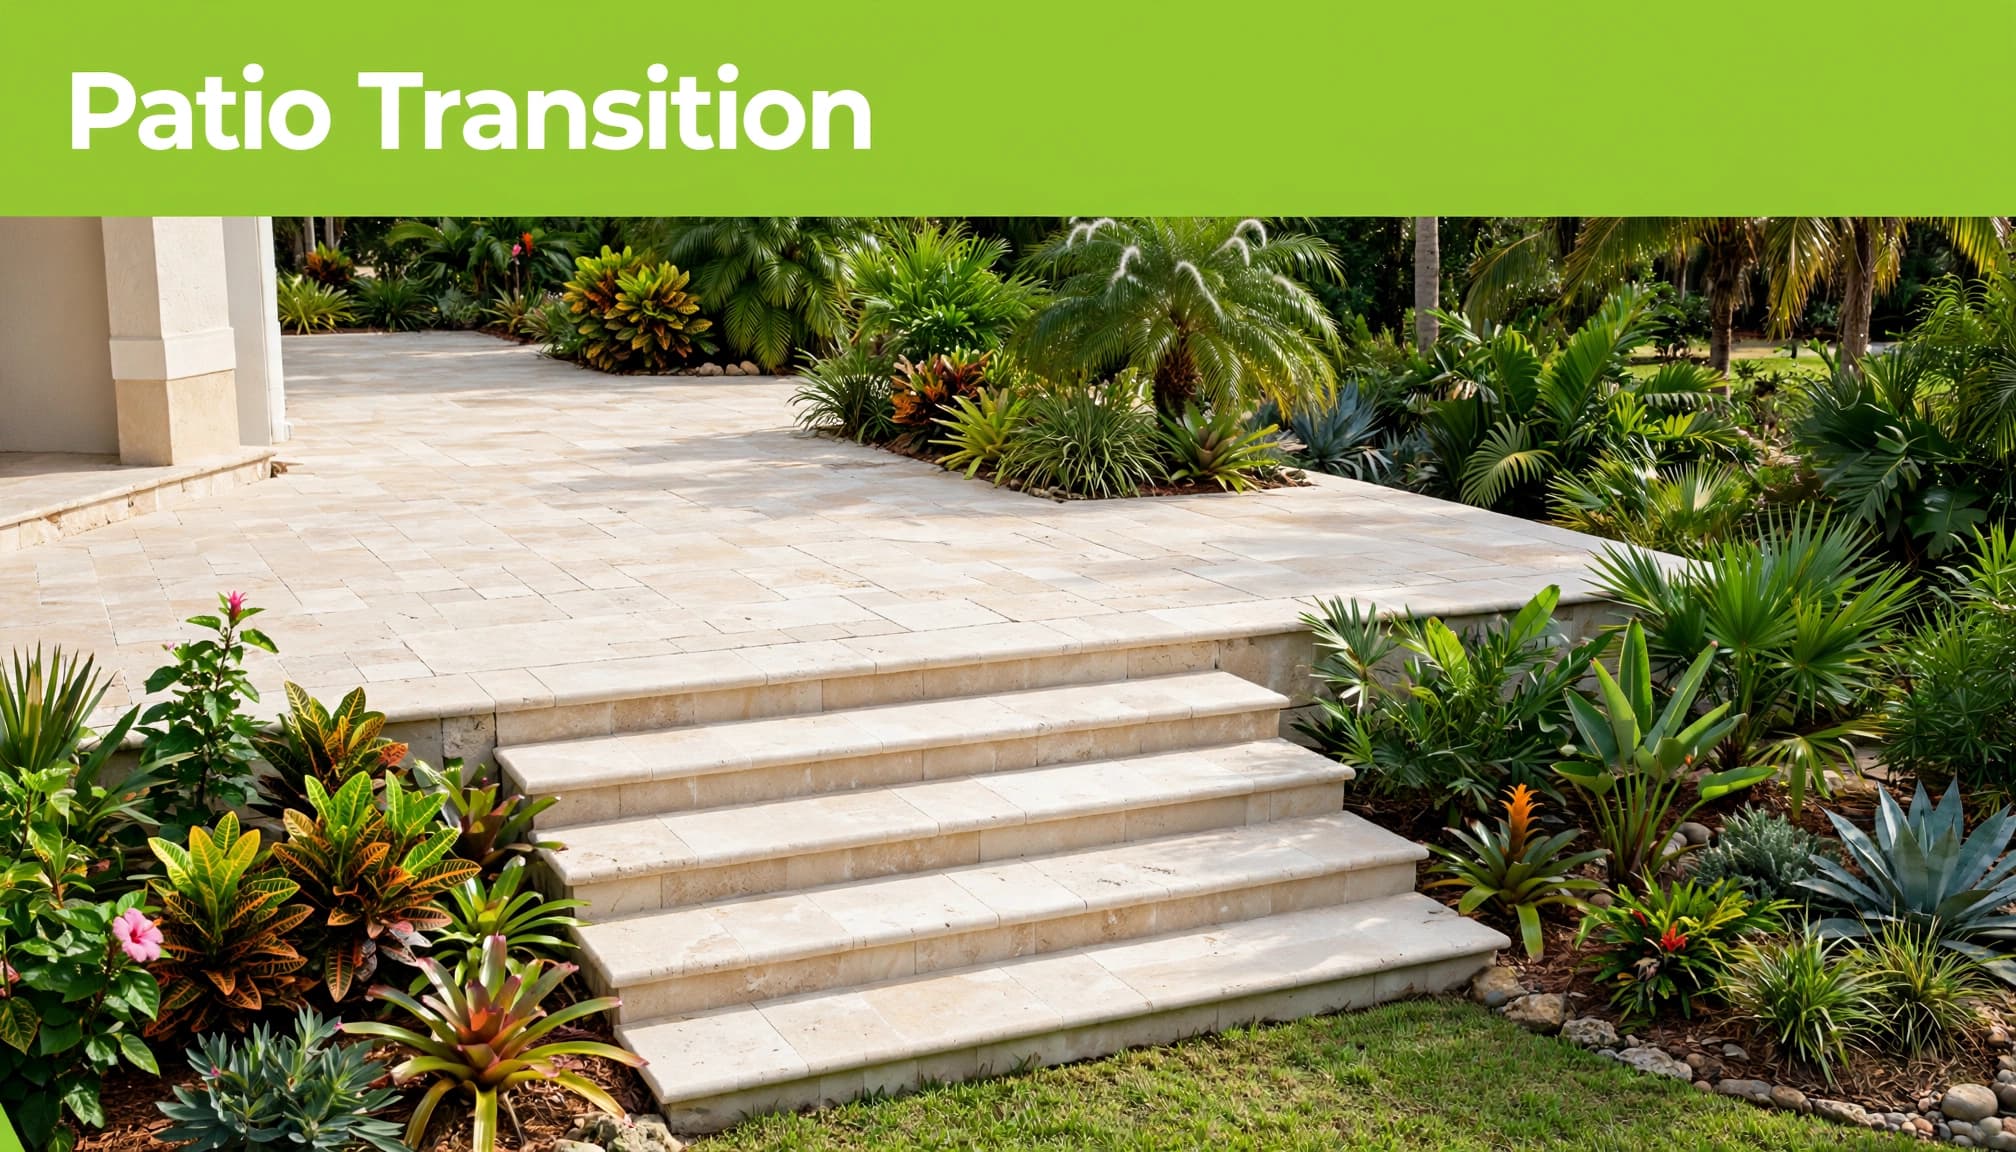
Check the Existing Patio Edge
Inspect an existing patio before connecting new work. Look for settled areas, loose borders, open joints, and water stains that suggest recurring puddles.
Check whether the patio edge and its edge restraint have dependable support. Digging beside the patio can disturb the gravel base and loosen material beneath otherwise sound paving.
Paver steps need their own foundation and independent support. Don’t rigidly attach the new stair assembly to the patio or rely on it to carry added weight.
Our pool deck and patio paving projects consider grade, drainage, and edge support together. Those same checks matter when adding steps beside an existing surface.
Establish Finished Elevations and Access
Measure the proposed connection at several points because the patio may already slope. Note the upper and lower landing elevations, nearby thresholds, drains, and gate clearances as part of the drainage design.
Leave enough space for people to approach the stairs directly. A landing should provide a clear place to pause without crowding furniture, doors, or planting beds, so the transition works well for outdoor living.
Matching older paving also deserves an early decision. Weathering can make an exact color match difficult. We often recommend a coordinated border or contrasting tread that makes the transition look intentional.
Size Paver Steps and Landings for Safe Access
Calculate Total Rise and Step Count
Total vertical rise is the height difference between the finished lower surface and finished upper landing. Measure finished elevations, not bare soil.
Divide that total vertical rise by the maximum riser height permitted for your project. Round upward to obtain a whole number of risers. Then divide the total rise by that number to establish equal riser heights.
Check the calculated riser height and tread depth for paver steps against the selected block and tread system before ordering. Account for the gravel base, cap thickness, and finished landing and tread materials when setting elevations.
When paver steps end at the upper landing, the number of separate treads is generally one fewer than the riser count. Include both landings when calculating the overall footprint.
Confirm Stair and Landing Requirements
The 2021 International Residential Code sets a maximum residential riser height of 7 3/4 inches. Its minimum residential tread depth is 10 inches.
These are code references, not automatic approval for a Fort Myers project. Compare the calculated riser height with applicable limits, and check each riser height for consistency. Confirm the measured tread depth meets minimum tread depth requirements and remains consistent across the flight. Confirm the adopted Florida code, local amendments, permits, and requirements for your particular stairs.
Residential landings generally need at least 36 inches of depth in the direction of travel and sufficient width for the stairway. Door swings, handrails, guards, and tread nosings also need review.
Business entrances require separate attention to commercial and accessibility rules. Adding stairs doesn’t replace a required accessible route.
Choose a Structural System and Matching Finish
Use Structural Risers Beneath the Treads
Paver steps commonly use compatible retaining wall blocks or a purpose-made stair system beneath the walking surface. Pavers or stone stair treads provide the finish; the supporting assembly carries the load.
Ordinary garden edging blocks aren’t automatically suitable structural risers. For stair construction, check the manufacturer’s approved stair details, block dimensions, connections, and foundation requirements.
Each stair assembly needs an appropriately designed foundation, which may include a compacted gravel base. Don’t rely on the existing patio edge for support, and use an edge restraint where the system requires one.
Concrete adhesive can secure approved caps when specified. It can’t correct an unsupported tread or unstable base. An existing concrete slab also needs assessment before it becomes part of the foundation, even if the approved system calls for concrete adhesive.
Where stairs retain a slope or support a raised landing, wall design matters. The NCMA retaining-wall design manual addresses the engineering principles behind these structures. Taller walls, nearby loads, and difficult soils may require engineered details.
Select a Suitable Walking Surface
Concrete pavers offer a wide choice of colors and replacement options. Natural stone treads can coordinate with travertine or marble patios, while exterior-rated porcelain needs a compatible support system.
Existing brick pavers can guide the color selection, even when the stair finish uses different concrete pavers. A contrasting nosing can help define step edges in an outdoor living area.
We recommend textured, exterior-rated finishes with reliable slip resistance, rather than polished walking surfaces. Check slip resistance in wet conditions, especially near pools and shaded lanais.
Our Southwest Florida surface options address material selection for heat, rainfall, and regular outdoor use.
Prepare a Base That Will Stay Level
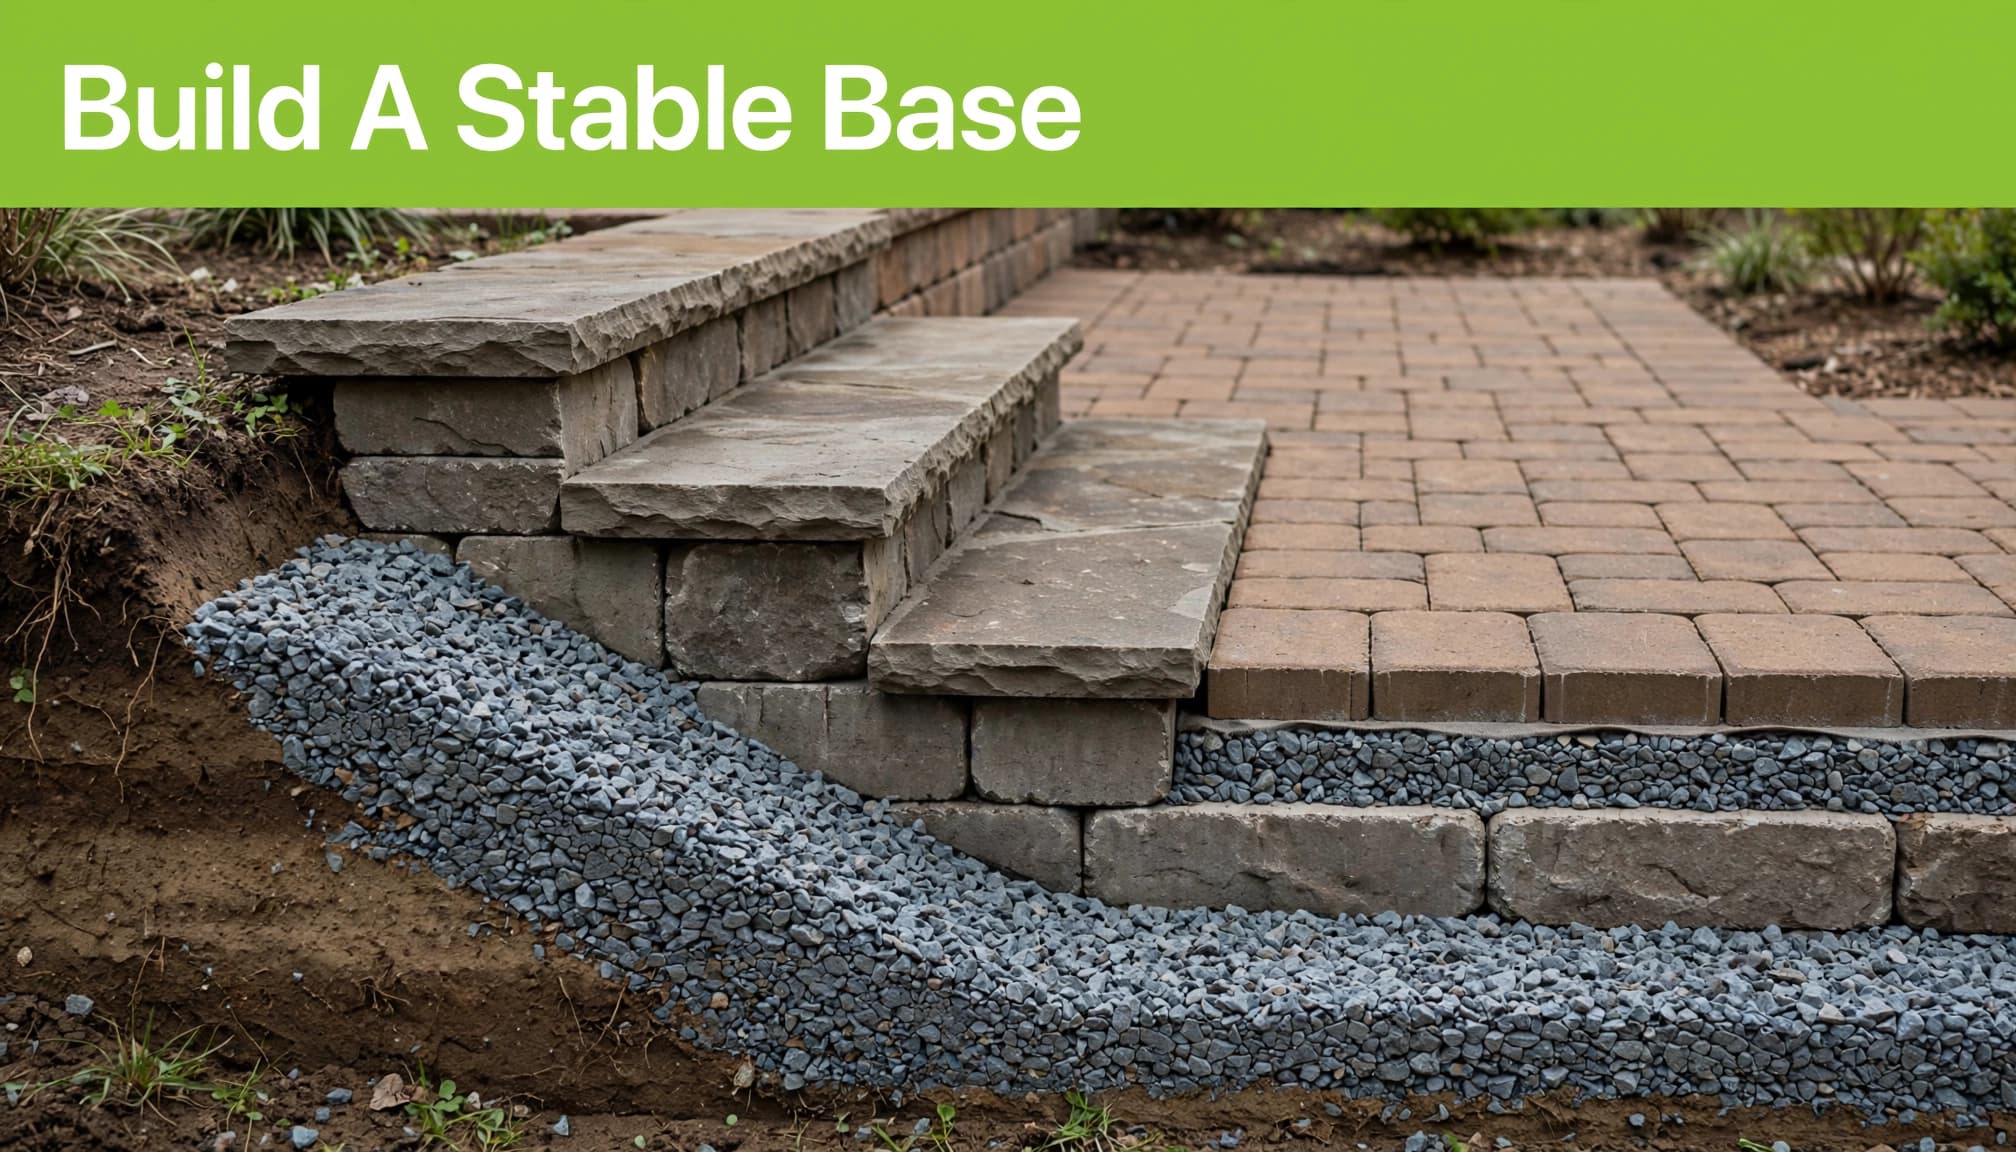
The gravel base must support the complete stair assembly, including concentrated loads beneath the risers. A standard patio base specification shouldn’t automatically be applied to raised steps.
We determine the required depth and footprint from soil conditions, stair height, retaining loads, and the selected system. Nearby brick driveways need separate consideration because vehicle loading can affect adjoining ground and structures.
Before placing aggregate, remove vegetation, roots, organic material, loose fill, and weak soil. Ground that pumps, ruts, or yields under equipment needs correction before construction continues.
Use properly graded angular crushed aggregate suited to the design. Its particles lock together under compaction and create a firm supporting layer. Material selection and water management must work together.
Install aggregate in controlled lifts, rather than filling the entire excavation at once. Loose layers of approximately 2 to 4 inches are a practical starting range, subject to the material and compactor specifications.
Compact each lift with overlapping passes before adding the next. Allow enough time for soil compaction at every layer, and check elevation and slope as you go.
A plate compactor provides more consistent results across an accessible landing than hand tamping alone. Confined areas still need thorough soil compaction with suitable equipment.
Where specified, geotextile fabric can separate soil from aggregate. Choose geotextile fabric suited to the soil and construction system. It can’t make weak or saturated ground suitable, and geotextile fabric isn’t a substitute for correcting those conditions.
The landing perimeter may need an edge restraint for support. Bedding material belongs only where the selected assembly requires it. Don’t use extra sand to fill deep low spots or level structural block courses.
Check the gravel base elevation and slope after compaction, since the work can change the grade. Confirm the edge restraint remains aligned and doesn’t interfere with drainage.
Keep Runoff Away From the Patio Connection
A stair addition can interrupt drainage that previously worked across an open paver patio edge. The layout needs a clear route for surface runoff and water moving through the gravel base beneath supporting layers.
We check roof discharge, irrigation, nearby planting beds, and existing drains before approving the layout. Water shouldn’t collect behind risers or discharge onto a lower landing where people step. This keeps the transition safe and usable for outdoor living.
The drainage design should preserve the existing patio’s slope and outlets while accounting for the new landing’s elevations and water route. Tread slope should follow the approved stair detail and applicable code, rather than copying a general patio slope recommendation.
A new landing that matches the patio height can still trap water if its perimeter blocks the patio’s existing drainage outlet.
Channel drains or other collection systems may be appropriate where walls, doors, or tight property boundaries limit grading. Any drain needs a suitable discharge point and access for cleaning.
Don’t assume water will disappear into the gravel base. Soil permeability, groundwater, and surrounding construction affect how quickly water moves through or away from supporting layers.
The edge restraint needs firm support around the landing. A properly supported edge restraint helps prevent paving from spreading without obstructing the planned water route. On sloping ground, evaluate runoff above the stairs so erosion doesn’t undermine the sides.
Compare Complete Project Costs
A useful estimate covers the whole connection, not simply the visible tread material. Stair width, landing area, access, demolition, and soil conditions all affect the work.
We recommend comparing written scopes rather than square-foot prices alone. A small stair project can require substantial preparation because excavation, equipment access, and structural support remain necessary.
Ask each contractor to identify:
- The stair dimensions, landing sizes, and exact block, cap, or tread products included.
- Excavation, disposal, gravel base preparation, drainage work, and repairs to the existing patio edge.
- Any specified concrete adhesive use and an edge restraint where applicable, along with permit responsibilities, required design work, railings, cleanup, and warranty terms.
The price should also account for delivery, cutting, equipment, and restoration of disturbed landscaping. Ask how concealed weak soil or damaged existing support will be handled.
DIY work may reduce paid labor, but it still requires materials, compaction equipment, transport, and suitable technical knowledge. Incorrect stair dimensions or unsupported caps can make rework expensive.
For a business entrance, commercial compliance and maintaining safe access during construction belong in the estimate. For a home, consider how crews will reach the work without damaging a pool enclosure or established garden. The completed connection should also suit how you use your outdoor living space.
A site-specific quote is more dependable than a general stair price. Professional installation can account for conditions that vary between properties.
Check the Finished Work and Plan Maintenance
Before accepting completed paver steps, check the riser height and tread depth at every step. Include the first rise above the lower landing and the final rise onto the patio, and confirm tread depth is consistent throughout.
Stair treads should feel stable underfoot, with no rocking pieces or unsupported edges. Check the edge restraint for movement, and make sure landings meet adjoining paving without an unexpected lip.
We also check that doors and gates operate fully and that required rails are secure. Step-edge visibility matters, particularly where similar colors make changes in elevation difficult to see.
Drainage should be checked before the work is closed out. Water testing can identify trapped areas, but the contractor should also verify the planned grades and discharge route.
During regular use of the outdoor living area, keep leaves and soil away from drains and step edges. After heavy storms, inspect for settlement, open joints, or erosion, and check polymeric sand joints for washout if installed.
Brick pressure cleaning should use a controlled method that doesn’t dislodge joint material or damage adjacent stone. Cleaning methods need to suit each surface and the installed system.
Our Florida paver cleaning guidance covers regular care for patios and adjoining outdoor surfaces. Address loose treads or movement promptly instead of covering the problem with concrete adhesive.
Build a Dependable Patio Transition
Successful paver steps depend on independent support, accurate finished elevations, and drainage that protects the existing paver patio. A usable landing creates a safe transition for outdoor living.
We plan these details together so the finished addition fits your property and remains practical to maintain. Reliable support matters as much as the visible finish.
For a Fort Myers or Southwest Florida project, Contact Us for a FREE Quote to discuss professional installation, material options, and your patio connection.