A paver surface can look good on installation day, but the work below it determines how it performs years later. Heavy rainfall, sandy soils, changing grades, and existing slopes all affect proper drainage. Salt exposure, UV exposure, and hurricane-season weather can also affect the finished surface.
This brick paver installation checklist helps you plan a brick patio, walkway, pool deck, or driveway with the right preparation. A clear plan reduces standing water, settlement, loose edges, and costly repairs.
Key Takeaways
- Verify permits, HOA requirements, drainage easements, utility markings, finished elevations, and property transitions before excavation.
- Plan for the intended use, order about 10 percent extra pavers, and calculate base material using compacted depths.
- Build drainage into the layout with a practical slope away from the structure, then install and compact the aggregate base in manageable lifts.
- Use a consistent bedding sand layer, secure edge restraints, maintain proper joint spacing, and make clean cuts around fixed obstacles.
- Fill and inspect the joints, check the surface after major rain, and maintain drains, joints, edges, and pavers throughout the year.
Start With the Site, Approvals, and Utility Lines
Before ordering materials, measure the property and calculate the square footage. Mark property lines, door thresholds, pool coping, drains, garage transitions, and gates to verify the paver layout. Check finished heights and drainage paths at each transition.
Pavers can change how water moves across your property. That is why the layout needs to work with existing grades, not against them.
Where sandy or shifting soil is poorly separated from the base, the site design may justify landscape fabric. It doesn’t replace grading or drainage corrections.
Review permits, HOA rules, and drainage easements
Permit rules vary by city, county, and project type. A driveway apron, right-of-way connection, drainage feature, flood-zone requirement, or increase in hard surface may require approval.
HOA approval is separate from a local permit. Obtain both before materials arrive.
Drainage easements require extra care. The SBDD paver and patio requirements show how a site plan, survey, slope review, and permit can be required where drainage easements are involved. Review the slope for proper drainage, and never change an easement slope without written approval.
Call before any excavation
Contact Sunshine 811 before digging. Homeowners can submit a request online or call 811, and the service asks for at least two full business days before excavation begins. Review the Sunshine 811 ticket process and wait until marked utilities are clear.
Paint marks and flags may identify public electric, water, gas, cable, or communication lines. Irrigation lines, landscape lighting, and other private utilities may not be included. Inspect the site carefully and identify them before excavation.
A paver project should begin with utility marks and finished elevations, not a shovel.
Plan the Layout and Order the Right Materials
The paver style matters, but the project use matters more. Interlocking concrete pavers and clay pavers offer different appearances and durability. A brick patio or lanai may allow more design flexibility, while a pedestrian walkway has different needs than a driveway.
Choose pavers rated for the intended traffic. Vehicle-rated concrete pavers need appropriate thickness and a properly compacted foundation, especially where vehicles turn or brake. Clay pavers also need a stable foundation and drainage plan.
Measure the area and add a waste allowance
Multiply length by width to find square footage. For curves, steps, borders, and detailed patterns, measure each section separately and add the totals.
Order about 10 percent extra pavers for cuts, breakage, future repairs, and color matching. Simple rectangular patios may need less, while complex borders or circular drives may require more.
Include these materials in the order:
- Pavers rated for the intended use, border units, and a few spare pieces.
- Crushed stone or another approved paver base material.
- Clean bedding sand approved for the bedding layer.
- Edge restraints and spikes, plus edging material sized for the system.
- Joint sand, often polymeric sand for many residential projects. Don’t assume masonry sand is suitable for bedding or joints.
- Landscape fabric when site conditions or design call for it.
For patios, walkways, and driveways, review paver thickness, pattern, border layout, drainage, and access before ordering. A detailed paver layout affects the finished appearance and material quantities, especially when it includes curves, borders, or many cuts.
Calculate base and bedding quantities
For crushed stone, use the compacted depth, not the loose depth, when estimating aggregate. Convert inches to feet, multiply by the square footage, then divide by 27 to find cubic yards.
Use this example to estimate crushed stone and bedding material for a 12-by-20-foot patio:
| Material | Formula for a 12-by-20-foot patio | Estimated amount (cubic yards) |
|---|---|---|
| Compacted base at 6 inches | 240 sq. ft. x 0.5 ft. / 27 | 4.44 |
| Bedding layer at 1 inch | 240 sq. ft. x 0.083 ft. / 27 | 0.74 |
Suppliers may sell crushed stone by the ton, and moisture or aggregate size can change its weight. Ask how many cubic yards a ton represents locally. At 1.35 tons per cubic yard, 4.44 cubic yards may be close to 6 tons. Order additional crushed stone beyond the calculated cubic yards for access, compaction, and waste.
Set Finished Height and Proper Drainage
The finished paver surface needs to sit below door thresholds and move water away from the home. Guessing at elevation or drainage can cause problems.
A practical planning target for many patios and walkways is a fall of 1/4 inch per foot, or about a 2 percent slope, away from the structure. The final slope must work with property lines, existing drains, pool decks, thresholds, and neighboring grades. Heavy rain in Southwest Florida can expose an incorrect slope quickly.

Mark the finished surface before digging
Set string lines at the planned finished height. Use a line level or laser level to confirm the slope across the entire area.
Remember that the finished grade includes paver thickness, about 1 inch of bedding sand, and a 6-inch compacted crushed stone base below the bedding layer. Before ordering, convert the required base volume to cubic yards, and check every doorway and drain before excavation starts. A patio that ends too high can direct water toward the house or create a trip point at an entry.
Excavate the area to stable soil
For many pedestrian areas, excavation commonly allows for about 6 inches of compacted base, 1 inch of bedding sand, and the paver thickness. This often means digging about 9 to 10 inches below the finished surface.
Driveways usually need deeper excavation and a stronger aggregate base. Soft, wet, or pumping soil should be dried or corrected before base placement. On sandy, organic, or unstable ground, landscape fabric may help separate layers, but it isn’t a substitute for removing weak soil or correcting water flow.
Remove loose fill, roots, organic matter, pumping soil, and other weak sub-grade material. A clean excavation gives the base a firm, even place to start.
Build a Compacted Aggregate Base
The aggregate base is the working structure under your pavers. Concrete pavers transfer loads into this foundation, so they don’t correct a weak base. They follow it.
Choose clean, angular crushed stone suited to the project. Driveway bases generally need more structural preparation and a deeper crushed stone base than pedestrian areas.
Install crushed stone in manageable lifts, often 2 to 3 inches at a time. Spread each lift evenly, maintain the planned slope, then compact it before adding the next layer.
Use the compacted depth to estimate how many cubic yards to order. Loose aggregate occupies more volume before compaction, so the ordered cubic yards won’t equal the final compacted volume.
Use a plate compactor at every stage
A vibrating plate compactor firms the subgrade and locks the aggregate together. Don’t compact saturated soil, because it can leave weak areas beneath the surface.
Compact the soil first when conditions allow. If the soil is unsuitable, remove it and replace it with approved sub-grade material before placing crushed stone.
Then use a vibrating plate compactor on every base lift, working in several directions. Check the grade after each lift, preserve the intended slope, and correct any loose crushed stone before continuing. After the final lift, make another pass with a vibrating plate compactor and verify the grade.
A hand tamper can reach small edges or confined areas where the plate compactor can’t, but it can’t replace proper mechanical compaction across large areas or driveways.
The paver installation guide from CMHA provides useful technical guidance on the components of an interlocking paver system. The principle is simple: a stable base and stable edges support a long-lasting surface.
Screed a consistent one-inch bedding sand layer
The bedding sand follows the compacted crushed stone base. It isn’t a layer for leveling major low spots. Correct low areas in the base with crushed stone, then compact and recheck the grade.
Set screed rails at the correct height, place clean bedding sand between them, and pull a straight screed board across the rails. This leaves an even layer about 1 inch deep.
Don’t walk on or rework the screeded sand. Start laying pavers from a straight edge and work outward. Use a rubber mallet for minor adjustments without disturbing the graded bedding layer. If the sand gets disturbed, remove it, rescreed it, and check it again.
Lay Brick Pavers With Strong Edges
Start at a 90-degree corner, a fixed edge, or the longest straight line. Plan the paver layout around the selected pattern, and keep joints consistent. Use string lines and a mason’s line for long runs, and lightly seat individual units with a rubber mallet.
Avoid placing very small cut pieces at exposed edges. Shift the layout when possible so exposed-edge cuts are balanced and wide enough to remain stable. Check spacing and replace any unit that rocks before filling with joint sand.
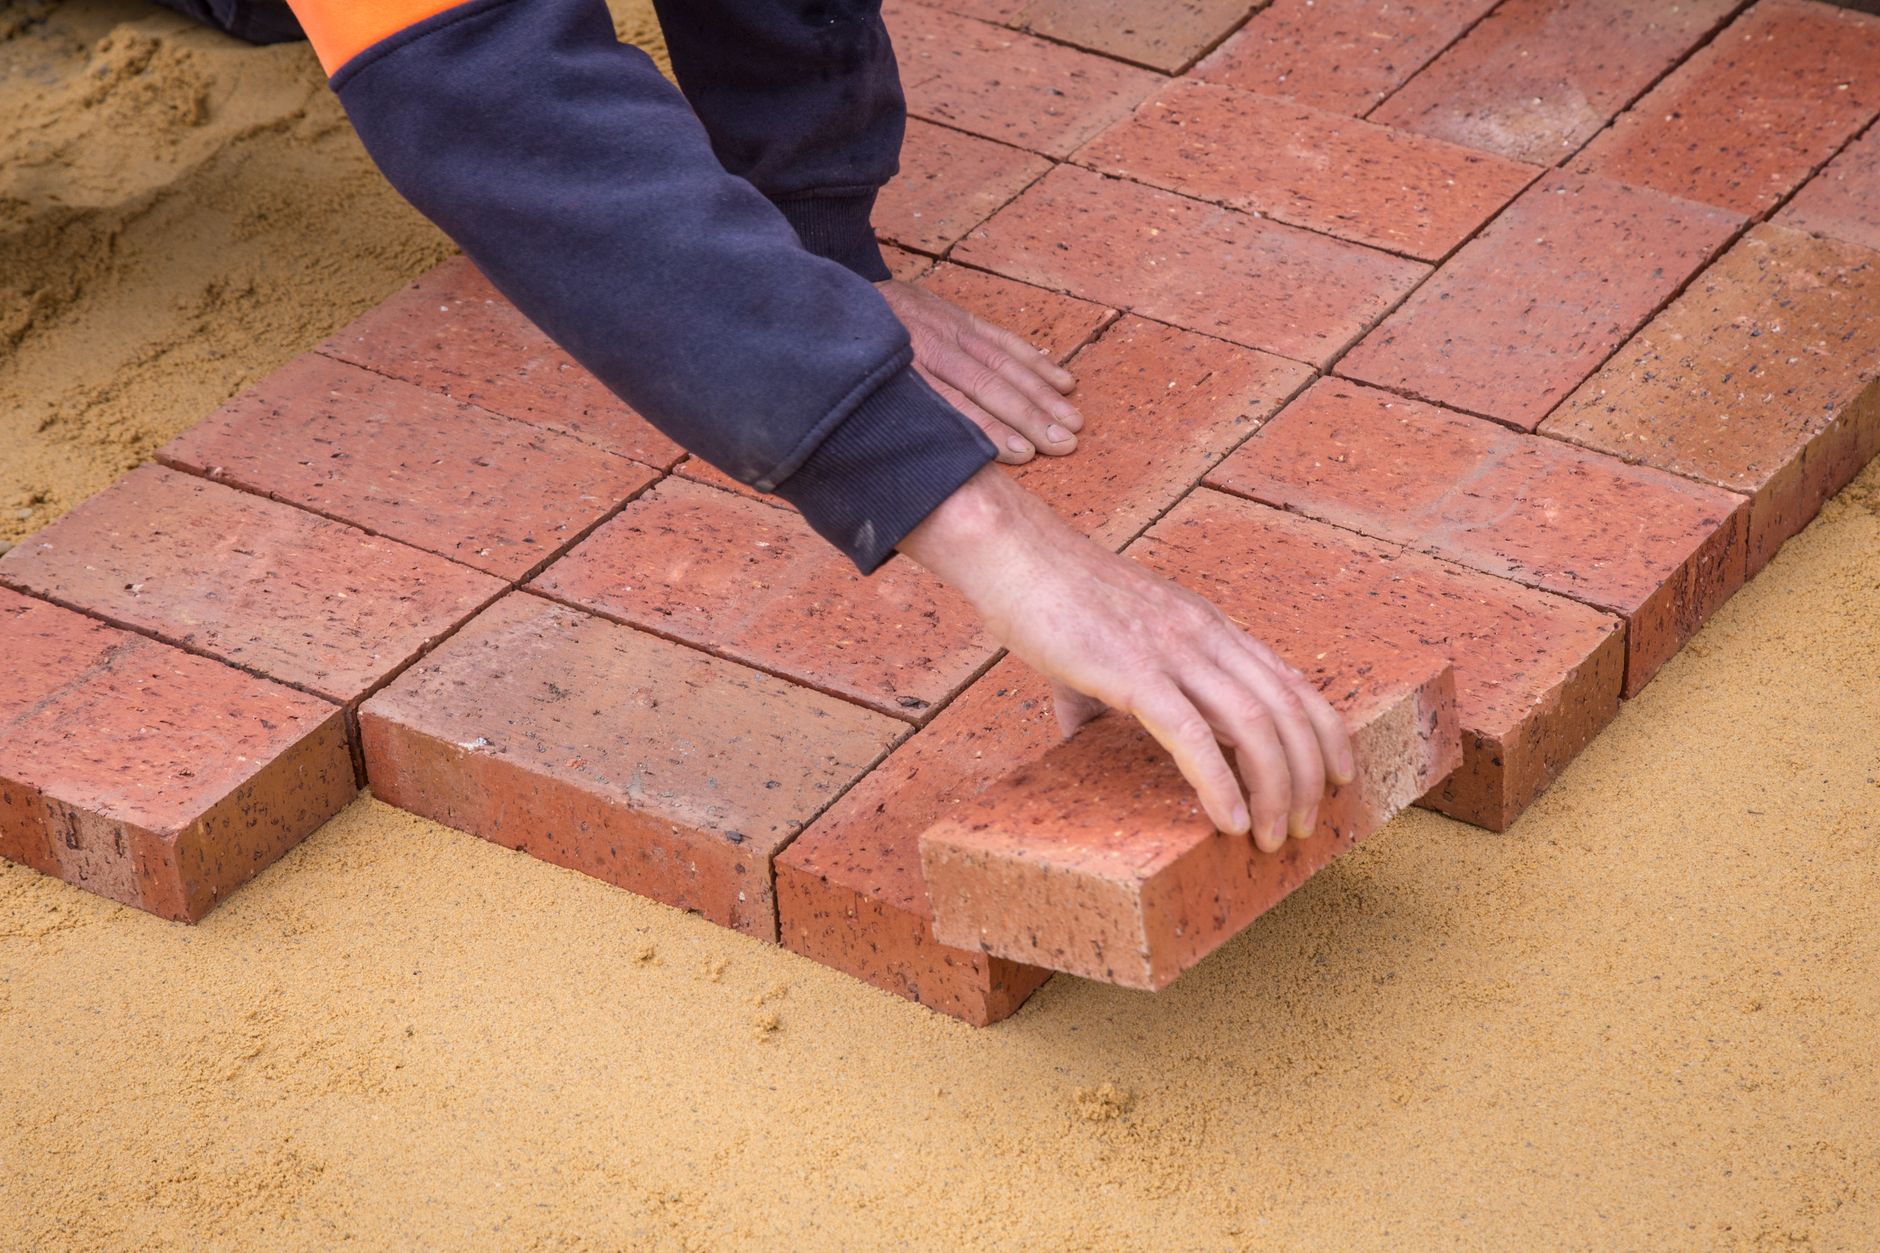
Photo by Littlehampton Bricks
Install edge restraints before final compaction
Paver edging holds the field of pavers together. Without it, outside units can move outward, and joints can open under rainfall or vehicle loads.
Choose an edging material approved for the project, then place the edging material along the planned border. Before anchoring the edging material with proper spikes, confirm the crushed stone beneath remains compacted and level. Curved borders need more anchors to hold their shape and resist outward movement along the curve. Keep the edging material low enough for landscaping to hide, but fully supported after landscaping and final grading.
Make clean cuts around fixed obstacles
Plan cuts around columns, drains, downspouts, and steps, checking transitions at garages, gates, and pool coping first. A wet saw or masonry saw produces cleaner cuts; for clay pavers, match cuts to nearby units for consistent color.
Wear proper eye, hearing, and dust protection. Keep cut pieces tight against edge restraints, but don’t force them into place. A tight-looking surface should still have proper joint spacing.
Fill Joints and Perform a Final Inspection
Once all pavers and edge restraints are in place, sweep joint sand across the surface until the joints are full. Then make the final pass with a plate compactor fitted with a protective pad.
This vibrating plate compactor settles the joint sand into the bedding layer and helps create interlock. Sweep more joint sand into any open joints after compaction.

Choose a polymeric or standard joint product
Polymeric sand contains binders that activate when misted according to the manufacturer’s directions. It can help limit weeds, insect activity, and washout when installed correctly.
Standard joint products cost less and remain easier to replace, but they may wash out more easily. Don’t substitute fine masonry sand for the specified product unless the manufacturer allows it. Either option requires full joints and careful final cleaning.
Remove all excess polymeric sand from paver faces before misting. Leftover material can leave haze after activation. Mist lightly and follow the bag instructions. Don’t flood the surface, because flooding can wash material out.
Check the completed surface before calling it finished
Walk the area and inspect for rocking units, open joints, loose edges, and standing water. Check whether the edging material has shifted or lacks adequate anchoring. Look for water moving toward the structure and settlement near drains or downspouts.
A persistent low spot may indicate a problem below the surface. The crushed stone base may need attention, rather than more joint sand.
Inspect the surface after the first major rain and again after a tropical storm or hurricane. Do this before furniture, vehicles, or landscaping conceal defects. Correct problems now, not after the area is in regular use.
A small repair is easier when the original pavers and matching joint product remain on site.
Maintain the Surface Without Removing Joint Sand
Routine care is simple. Sweep leaves, dirt, and debris before they break down and stain the surface. Clear nearby drains and inlets so stormwater can flow freely. Treat oil spots with a cleaner made for pavers, following its instructions.
Pressure cleaning needs care. High pressure or a narrow nozzle can create uneven stripes and wash material from the joints. Keep the wand moving and use the lowest effective pressure. Avoid aiming directly into joints. Control weeds by hand or with a paver-safe treatment that won’t strip joint material.
After cleaning, inspect the joints and replenish joint sand where needed. After heavy hurricane-season rain, check for erosion, settled pavers, or low spots. The CMHA maintenance guide also recommends routine preventive care for interlocking pavement systems.
Salt air and intense UV can affect exposed pavers over time. Inspect for fading, surface wear, and loose edges, especially near the coast.
Sealer is optional. It may help resist staining and change the surface appearance, but it should be tested in a hidden area first. Some finishes can alter color or make the surface more slippery when wet.
Frequently Asked Questions
How deep should I excavate for a brick paver patio?
Many pedestrian areas require about 6 inches of compacted base, 1 inch of bedding sand, and the paver thickness. This often means excavating about 9 to 10 inches below the planned finished surface, although unstable soils and driveways may require deeper preparation.
What slope should a paver patio have?
A practical planning target for many patios and walkways is a fall of 1/4 inch per foot, or about a 2 percent slope, away from the structure. The final grade must also work with door thresholds, drains, pool decks, property lines, and neighboring grades.
Do I need edge restraints for brick pavers?
Yes, edge restraints help keep pavers from spreading outward and opening the joints. Secure the edging material to compacted base material with the appropriate spikes, using additional anchors around curves and exposed edges.
Can I use regular sand between pavers?
Use the joint product specified for the pavers and installation system, such as standard joint sand or polymeric sand. Fine masonry sand may wash out or perform poorly unless the manufacturer specifically approves it.
How should I maintain a brick paver surface in Southwest Florida?
Sweep debris, keep drains clear, control weeds, and replenish joint sand when necessary. After heavy rain or a tropical storm, inspect for erosion, settled pavers, open joints, standing water, and loose edges before small problems become larger repairs.
A Solid Base Supports the Finished Surface
A successful paver project starts by verifying approvals and utility lines, planning the slope, and preparing a compacted foundation. Secure the edges, inspect the surface after installation, and maintain the joints to protect the finished work.
For Southwest Florida homeowners, water movement, stable edges, and resistance to settlement matter more than appearance alone. A properly prepared base supports a dependable brick patio through changing conditions.