A good paver project starts before any material is delivered or ground is excavated. A paver design consultation is the first planning step for an outdoor remodeling project and broader hardscape project. It helps define how the space will be used, along with elevations, materials, drainage, budget, and installation readiness.
For homeowners and business owners, the meeting should replace guesswork with practical answers. Site conditions may affect elevated designs, including a raised patio. You should leave knowing what fits your property, what may affect the price, and what needs to happen before installation begins.
Key Takeaways
- Before the appointment, discuss your goals, intended use, and plans for a paver patio or outdoor living space.
- During the site review, the contractor checks measurements, access, elevations, water flow, and property conditions.
- Material and pattern discussions may include concrete pavers, brick, travertine, natural stone, porcelain, and other suitable options.
- A ground-level project differs from a raised patio, so elevation changes, steps, drainage, and transitions need attention.
- After the review, you receive a practical project plan covering measurements, drainage, materials, budget, timeline, deliverables, and next steps.
- Some contractors provide free consultations or estimates, but the scope of those services and revisions can vary.
The visible surface matters, but the grade, drainage path, base, and edge support usually determine how it performs over time.
What Happens During a Paver Design Consultation
A professional meeting should feel organized and useful. A design consultant begins by asking how you’ll use the area, including access, furniture, pets, and vehicles.
We also discuss your desired backyard design before reviewing materials or layout options.
Project goals, style, and daily use
A patio designed for occasional seating has different needs than a pool deck, commercial entry, or driveway. We ask about traffic, grills, gates, and how the paved area connects with the rest of the property.
A raised patio may require additional discussion about elevation, steps, drainage, and access. Your proposed layout should also coordinate with your landscape design, planting beds, grading, rooflines, and existing features.
Bring photos of styles you like, but keep the discussion tied to your home or business. A color that looks good in a showroom may not suit the roof, exterior paint, landscaping, or pool coping already in place.
Brick driveways, for example, need a layout that handles regular vehicle movement, turning areas, and garage transitions. A walkway may allow more flexibility with curves, borders, and decorative details.
All decision-makers should be present
Material selection, pattern, and budget decisions move faster when everyone involved can review them together. This avoids choosing a color or layout that needs reconsideration after the appointment.
A design studio may use samples or visual boards to help compare options. A free consultation may cover basic ideas, while a complete review addresses the site, layout, and installation details.
We recommend discussing a comfortable budget range early. It helps narrow the options without limiting the design before the site has been reviewed.

The Site Review Covers More Than Square Footage
Measuring length and width is important, but it is only part of the work. Existing conditions determine how the design can be installed and how well it will hold up.
Measurements, access, and fixed features
The design consultant measures the planned area and records important transitions. These can include door thresholds, garage floors, pool coping, drains, gates, existing walkways, planting beds, and property lines.
Access matters as well. A wide side yard allows equipment and material deliveries to move more easily than a narrow space behind a home. Demolition, tree roots, existing concrete, utility boxes, and limited access can change the installation plan.
Before excavation, utility locations need to be confirmed. Homeowners should contact 811 before digging begins, even when no visible utility equipment is nearby.
Grade, drainage, and finished height
Water needs a planned path away from structures and toward an appropriate drainage area. The consultant should document existing grades, downspouts, low areas, and the proposed drainage path before finalizing the layout.
A patio can appear level while still having enough slope to move rainwater. Many pedestrian paver surfaces use a slope in the 1% to 2% range, or about 1/8 to 1/4 inch per foot, depending on the site and drainage plan.
The Patio Slabs, Porch Slabs, Walkways, and Driveways Slope Guide explains why exterior surfaces should direct water away from the building. Doorways, drainage areas, soil conditions, flood-zone requirements, and neighboring properties may call for a different approach.
For a raised patio, finished-height measurements should account for doors, garages, drainage areas, and nearby grade changes. The number and location of steps depend on the height change, available space, drainage, access, and applicable requirements. A contractor should not select steps by appearance alone.
Materials and Patterns Shape the Finished Space
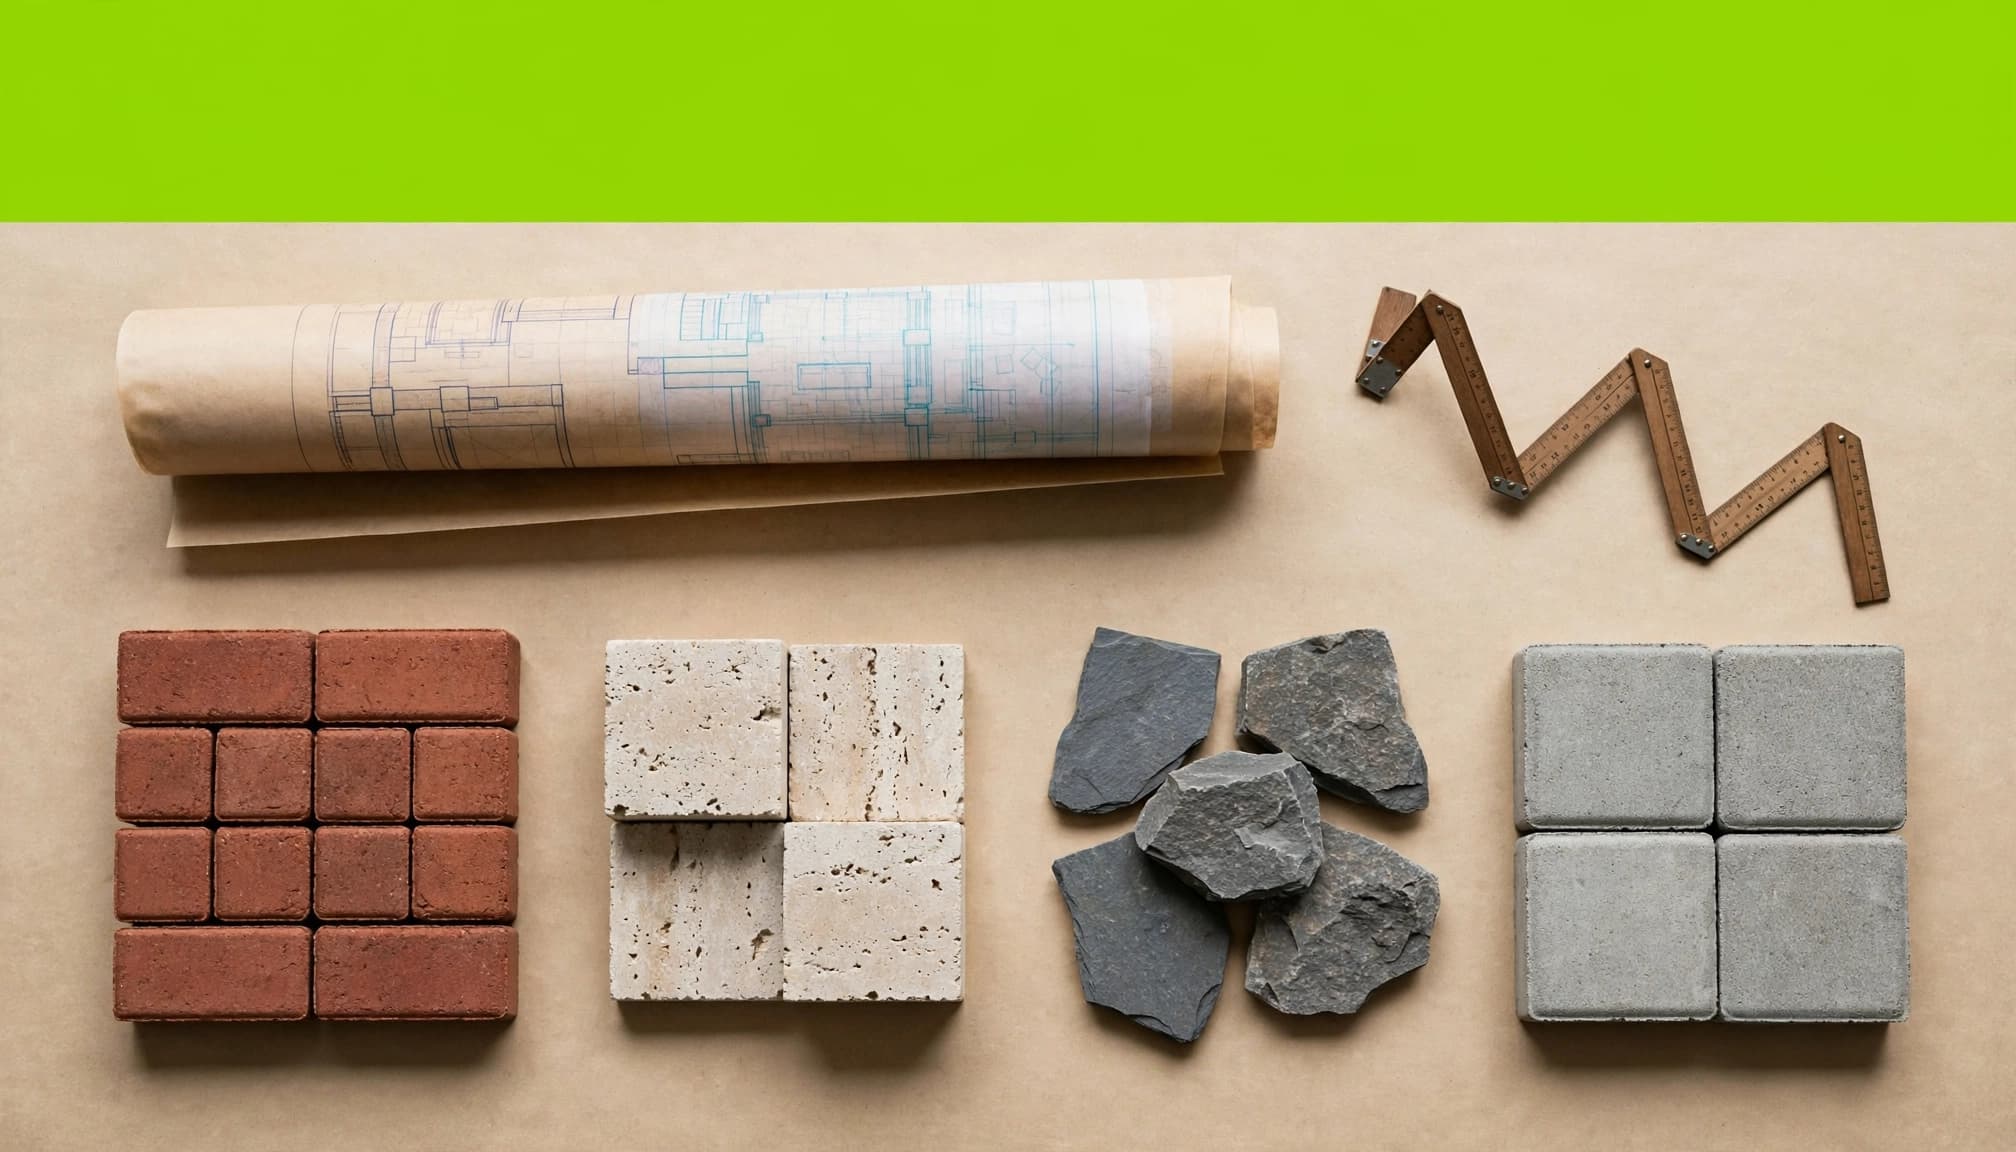
A consultation is the right time to compare actual samples. Photos help, but surface texture, color variation, and size are easier to judge in person. A design studio can organize sample boards to make those differences easier to compare.
Comparing paver and stone options
A concrete paver offers many colors and replacement options, while brick, porcelain, and stone provide different looks. Brick pavers bring classic character and work well with traditional or coastal homes. Porcelain and natural stone can create a distinct finish for patios, lanais, and other gathering areas.
Stone pavers also suit a range of applications. Texture, thickness, and finish affect how stone pavers perform in each setting.
Each material has different installation and upkeep needs. A paver patio may need a finish that handles frequent foot traffic, while a raised patio may require materials and borders that coordinate with steps, landscaping, and other exterior finishes.
For pool areas, texture, heat, slip resistance, and drainage all matter, and our pool deck and patio paver options show how brick, concrete, porcelain, and natural stone can support different outdoor living space designs.
Selecting a pattern, border, and layout
A paver pattern affects appearance, cutting, material waste, and labor. A running bond works well for many simple patios. Herringbone is a common choice for driveways and other vehicle areas because of its interlocking layout.
Smaller patios, including a flagstone patio, usually benefit from a simple pattern and a clean border. Large spaces can support wider fields, separate seating zones, curved edges, inlays, or contrasting borders without looking crowded.
Curves, circles, and multiple colors can be attractive, but they require more planning. We review the full layout before materials are ordered so narrow pieces and uneven border cuts don’t become part of the finished design.
The Plan Should Address What Is Below the Pavers
A paver surface can look good when new, but a dependable patio installation also depends on properly prepared support layers. The consultation should include a direct conversation about excavation, soil, base materials, and drainage.
Base preparation and edge support
The Concrete Masonry and Hardscape Association’s guide to interlocking concrete pavements identifies the subgrade, aggregate base, bedding sand, pavers, edge restraints, and drainage as parts of the full system.
A concrete paver may need a different base than stone pavers, depending on thickness, soil conditions, and intended load. The required excavation depth also depends on the bedding layer and site conditions. A driveway needs a different support plan than a pedestrian walkway. Aggregate is placed and compacted in controlled lifts, then the finished grade is checked before pavers are installed.
A raised patio may require additional base, walls, or steps when elevation changes are involved. Edge restraints deserve attention during the consultation. They help keep the field of pavers in place and reduce movement at borders, curves, corners, and driveway edges.
Existing drainage problems need honest answers
A paver installation can’t correct a drainage problem that hasn’t been addressed. Low areas, downspouts, blocked drains, unstable soil, and runoff from nearby roofs should be identified before the final layout and estimate are approved. A finished surface can’t hide an unstable base.
For a raised patio, drainage and edge support must be coordinated around the elevated structure. The National Patio Construction Authority’s drainage guidance describes a 2% slope, about 1/4 inch per foot, as a practical drainage target for many outdoor surfaces. It isn’t a universal rule. Each property needs a site-specific review.
Renderings, Estimates, and Design Revisions
After the appointment, homeowners should receive a clear package with a site sketch or rendering, material selections, and a defined scope of work. A design consultant should explain the proposal and identify exclusions, the estimated timeline, and the revision process. A design studio may prepare a material board, sample set, or digital presentation.
Digital views can prevent costly changes
A set of design renderings can show the shape of a patio, wall, step, or border before work begins. They help connect outdoor remodeling ideas to the actual patio installation, especially for a custom patio, pool deck, outdoor kitchen, or large area.
A virtual meeting can also help review digital views and discuss changes before construction. These visuals aren’t a substitute for measurements or grade planning. The final project plan still needs to work around property features, drainage paths, material dimensions, and installation access.
A retaining wall, raised patio, or seating wall can change excavation, elevations, labor, permits, and pricing. Those details should appear in the drawings and scope before work is approved.
A clear estimate explains the scope
A written price estimate should identify the main work included, such as demolition, excavation, base preparation, pavers, edge restraints, joint sand, drainage work, cleanup, and added features. It should also list exclusions and provide an estimated timeline for the work.
Material selection is only one part of the cost. Detailed cuts, borders, steps, difficult access, removal of existing concrete, and drainage corrections can all affect the final estimate.
Many contractors offer free estimates, but not every consultation has the same scope. Ask whether design drawings, revisions, permits, or engineering reviews are included before you move forward.
How to Prepare for the Appointment
A little preparation helps the consultation stay focused. You don’t need a finished design, but useful information makes the site review more complete. Bring inspiration images and paver patio examples to the design studio, then expect backyard design ideas to be adapted to your property.
Bring photos, approximate dimensions, property surveys if available, and information about HOA requirements. Note any standing water after rain, existing drains, damaged concrete, or areas that have settled. Share details about other outdoor remodeling plans that could affect the project.
If the project connects to an existing surface, explain its history. Mention prior repairs, sealing, or brick pressure cleaning, especially if joint sand has washed out or pavers have shifted. Projects with steps, retaining structures, or elevated grades may also require a raised patio plan.
Ask how drainage will be handled, how deep excavation must go, and how thick the base should be. Confirm material availability, permit needs, HOA rules, warranty coverage, payment schedule, timeline, and design deliverables. Find out what happens after approval, including scheduling and change requests.
It also helps to decide which features matter most in your outdoor living space. That may include a larger seating area, dining space, better pool access, safer circulation, durable parking, entertaining areas, or a low-maintenance finish.
Frequently Asked Questions
Are paver design consultations usually free?
Some contractors provide a free consultation or detailed estimate. Others charge for drawings, advanced renderings, or extensive design work. Ask what is included before scheduling. A clear answer should explain whether the visit includes measurements, material samples, a written estimate, and design revisions.
What happens during the site assessment?
The contractor typically reviews the project area, access points, existing surfaces, grading, and visible drainage conditions. They may also discuss how the space will be used and note potential construction challenges.
Are measurements and drainage concerns included?
Many contractors take measurements during the visit and check how water moves across the property. Ask whether the assessment includes elevation changes, downspouts, drains, soil conditions, and other factors that could affect the plan.
What materials and patterns will be compared?
You may review paver colors, textures, sizes, borders, laying patterns, and joint materials. The right choices should reflect the home’s style, expected use, maintenance preferences, and budget.
What will I receive after the meeting?
Depending on the contractor, you may receive measurements, material recommendations, concept drawings, renderings, and a written estimate. Confirm which documents are included and whether you can use them to compare options.
How long do revisions and scheduling usually take?
Simple revisions may take a few days, while detailed drawings can require more time. Ask when you can expect updates, how many revisions are included, and when installation could be scheduled.
What information should be ready before booking?
Have the property address, project goals, approximate area size, photos, and any known drainage concerns ready. HOA rules, surveys, gate widths, and details about existing concrete or drains are helpful. All property decision-makers should participate if possible.
What happens before installation begins?
The contractor should confirm the final design, materials, scope, estimate, schedule, access plan, and payment terms. They may also review permits, utility locations, staging areas, and any preparation required before work starts.
Can a consultation help with an existing paver surface?
Yes. A contractor can review uneven areas, loose edges, washed-out joints, drainage concerns, and damaged pavers. The visit can help determine whether cleaning, repairs, re-leveling, or replacement is the right approach.
A Clear Plan Makes the Work More Dependable
A professional paver design consultation turns an idea into a documented hardscape project with a realistic price estimate. It connects visible choices, such as color and pattern, with site conditions that affect drainage, support, and long-term performance.
For a raised patio, elevation, steps, drainage, and structural support should be resolved before approval. A design studio can help review the final materials, drawings, and revisions while refining the space’s curb appeal.
The best design fits your property, intended use, maintenance expectations, and budget. Next, review the scope, timeline, deliverables, and installation schedule. Proper planning gives every paver project a stronger start and more dependable results.