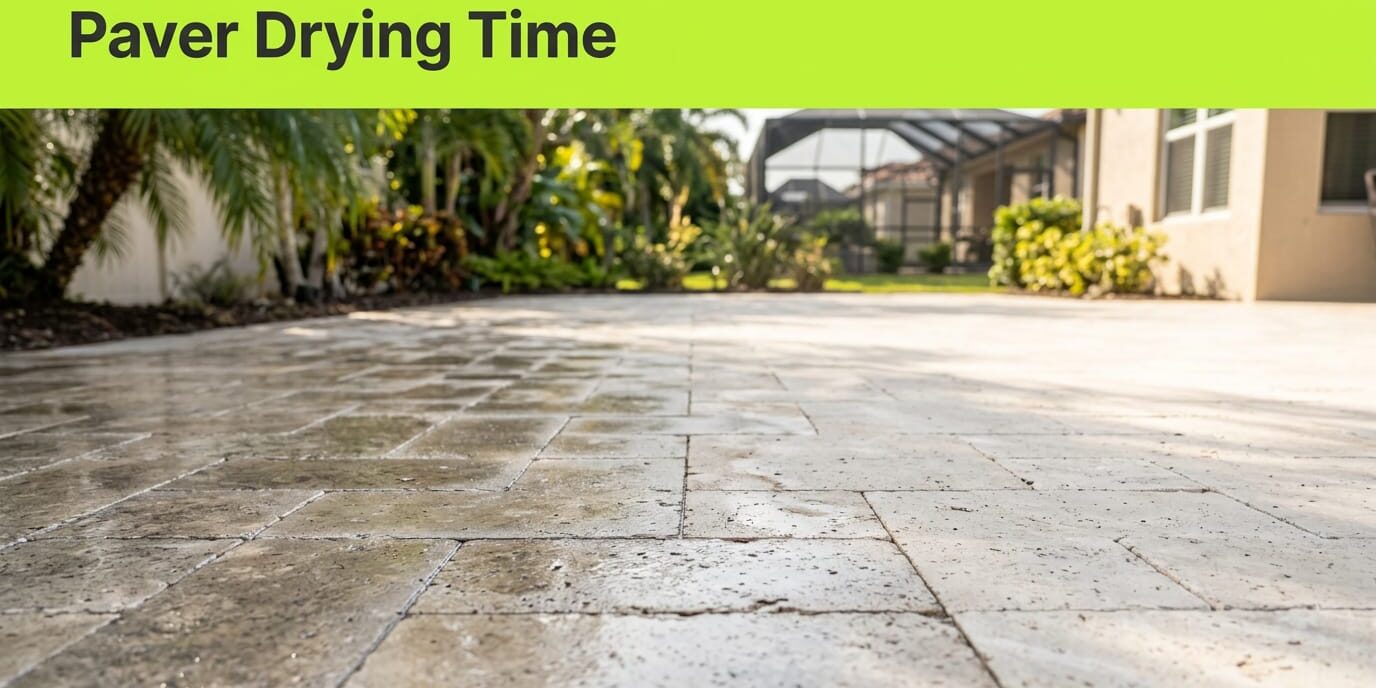
Pavers should dry completely after pressure cleaning before you seal them, including moisture in joints and shaded areas. No single drying interval suits every paver, coating, or weather condition.
Paver drying time depends on surface condition, drainage, and the selected product’s stated limits for dampness before paver sealing. In Southwest Florida, humidity and afternoon showers can extend the wait, even when exposed areas look dry.
The first step is separating post-cleaning drying from the post-application wait.
Key Takeaways
- Allow washed pavers to dry fully before sealing, rather than relying on appearance alone.
- Plan for a 24-48-hour precipitation-free window after application, subject to the sealer’s requirements.
- Address stains, failed coatings, missing joint sand, and recurring dampness before applying a new finish.
What Controls Paver Drying Time?
Pressure washing wets more than the exposed paver faces. Water enters porous material and joints, so a light-colored surface doesn’t prove the whole area is ready. Paver drying time is often 24 to 48 hours in warm, sunny, breezy conditions, but cool weather or persistent dampness can extend it to 48 hours or longer.
Humidity, Shade, and Material
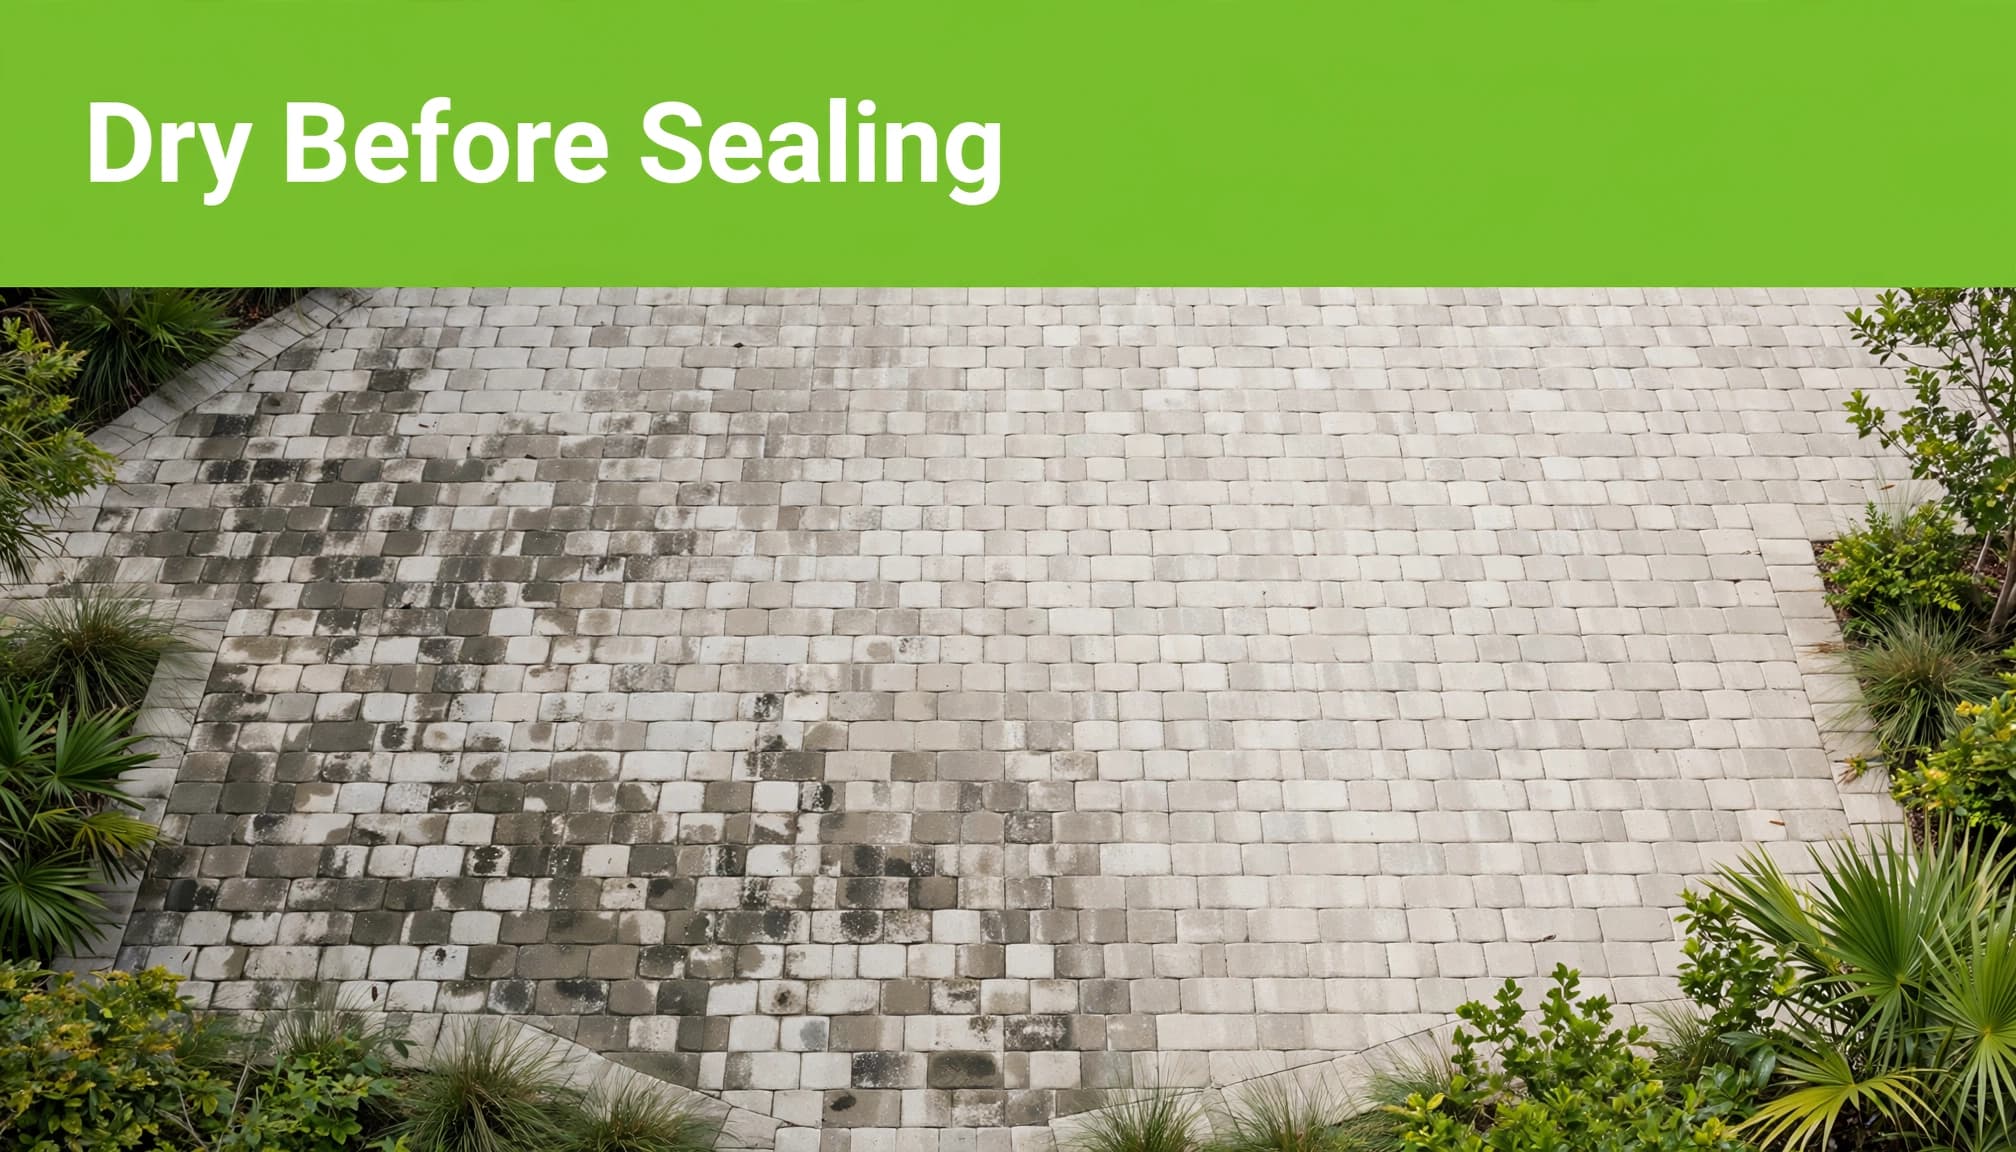
High humidity slows evaporation, and cool temperatures add to the drying time. Shaded areas beneath furniture, beside planters, or along buildings can stay damp after open areas have dried. Persistent shade and wetness can encourage mold.
Concrete, clay brick, and natural stone absorb and release water at different rates. Existing sealer changes absorption, while a worn coating can cause uneven drying across the same patio.
Judge the slowest-drying section rather than using a sunny corner as the reference for the whole property. Brick pavers beside landscaping often need closer attention because irrigation and damp debris repeatedly wet the edges. An adjacent asphalt area isn’t a reliable drying benchmark for pavers and their joints.
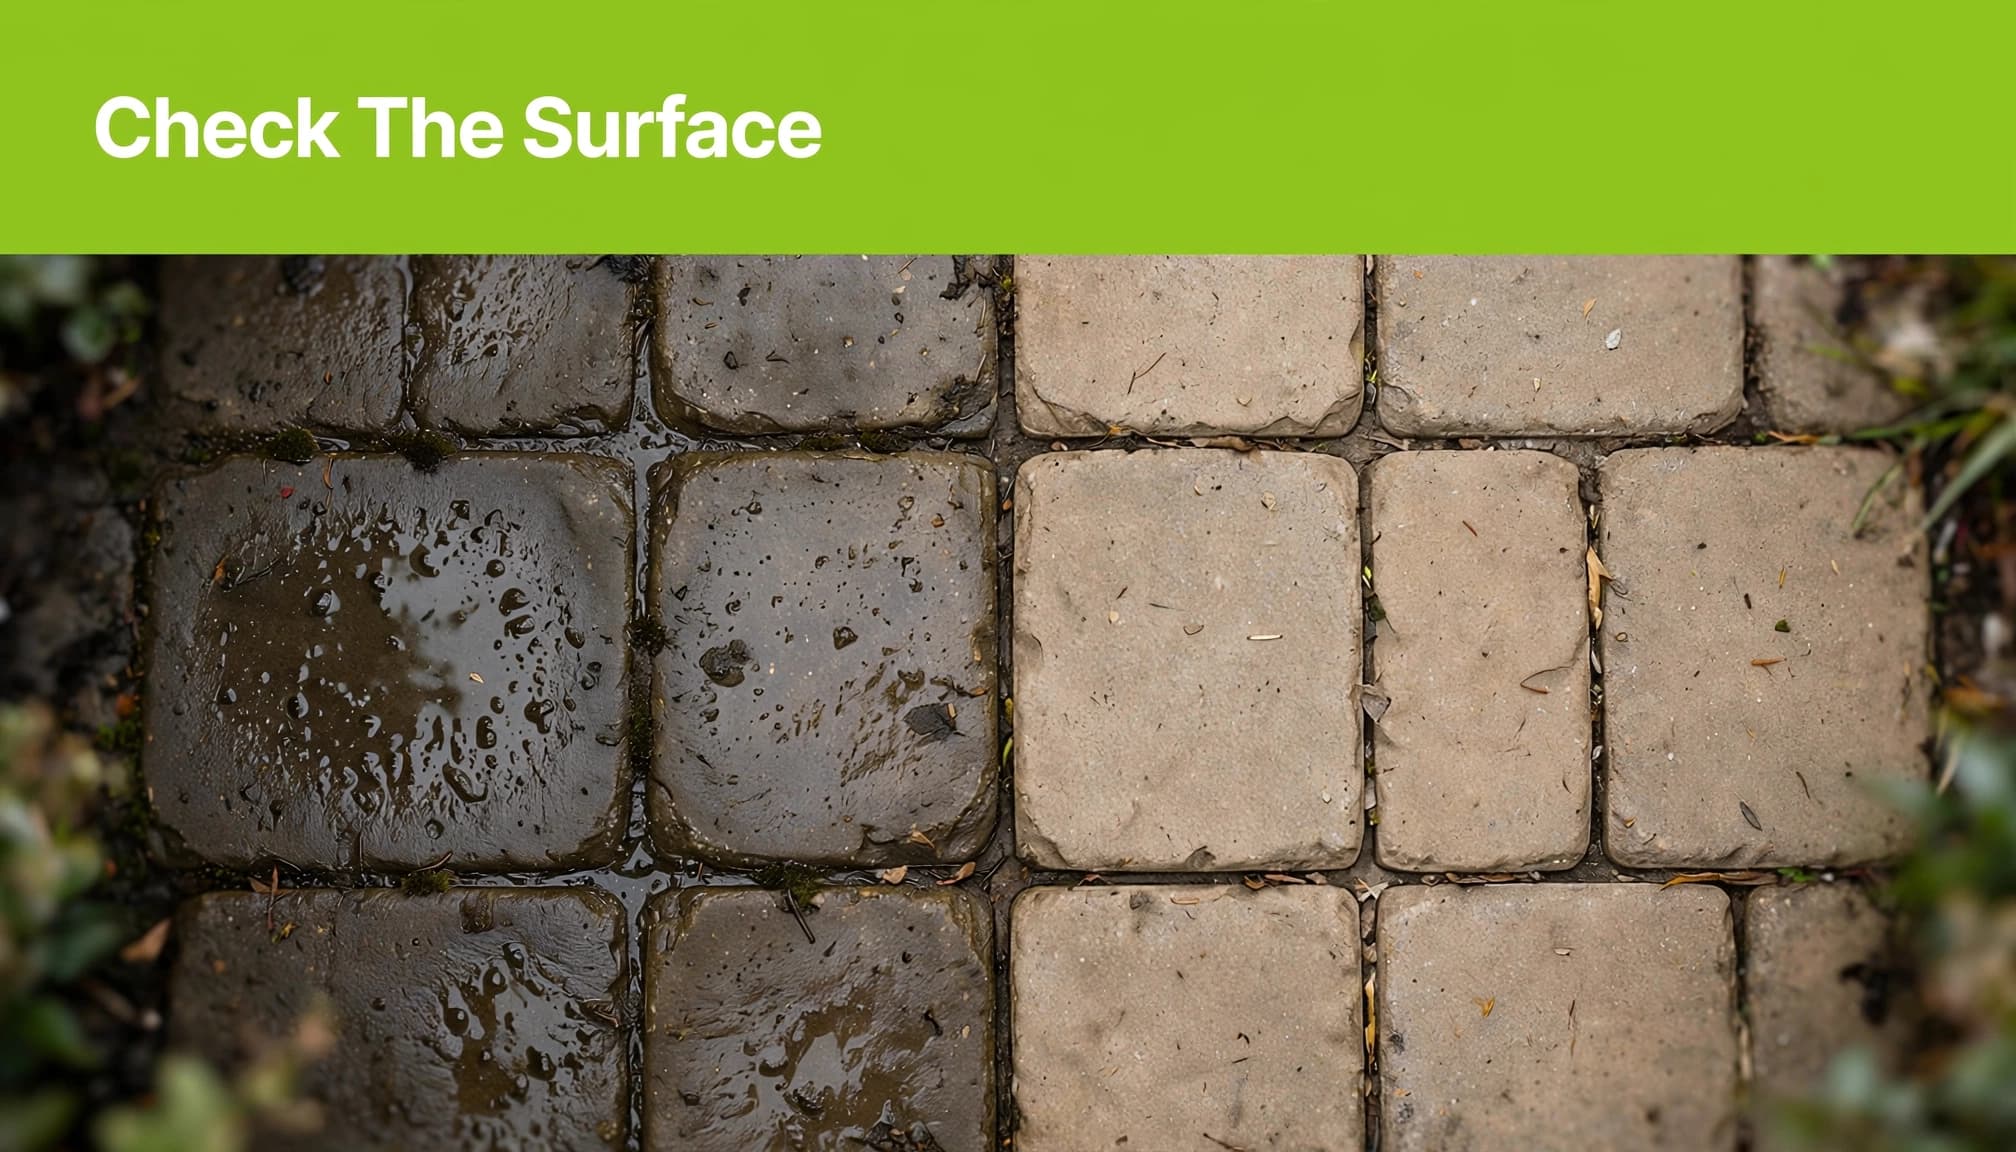
Before sealing or other follow-up work, check for a uniformly dry surface, with no dark areas or damp patches and dry joint sand. Follow the product’s water-content limits or use its specified test method.
Drainage and Repeated Wetting
Showers, sprinklers, pool splash, and roof runoff can interrupt drying. If one area stays dark while nearby paving dries, investigate the water source before sealing.
Clear accessible drain grates and remove leaves that hold dampness against the surface. Standing water, low spots, and washed-out joints need their own assessment.
We don’t recommend using sealer to correct persistent dampness. A coating won’t repair drainage or stop water entering through an irrigation leak.
Clean Pavers and Sound Joints Come Before Sealing
Cleaning should leave a surface ready for inspection, not automatically ready for coating. Let treated areas dry before judging stains because wet paving can temporarily conceal discoloration and white residue.
Remove Stains Without Damaging the Surface
Dirt, mold, algae, and efflorescence need treatment before sealing. Otherwise, stains and mold can remain visible beneath the new finish.
For confirmed powdery efflorescence, start with dry brushing. If deposits remain, use a material-compatible treatment, including an acid-free efflorescence remover where approved. Our guidance on safe efflorescence removal explains why white deposits require careful identification.
We don’t recommend vinegar for routine paver cleaning. Its acidity can affect cement-based materials, acid-sensitive stone, and existing finishes. Mild, compatible cleaners and controlled rinsing are a better starting point.
Inspect the Joints After Pressure Cleaning
Excessive pressure can cause chips, cracks, splits, and spalling. Check for these signs of damage, including spalling, and look for removed joint sand. Soft-wash systems instead use specialty detergents with a low-pressure rinse, but the chemicals still need to suit the material.
After brick pressure washing, inspect joints for missing sand and identify any loose pavers. Joint sand and repairs must be ready before paver sealing, and joint work has separate drying and setting requirements.
For example, Techniseal’s iN Paver Protector instructions require 30 days after polymeric sand installation before sealing. That requirement concerns a particular product combination, not a universal post-washing drying period.
New Concrete Pavers Need More Than Surface Drying
Newly installed concrete pavers must complete the required material-specific setting period before sealing. Active efflorescence also needs time to run its course and receive appropriate cleaning. There is no fixed number of days that covers every situation.
Moisture moving through concrete can carry soluble salts to the surface. Sealing too soon can leave white deposits or haze beneath the finish. A clean-looking surface immediately after washing doesn’t settle the decision.
Newly installed natural stone, including stone pavers, can sometimes receive a suitable breathable penetrating sealer sooner than concrete pavers. The stone must still meet the selected product’s dryness requirements and receive compatible preparation.
We treat material curing, cleaning, joint work, and sealer curing as separate considerations. Completing one doesn’t automatically complete the others.
Delay Sealing During Unsuitable Weather
The forecast needs to cover application and the sealer’s set period. A dry morning isn’t enough if precipitation is expected before the finish can tolerate water.
Allow a 24-48-Hour Rain-Free Window
Plan for at least 24-48 hours without rain after sealing, subject to the selected product’s requirements. This is a post-application protection window, not a universal drying time after pressure cleaning.
Also account for irrigation and overnight condensation. Water contacting an uncured coating can cause cloudiness, uneven appearance, or adhesion problems.
If precipitation wets the pavers before application, wait and recheck the slowest-drying areas, including shaded joints and sand. In cool, damp conditions, postpone sealing until the surface and joints meet the product’s moisture requirements. A dry-looking top face doesn’t prove that shaded joints are ready.
Avoid Hot Paving and Temperatures Below Product Limits
Peak midsummer heat can make sealer flash off too quickly. As a result, application may become uneven before the product has spread or penetrated properly.
Cold conditions also matter. For example, TCC Materials’ Paver Seal Pro WB data sheet specifies air and surface temperatures between 40°F and 100°F. It also requires the sealer itself to warm to 50°F before use.
Those limits apply to that product. Postpone application until both air and surface temperatures are within the selected product’s limits, since pavement temperature can differ substantially from the air temperature.
Correct Old Sealer Before Applying Another Coat
A peeling or failing coating needs removal before resealing. New film can bond to the loose old finish and peel away with it.
Cloudiness also needs a diagnosis. White powder may be efflorescence, while residue after joint maintenance may be polymeric haze. Cloudiness within a glossy coating can involve trapped water or coating failure.
We recommend identifying the material, existing coating, and previous treatments before selecting a repair. A compatible test area should dry fully before anyone judges the result.
Our guide to paver sealer haze explains these distinctions. Repeated pressure washing or an unsuitable acid treatment can damage the paving while leaving the original problem unresolved.
When Can You Walk or Drive on Sealed Pavers?
Post-sealing access depends on the product, application conditions, and type of traffic. Dry-to-touch, pedestrian use, vehicle use, and full cure are different milestones.
For example, TCC Materials’ Paver Seal Shine Pro WB data sheet lists one hour to touch and two hours for traffic at 70°F. Those figures apply to that product under its stated conditions. They aren’t general permission to reopen every sealed driveway after two hours.
A sealant’s dry-to-touch time starts after application. It doesn’t establish how long freshly washed pavers need to dry beforehand or when they’re ready for foot or vehicle traffic.
Keep furniture and vehicles off the finish until the appropriate cure period ends. Furniture feet, turning tires, and parked vehicles place different demands on a coating than light foot traffic.
For businesses, we recommend planning alternate pedestrian access and parking before work begins. This avoids reopening a surface simply because customers need an entrance.
Maintain the Finish Without Resealing Too Soon
Proper sealing can help protect color, reduce staining, and simplify maintenance. Joint-stabilizing products can also help hold joint sand when the entire system is suitable.
Assess Condition Alongside the 3-5-Year Interval
A 3-5-year resealing interval is a useful planning range, but rainfall, traffic, and routine care affect service life. Inspect the finish annually rather than automatically adding another coat.
On brick driveways, worn traffic lanes and oil exposure create different demands than a sheltered walkway. Our Florida paver maintenance schedule covers routine inspections and care between treatments.
When budgeting, distinguish cleaning, joint repairs, stripping, and sealing. These are separate tasks even when a contractor includes them in one project.
Investigate Uneven Absorption and Surface Wear
Dark areas after rain can indicate increased water absorption and worn protection. Compare recurring dark areas with shade, irrigation, and drainage patterns before attributing them to worn protection.
For film-forming finishes, watch for peeling, spalling, patchy gloss, or cloudy areas. Address those conditions before recoating.
Sweep debris, remove spills promptly, and correct repeated irrigation overspray. For properties exposed to freezing weather, use sand or suitable noncorrosive traction materials instead of rock salt, and keep snowblower blades from scraping the pavers.
Frequently Asked Questions
Can Pavers Be Sealed the Same Day as Pressure Cleaning?
Same-day sealing isn’t a dependable default. Humidity, retained dampness, shaded joints, and the selected coating determine whether the surface is ready.
We recommend scheduling enough flexibility for drying rather than promising cleaning and sealing on the same day. A breathable product still has preparation and water-retention requirements.
What Do Professionals Use to Seal Pavers?
Professionals use penetrating sealers, film-forming acrylics, and joint-stabilizing systems, depending on the material and desired finish.
For example, SRW Products’ PS Penetrating sealer provides water protection with a natural finish. A film-forming product may provide stronger color enhancement or gloss.
Avoid incompatible coatings and excessive buildup. Water-based and solvent-based descriptions alone don’t establish whether a product suits an existing finish.
Is Rain Shortly After Sealing Acceptable?
Rain before the product develops its required resistance can affect the finish. The result may include whitening or an uneven coating.
Don’t apply another layer to hide the damage. We recommend assessing the affected finish after it dries before deciding whether correction or removal is necessary.
Let Surface Condition Set the Schedule
Reliable paver drying time depends on dampness, weather, material, and the existing finish. We recommend sealing only when the paving is clean, sound, and fully dry.
Allow separate time for preparation and post-application curing. Rushing either stage can turn routine upkeep into coating removal and restoration.
If persistent dampness, damaged joints, or a failing finish needs assessment, Contact Us for a FREE Quote to discuss suitable restoration or repair work.